These easy homemade dip recipes will have you drooling. They're the best dip recipes you'll find and they're perfect dips for chips, veggies, pita chips, wings, and more.

There's nothing better than dipping food into something is there? No, there isn't. These delicious recipes are all so delicious and easy to make, and they make everything taste better!
If you love dips, then you're going to find something you love on this list, I guarantee it!
Why You'll Love These Recipes
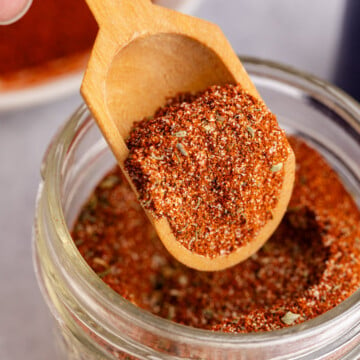
- They're all made with simple ingredients that you can find at the store.
- They're full of flavor, not work!
- You'll find both hot and cold dips on the list.
- Everyone loves dip!
What Makes These Recipes Work
Dips are wonderful because they add flavor to so many foods. Everything from crackers and chips to carrots and celery. They can be as expensive or inexpensive as you want them to be.
I prefer cheap and cheerful, whenever possible, and these dips are pretty reasonably priced overall and simply oh-so-tasty.
I highly recommend allowing your homemade dip to set inside your fridge for at least an hour before adding any additional salt or pepper. A little tends to go a long way and as the flavors blend together you don't want there to be too much of any one ingredient.
Ideally, prepare your homemade dip the day before or much earlier in the day so it has a chance to set inside your fridge. The flavors will totally blend together and your dip will have an excellent, thick consistency.
The Basics of Making Dip
The most important issue you need to know when learning how to make a dip recipe, especially a cold dip, is the need to make them ahead of time.
Creamy dips need time for all of the flavors to meld together. The only way to achieve this is to allow your homemade dips to sit in an airtight container in your fridge for a couple of hours.
What to Serve with Dip
If you ask the Internet what to serve with dips, you'll come up with a wide range of answers. Everything from ranch dip to chipotle lime dip.
When choosing your pairings, consider the flavor palette you're presenting. Almost anything can be dipped, really. Some favorite options include:
- Chips
- Pretzels
- Fries
- Hot dogs
- Hamburgers
- Tortilla chips
- Pita chips
- Your favorite vegetables
- Wings


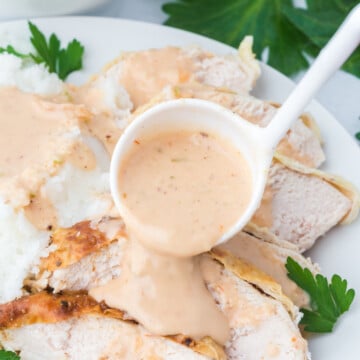
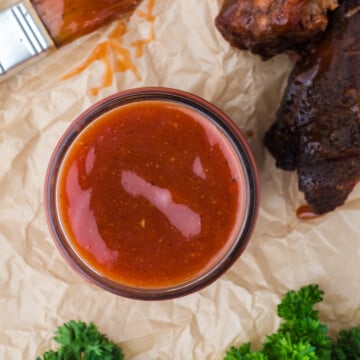
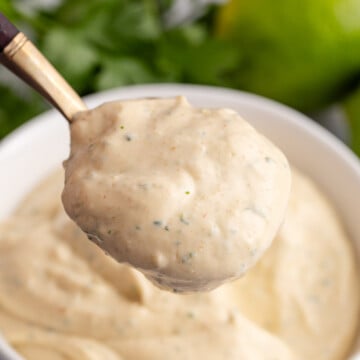
The Best Dip Recipes You'll Ever Eat
Whether you're looking for dips for chips, a creamy dipping sauce for your wings, or a new recipe to try on crackers or bread, I know you'll find something you love here.
When I say these are the best dip recipes, I mean it. Give them a try!

Leave a Reply