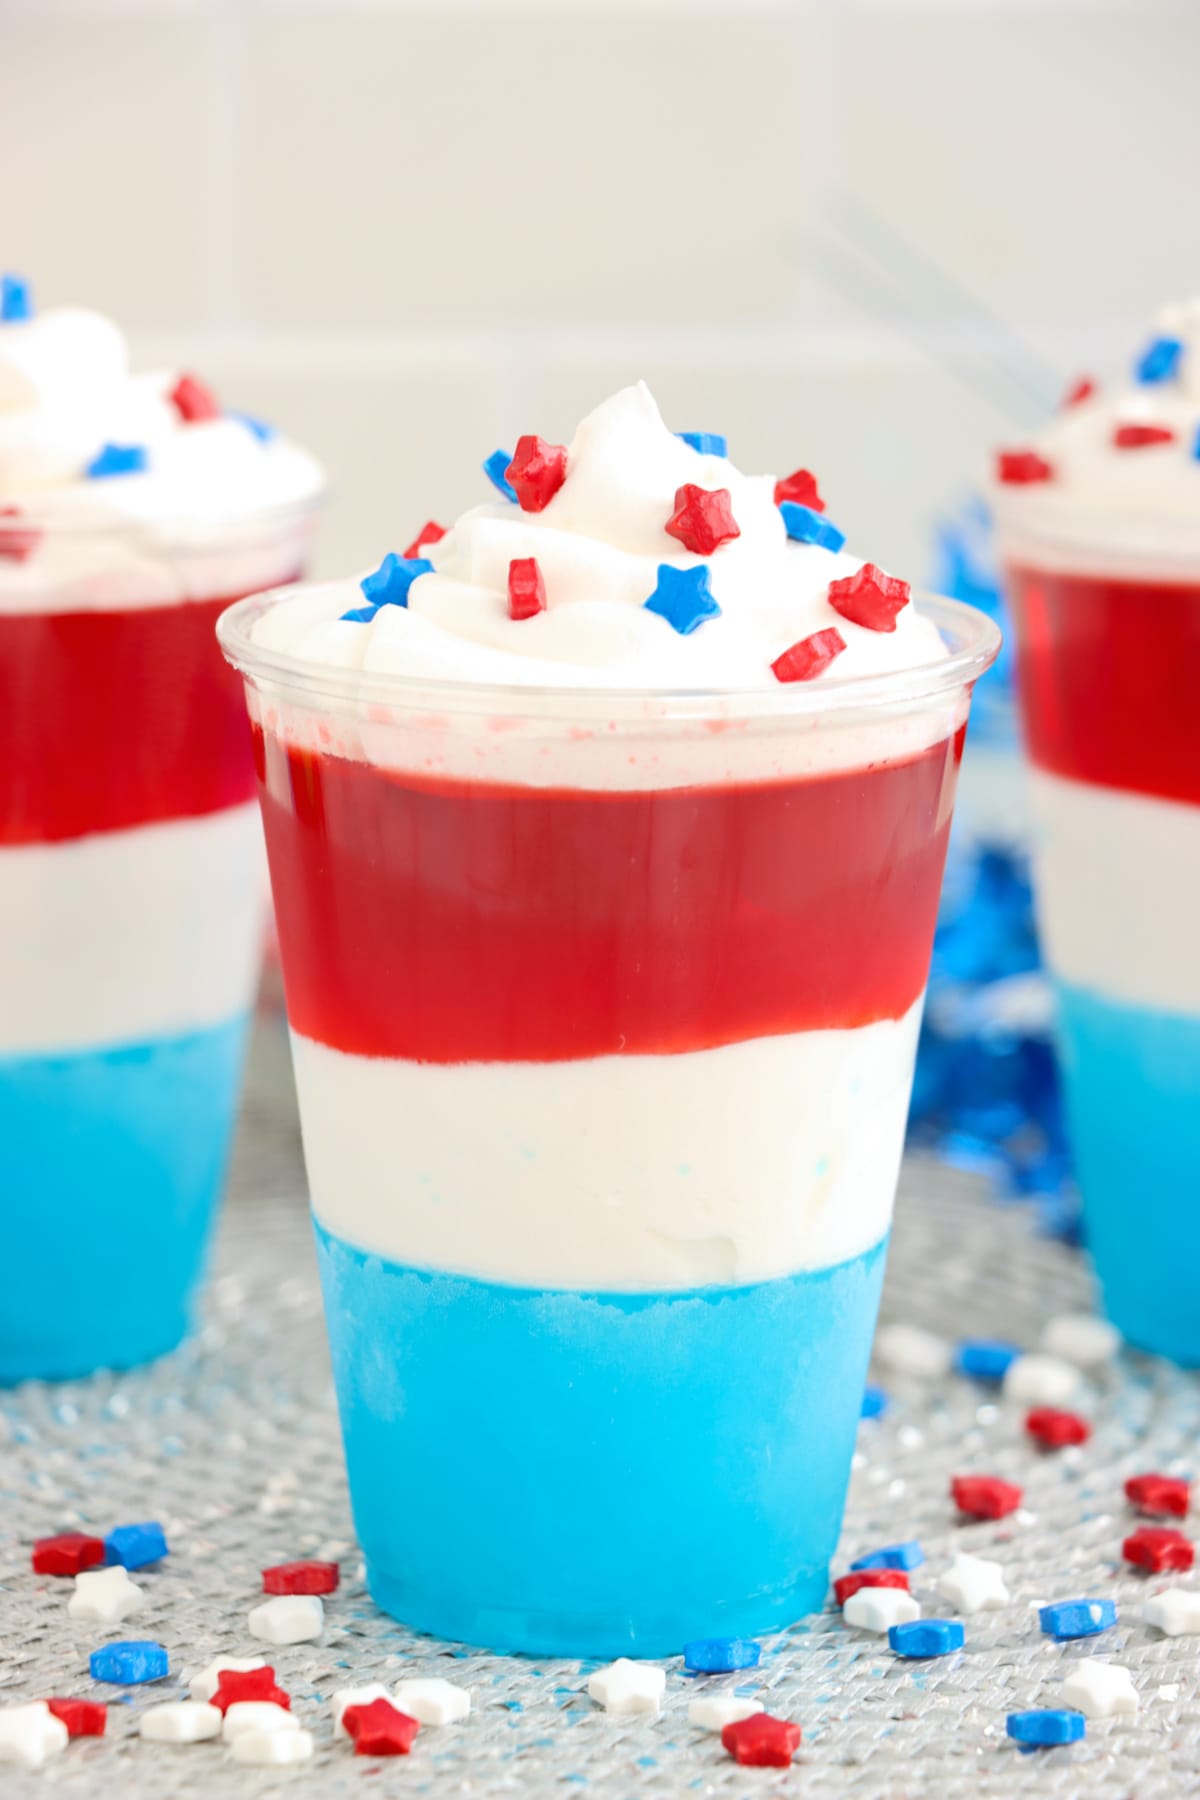
These red, white, and blue jello cups are a fun and festive no-bake dessert perfect for summer celebrations. With vibrant layered colors, a creamy middle, and refreshing fruity flavors, they look as impressive as they taste. Whether you're planning a backyard BBQ, holiday gathering, or 4th of July party, these easy layered jello cups are guaranteed to stand out on your dessert table.

Recipe Essentials
- 🍽️ Course: Dessert
- ⏱️ Cooking Time: 15 minutes prep + chill time
- 🍴 Servings: 6 cups
- 🧄 Flavor Profile: Sweet, fruity, creamy, refreshing like our jello pretzel dessert
- 🍚 Best Served With: Fresh fruit, whipped cream
- 🧊 Make Ahead?: Yes
Summarize and Save This Content On
These patriotic jello cups are one of the easiest desserts you can make ahead for parties like our Jello parfaits. The layered colors create a beautiful presentation while the flavors stay light and refreshing. They're simple enough for beginners but impressive enough for guests.
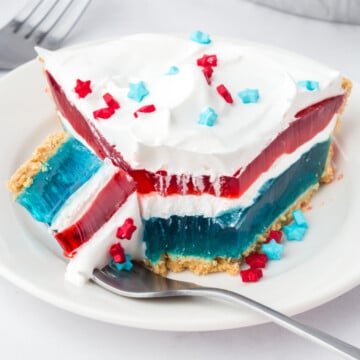
This was inspired by my red, white, and blue cheesecake and red, white and blue cheesecake trifle on this site, and pairs well with this red, white, and blue cake.
Jump to:
Why You Will Love This Recipe
- Perfect for holidays: Crowd-pleasing recipe for 4th of July, Memorial Day, and parties with beautiful presentation
- Kid-friendly treat: Always a hit with customizable bright colors and sweet flavors kids love like our red, white and blue cookie cake
- Make-ahead friendly: This no-bake dessert must be prepared in advance with easy-to-find grocery items
- Light and refreshing: Perfect after a heavy meal and individual cups make serving easy
Ingredients
These red white and blue jello cups use simple ingredients you can grab in one quick trip to the store.
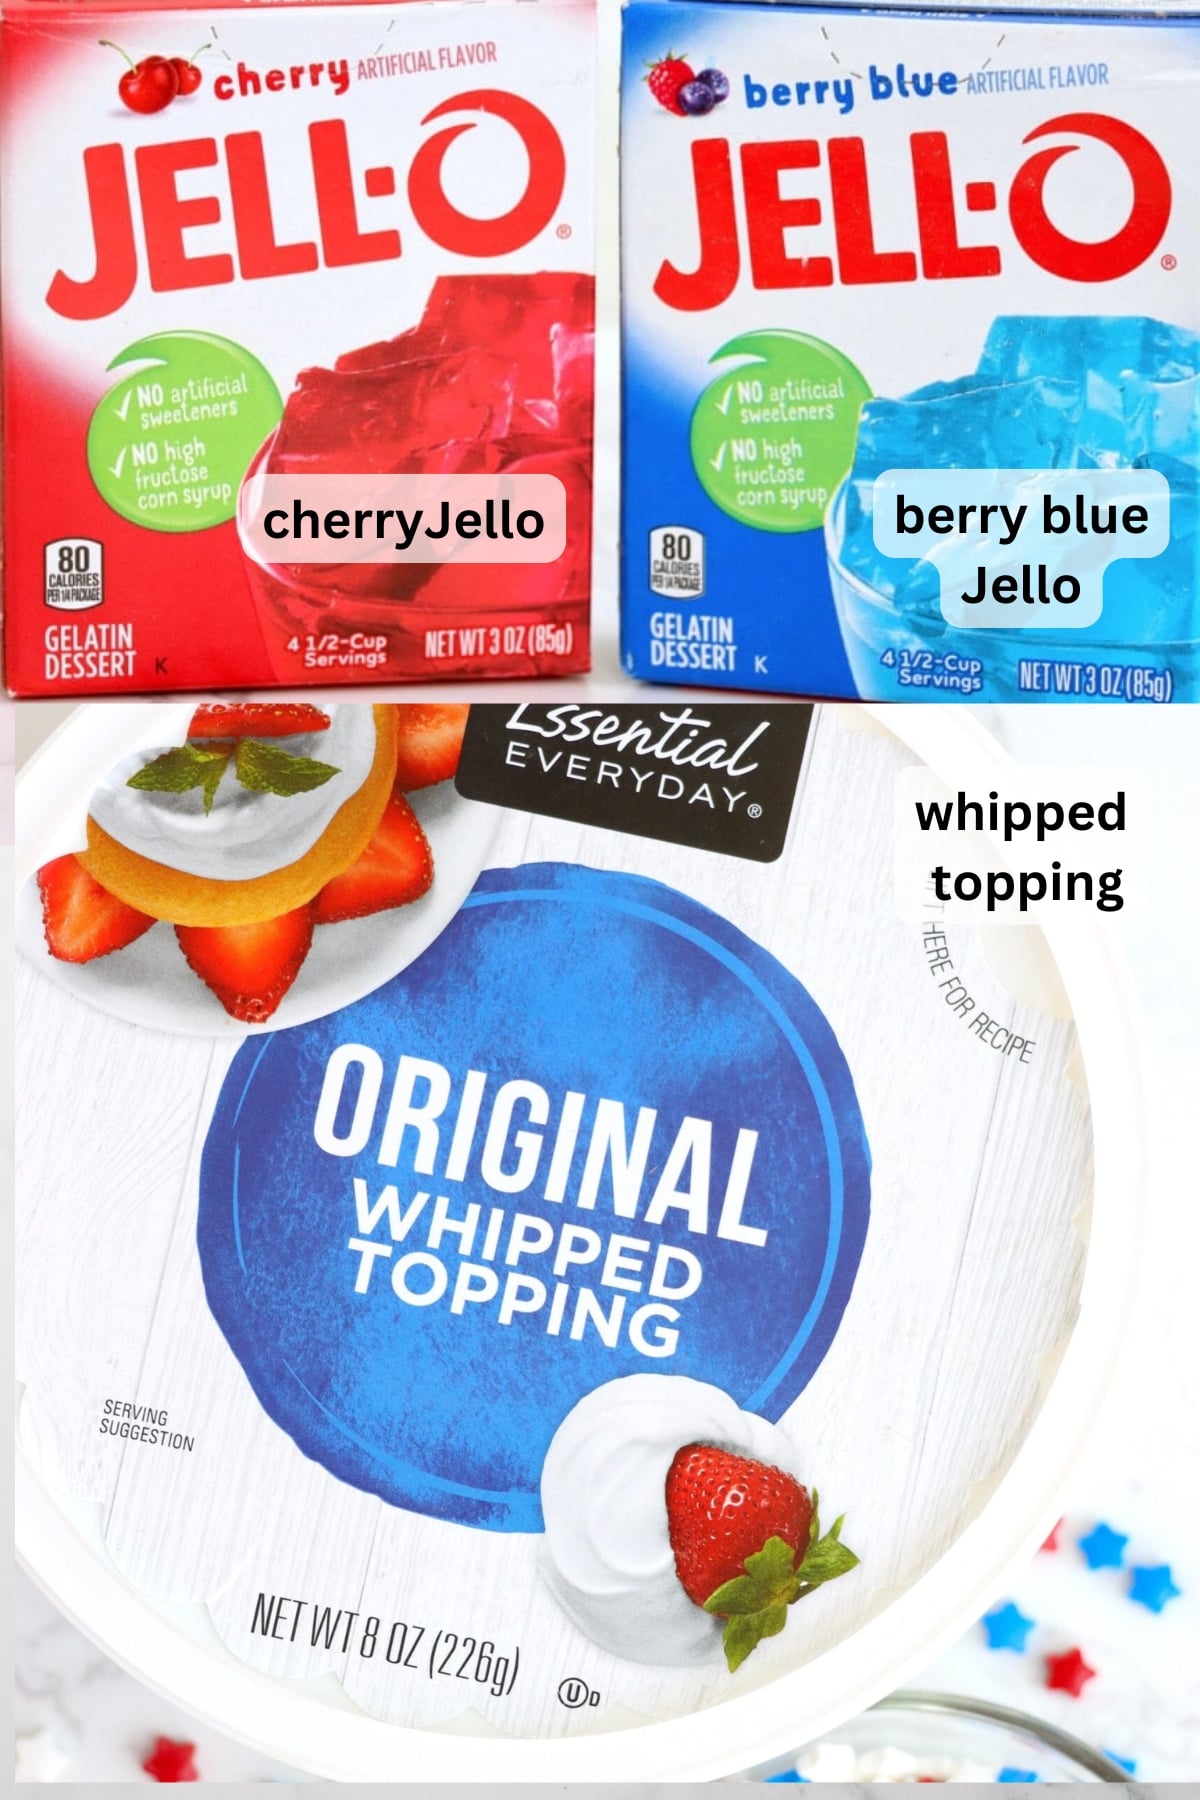
- Cherry Jello: Creates the bottom layer and adds fruity flavor
- Berry Blue: Forms the top layer for the patriotic look
- Water: Dissolves gelatin and helps layers form
- Whipped topping: Adds creamy middle white layer
See the recipe card below for the exact quantities of each ingredient.
Variations
- Berry jello cups: Use strawberry and blueberry gelatin for a stronger fruit flavor
- Layered parfait style: Add fresh berries between layers
- Patriotic parfaits: Add a layer of cake pieces for texture or layer with fresh fruit and whipped cream
- Rainbow jello cups: Add more colored layers
- Alcohol version: Add 1 cup of boiling water, ½ cup cold water and ½ cup vodka to Jello for adult parties with a longer set time
- Extra creamy layer: Add whipped cream to the top
How to Make Red White and Blue Jello Cups
These red white and blue jello cups are easy to make-just layer, chill, and repeat..
Prepare berry blue jello according to the package directions. I used the Speed-Set Method with ice cubes.
Transfer jello to a cup with a spout or use a turkey baster to distribute jello evenly among 6 clear plastic cups.
Place cups in the refrigerator for 2 hours or until set to the touch.
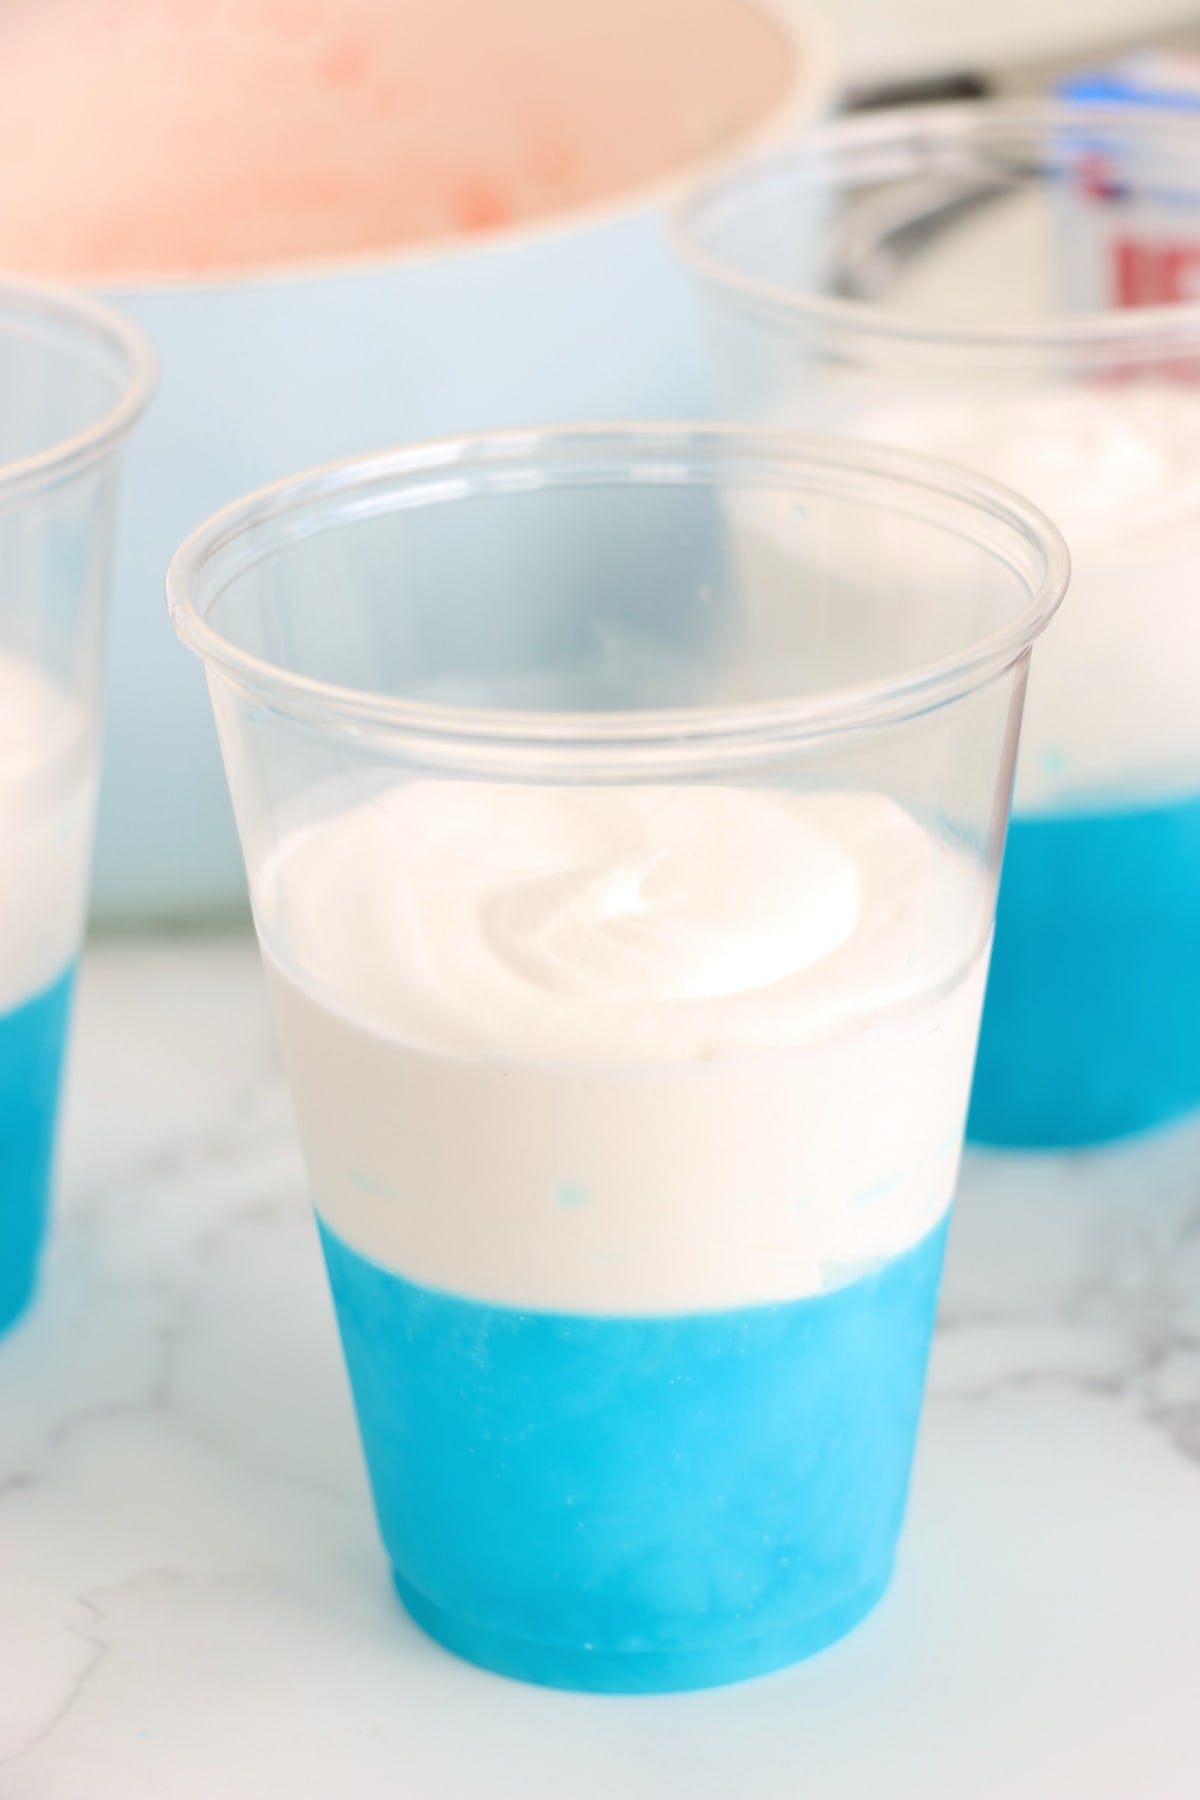
Spoon whipped topping on top of blue jello. Be sure to save some to top your cups with. Gently shake to level the whipped topping.
Place cups in a freezer for 1 hour or until Cool Whip is hard to the touch.
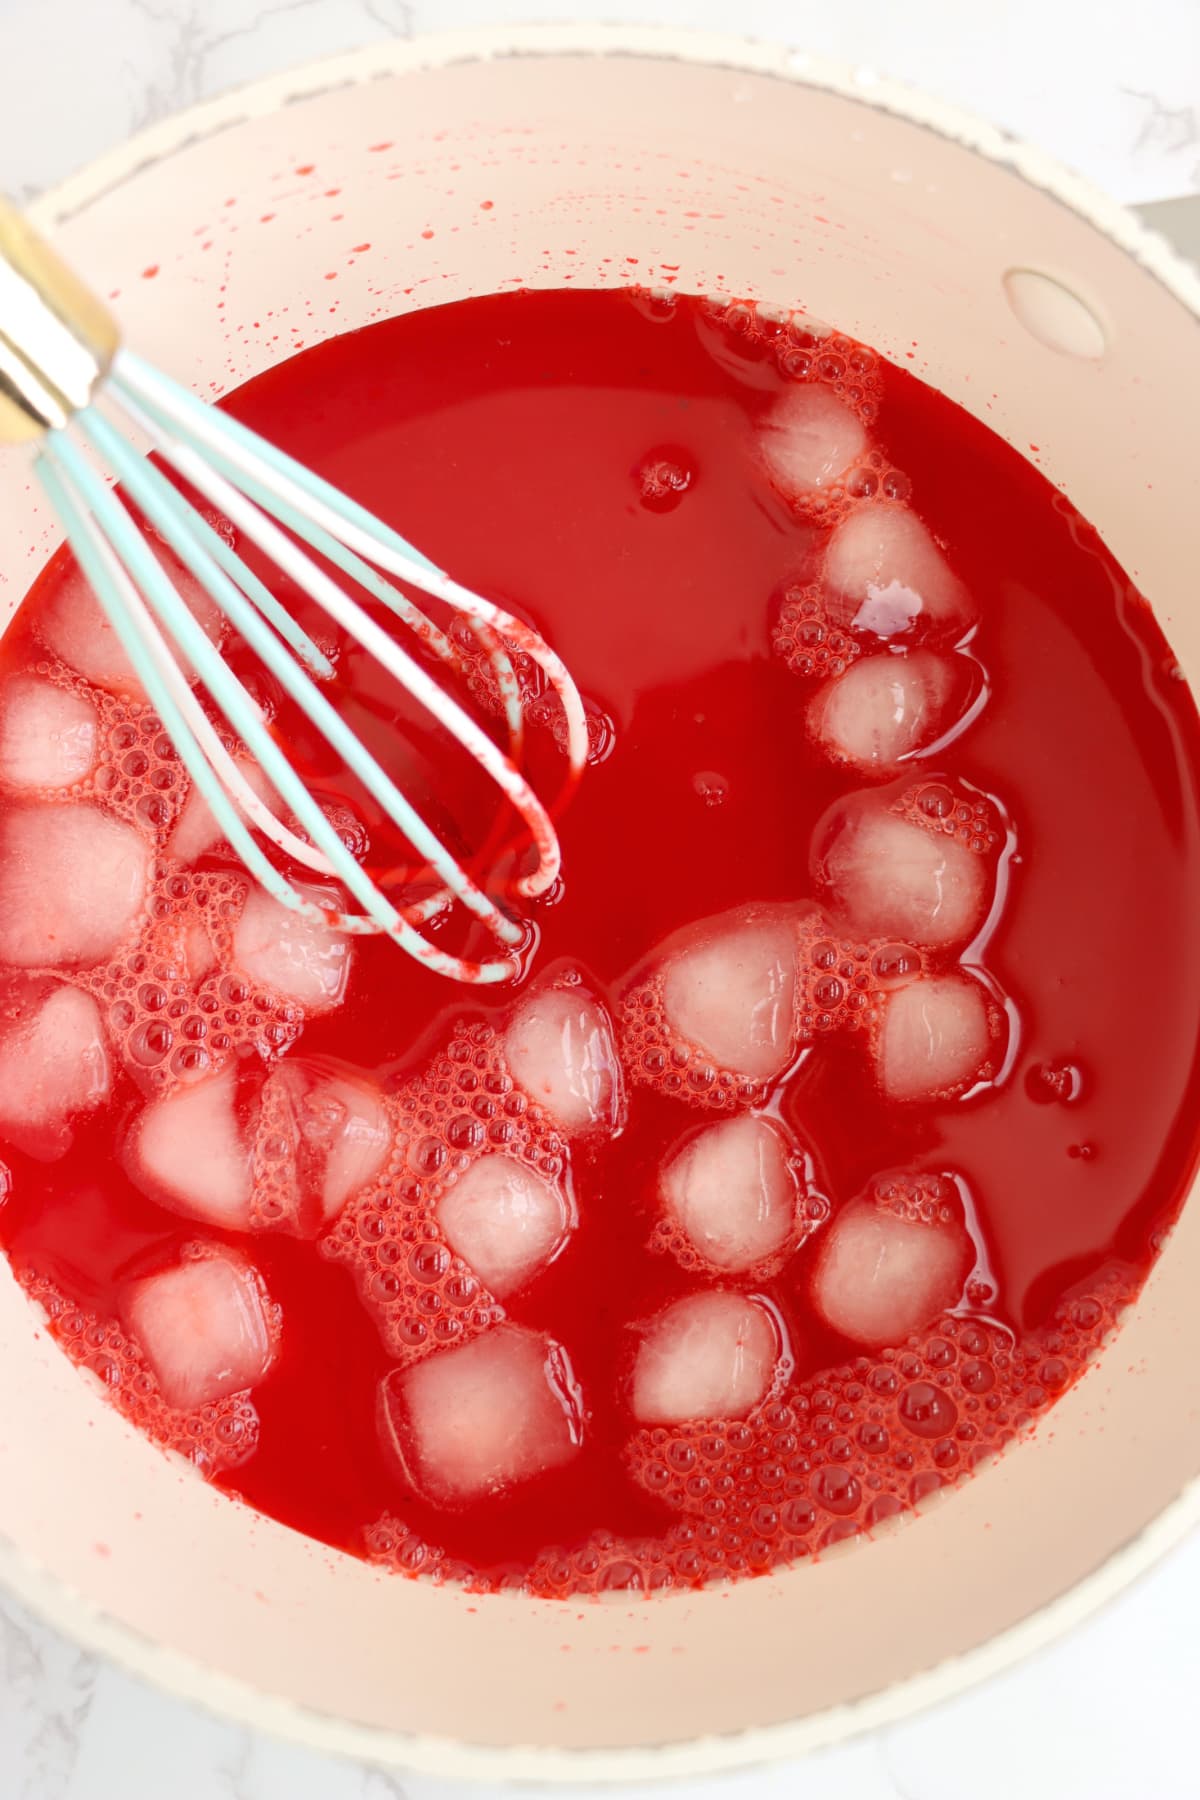
Prepare cherry jello using the Speed-Set Method.

Carefully transfer cherry jello to a cup with a spout or use a turkey baster to distribute jello evenly among 6 clear plastic cups.
Place cups in the refrigerator for 2 hours or until set to the touch.
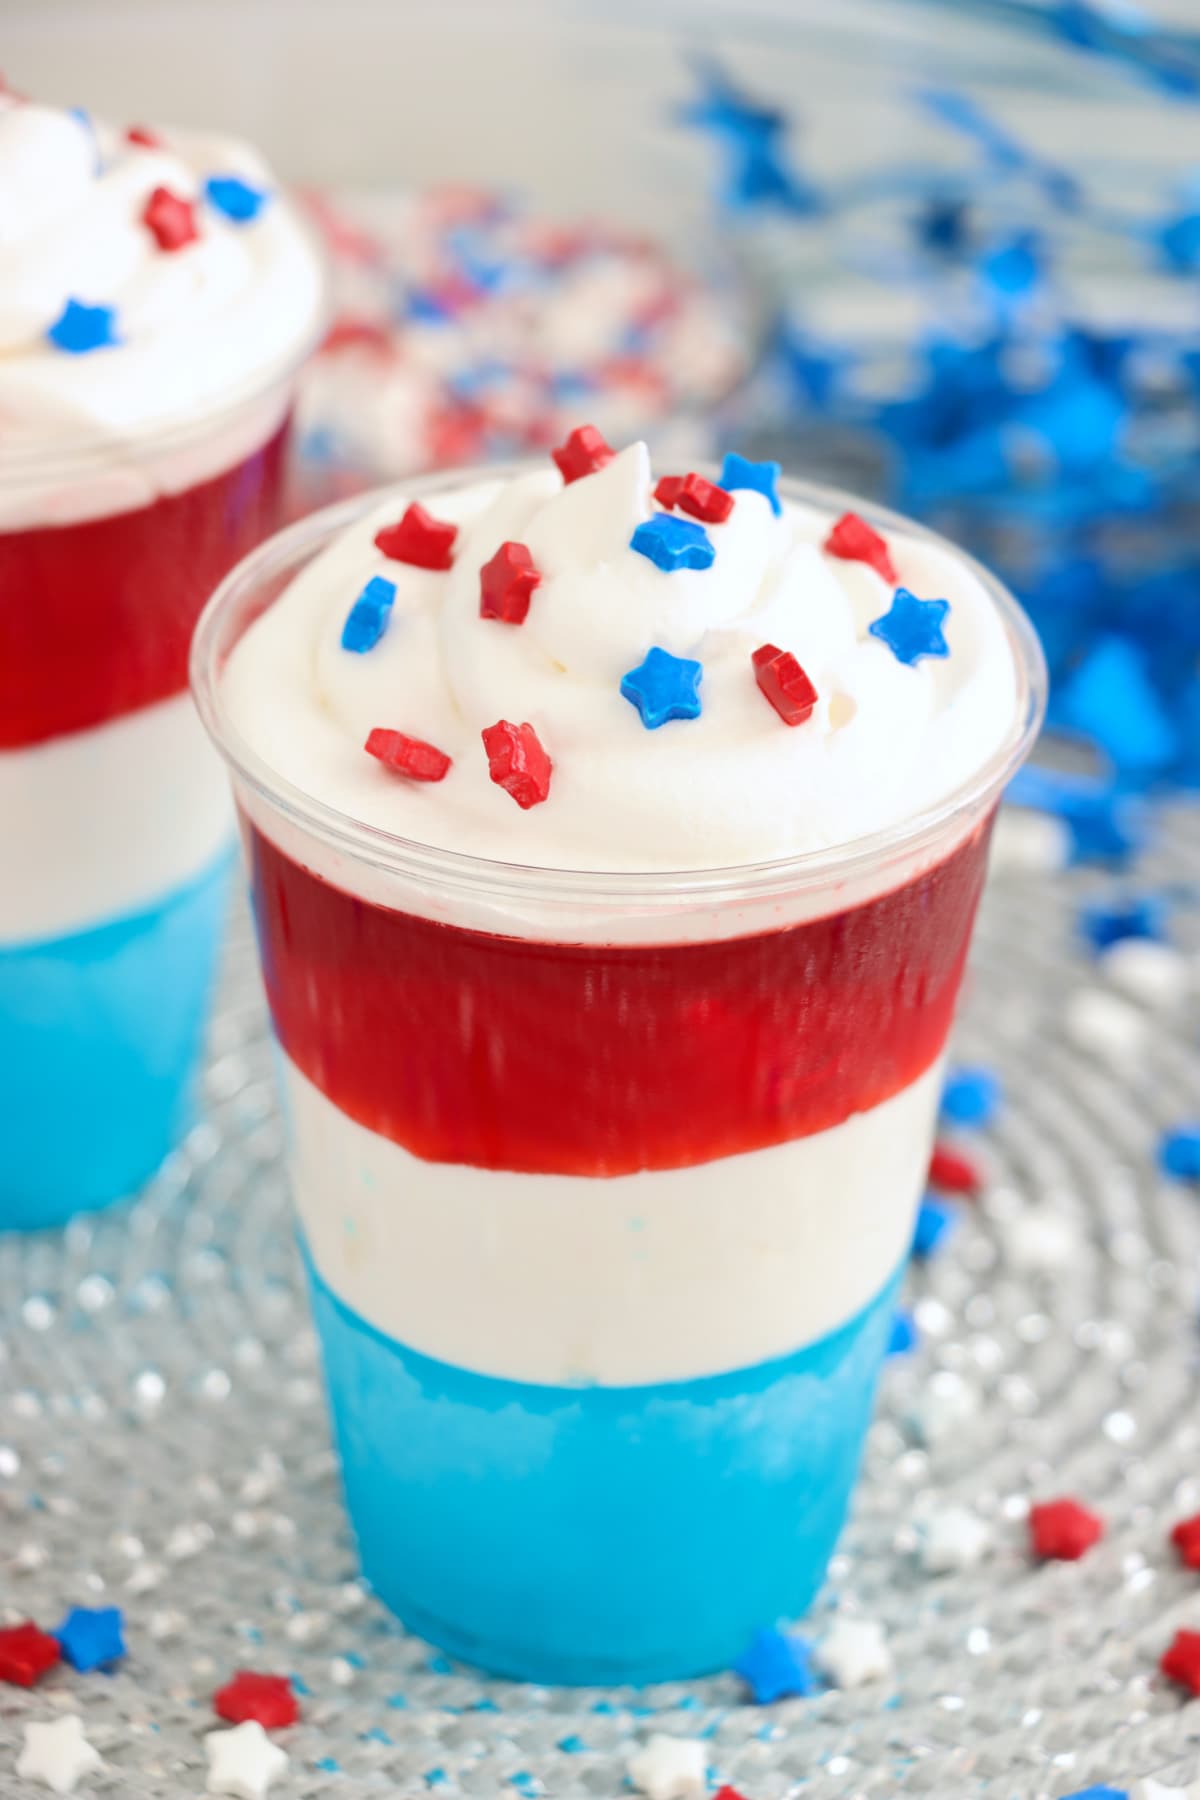
Top with remaining whipped topping and sprinkles or a cherry.
Recipe Tips
- Cup size: This recipe uses 9 ounce cups, but you can use 4 ounce or 6 ounce cups which will change the quantity you're making.
- Let each layer fully set: Chill long enough to prevent colors from mixing and keep firm clean layers
- Cool gelatin slightly before pouring: Helps avoid melting the previous layer
- Use clear cups: Shows off the colorful layers beautifully
- Pour slowly: Prevents disturbing the layers
- Refrigerate between layers: Ensures proper structure
- Add topping before serving: Keeps whipped cream fresh
- Use turkey baster or measuring cup for pouring: Makes layering easier
- Don't rush the process: Patience gives the best results
- Use rimmed baking sheet: Place cups on a cookie sheet so you can easily move the cups in and out of the fridge during the setting process and for serving
If you love recipes like this, you may also enjoy our Jello layered cake and how to make gummy bears with Jello.

Storage Directions
Refrigerator: Store covered up to 3 days
Make Ahead: Best made 1 day in advance
Serving Suggestions
- Serve with whipped cream: Adds a light, creamy finish that complements the fruity layers
- Add fresh strawberries and blueberries: Enhances flavor and ties into the patriotic color theme Add a fruit garnish: Top with berries or a cherry for extra color and flavor
- Add festive sprinkles: A quick way to make these jello cups extra fun and party-ready
- Serve in mason jars: Perfect for larger portions and a cute, rustic presentation
- Use mini cups for kids: Great for portion control and easy grab-and-go treat
- Serve at summer parties and BBQ's: Ideal for 4th of July, Memorial Day, and backyard gatherings
- Create a festive dessert table: Use red, white, and blue plates, napkins, or themed tablecloths for a fun presentation
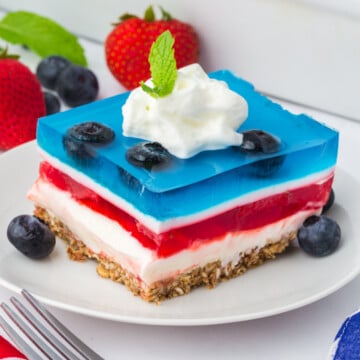
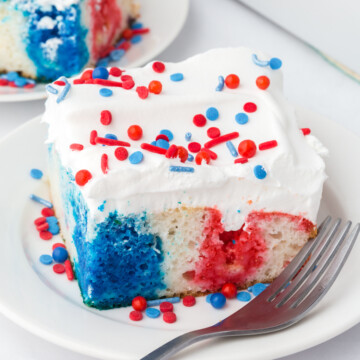
- Serve alongside other patriotic desserts: These pair perfectly with your red white and blue desserts for a complete dessert spread
Recipe FAQs
They are layered gelatin desserts made with red, white, and blue colors for a patriotic theme.
Let each layer fully set before adding the next layer.
Yes, they are perfect for making a day in advance.
They last up to 3-4 days in the refrigerator.
Yes, you can customize flavors based on preference.
It may need more chilling time or incorrect gelatin ratio.
No, freezing changes the texture.
You can use coconut milk or cream cheese mixture.
Yes, they are perfect for gatherings and holidays.
Yes, it's a simple and fun recipe for kids to help with.
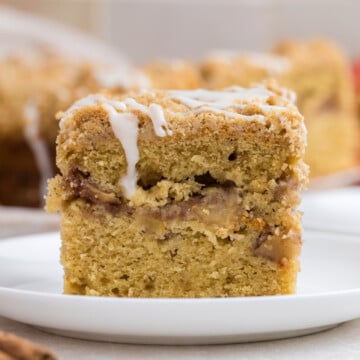
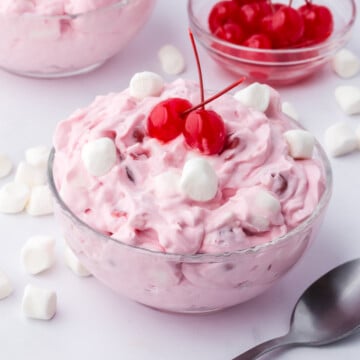
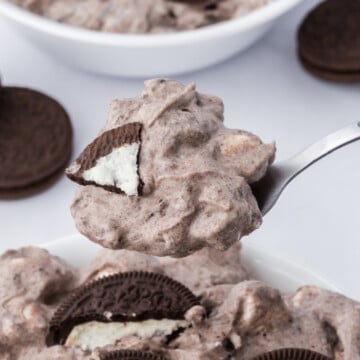
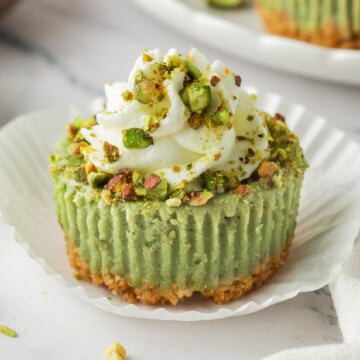
More Jello Recipes
Do you like Jello? Here some recipes you may also like to try.

If you try this recipe and love it please leave a star rating in the recipe card below or even better, drop a review in the comment section. I always appreciate your feedback. Be sure to follow along with me on Facebook, Pinterest, and YouTube for more easy recipes!

Red, White, and Blue Jello Cups
Equipment
Ingredients
- 1 box (3 oz) berry blue jello
- 1 box (3 oz) strawberry jello
- 1 tub (8 oz) Cool Whip
Optional Garnish
- Red White Blue Star Sprinkles
- Maraschino Cherries
- Fresh Blueberries
- Fresh Strawberries
- Fresh Raspberries
- Whipped Cream
- Whipped Topping
Instructions
- Prepare a place in your refrigerator where 6 cups will fit. I like to put mine on a baking sheet for easy moving.
- Prepare berry blue jello according to the package directions. I used the Speed-Set Method with ice cubes.
- Transfer jello to a cup with a spout or use a turkey baster to distribute jello evenly among 6 clear plastic cups.
- Place cups in the refrigerator for 2 hours or until set to the touch.
- Spoon Cool Whip on top of blue jello. Be sure to save some to top your cups with. Gently shake to level the whipped topping.
- Place cups in a freezer for 1 hour or until Cool Whip is hard to the touch.
- Prepare cherry jello and once cool add it on top of the Cool Whip in all 6 cups.
- Place cups in the refrigerator for 2 hours or until set to the touch.
- If you choose, top with whipped cream and sprinkles or a cherry.
Notes
- Cup size: This recipe uses 9 ounce cups, but you can use 4 ounce or 6 ounce cups which will change the quantity you're making.
- Let each layer fully set: Chill long enough to prevent colors from mixing and keep firm clean layers
- Cool gelatin slightly before pouring: Helps avoid melting the previous layer
- Use clear cups: Shows off the colorful layers beautifully
- Pour slowly: Prevents disturbing the layers
- Refrigerate between layers: Ensures proper structure
- Add topping before serving: Keeps whipped cream fresh
- Use turkey baster or measuring cup for pouring: Makes layering easier and prevents splashing or creating air bubbles.
- Don't rush the process: Patience gives the best results
- Use rimmed baking sheet: Place cups on a cookie sheet so you can easily move the cups in and out of the fridge during the setting process and for serving
Leave a Reply