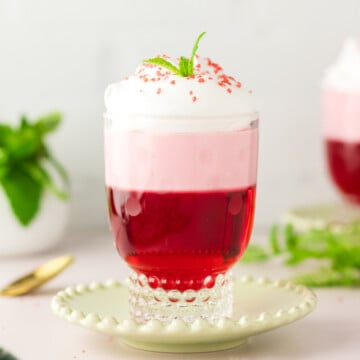
Nothing says fun quite like colorful Jello Parfaits layered into cute little dessert cups and topped with clouds of whipped topping. These easy no-bake treats are creamy, fruity, nostalgic, and perfect for everything from birthday parties to summer BBQs.

Jello Parfaits Recipe Essentials
- 🍽️ Course: Dessert
- ⏱️ Cooking Time: 20 minutes prep + 1.5 to 2 hours chilling
- 🍴 Servings: 6 to 8 parfaits
- 🧄 Flavor Profile: Sweet, fruity, creamy, light, refreshing
- 🍚 Best Served With: Cookies, cupcakes, fruit platters, party desserts like jello cool whip pie
- 🧊 Make Ahead?: Yes, perfect for making ahead
Summarize and Save This Content On
Jello desserts always bring back the best memories, and these parfaits feel like the perfect mix of retro charm and modern party dessert magic. They're simple enough for beginner cooks, budget-friendly for feeding a crowd, and endlessly customizable with different colors, flavors, and toppings.
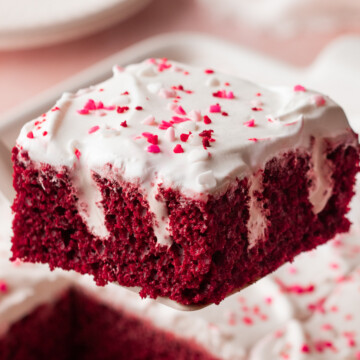
This was inspired by my jell poke cake on this site, and pairs well with this easy poke cupcake recipe.
Jump to:
Why You Will Love This Recipe
- Easy, affordable, and stress-free: No baking required, simple grocery store ingredients keep this dessert budget-friendly, and individual cups make serving and entertaining effortless.
- Kid-approved and endlessly customizable: Bright colors and fluffy layers make these a favorite with kids, while different Jello flavors let you match any birthday, baby shower, holiday, or favorite fruit theme.
- Beautiful make-ahead dessert: These layered parfaits look impressive with minimal effort and can be prepared ahead of time so dessert is ready when you need it.
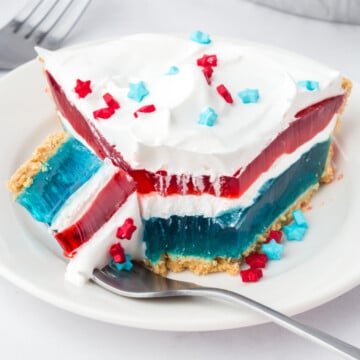
- Perfect for any occasion: Cool, light, and refreshing for warm weather gatherings, yet easy to dress up for Christmas, Easter, Valentine's Day, Halloween, or July 4th celebrations.
Ingredients
You only need a handful of simple grocery store staples to create these creamy layered parfaits. Most of these ingredients are easy pantry or freezer finds, making this a fantastic last-minute dessert idea.
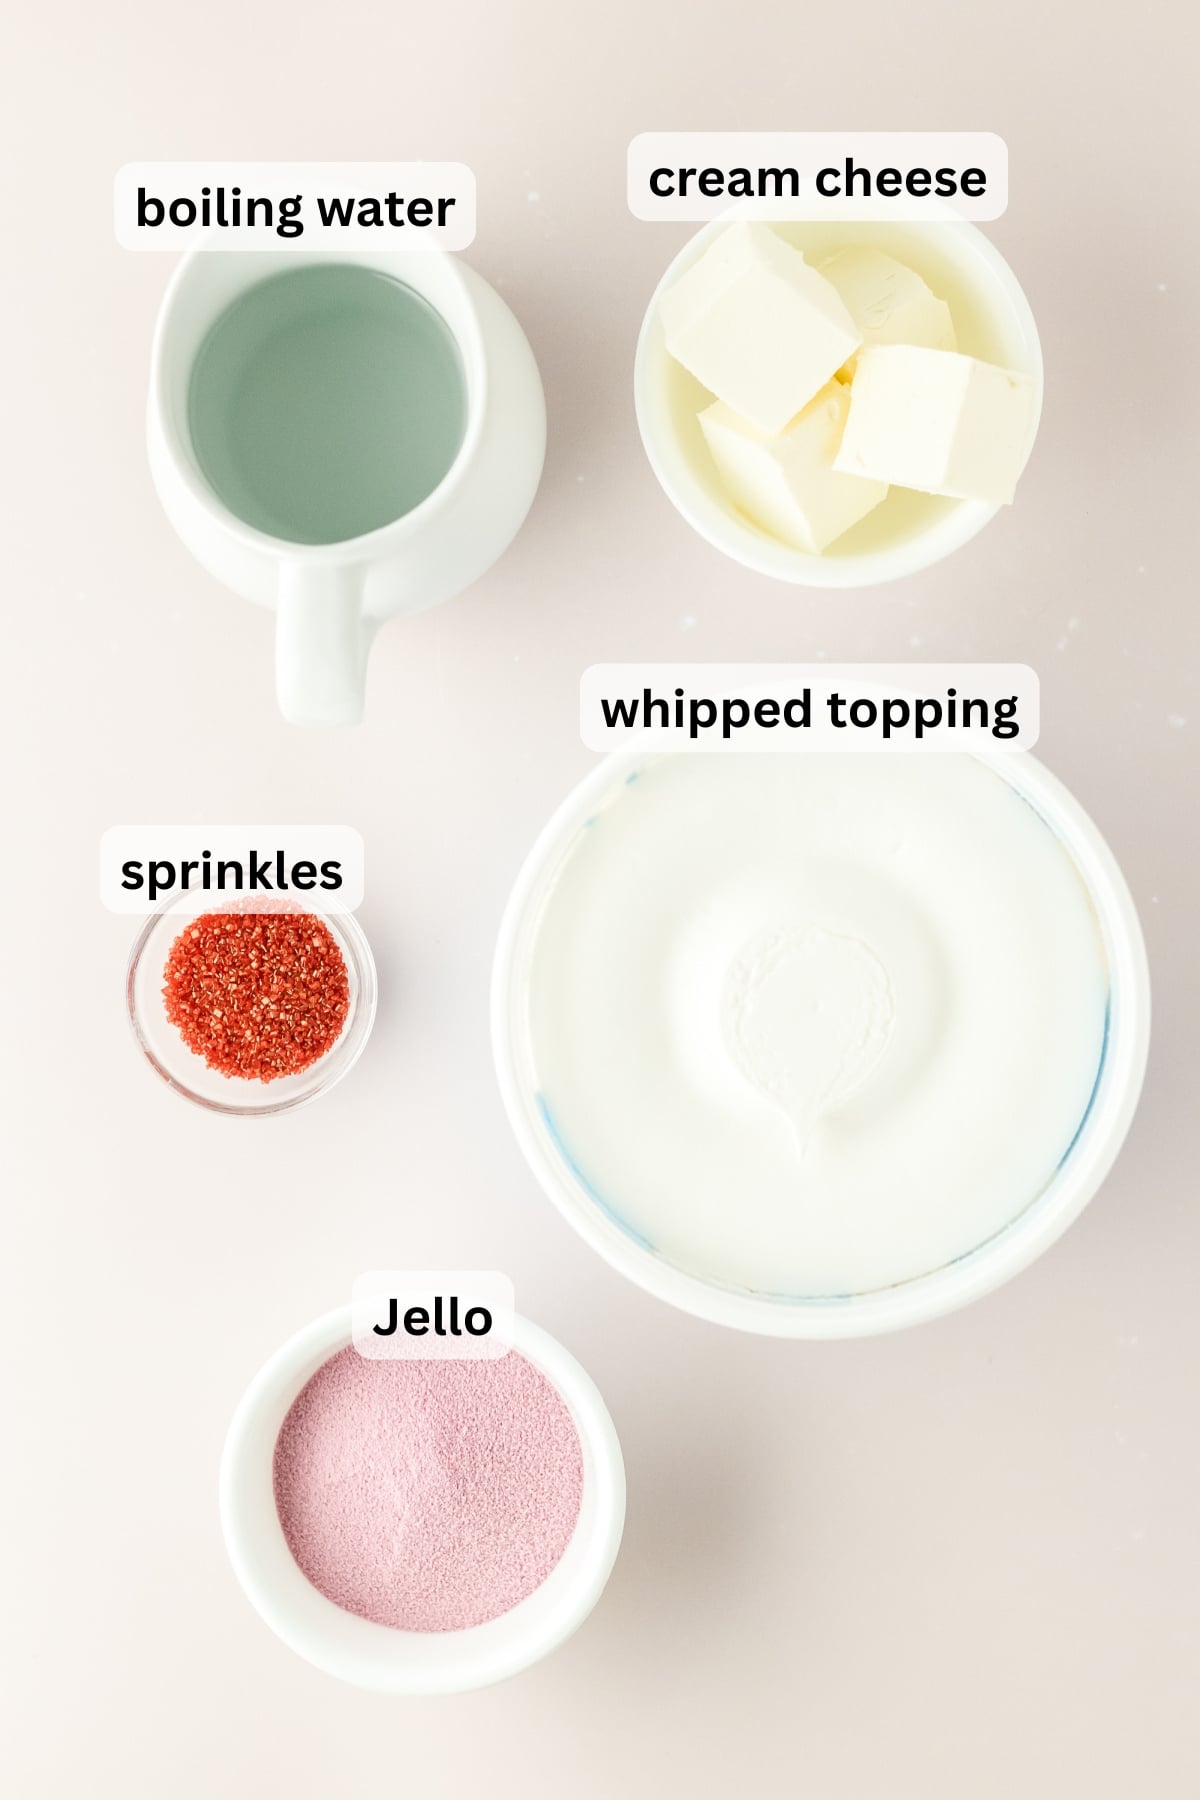
- Jello: The star ingredient that creates the fruity flavor, bright color, and signature jiggle in every parfait.
- Boiling water: Essential for fully dissolving the gelatin powder so the texture stays perfectly smooth.
- Cold water: Helps cool the gelatin mixture quickly and prepares it for setting.
- Cream cheese: Adds richness, tanginess, and turns the second layer into a creamy mousse-like filling.
- Whipped topping: Creates the light fluffy texture that makes these parfaits extra indulgent.
- Sprinkles, fruit, or mint: Adds visual appeal, festive flair, and fresh finishing flavor.
See the recipe card below for the exact quantities of each ingredient.
Variations
- Add Fruit: Fresh fruits like blueberries, diced strawberries or pineapple and well drained canned fruit like mandarin oranges, diced peaches, pears or fruit cocktail are wonderful additions to the jello layer.
- Swap Jello: Strawberry, raspberry, cherry, orange, lemon, lime, blue raspberry, watermelon, and berry blue all work beautifully. Holiday-themed colors and flavor combinations also make these parfaits extra fun for special occasions.
- Get Fancy: Using a muffin pan and the right size cups you can tilt the glasses when you add the first and second layers giving you a diagonal line instead of horizontal. A muffin pan works well to hold each glass in place at an angle while moving in and out of the refrigerator.
- One Serving: Layer everything in a trifle dish or glass serving bowl for a dramatic dessert centerpiece. Just note that larger dishes will require extra chilling time for the layers to fully set and depending on the size of your dish you may want to double all of the ingredients.
How to Make Jello Parfaits
Don't let the layered look fool you, these Jello Parfaits are wonderfully easy to make. Just a few simple steps and some chill time stand between you and a gorgeous dessert everyone will love.
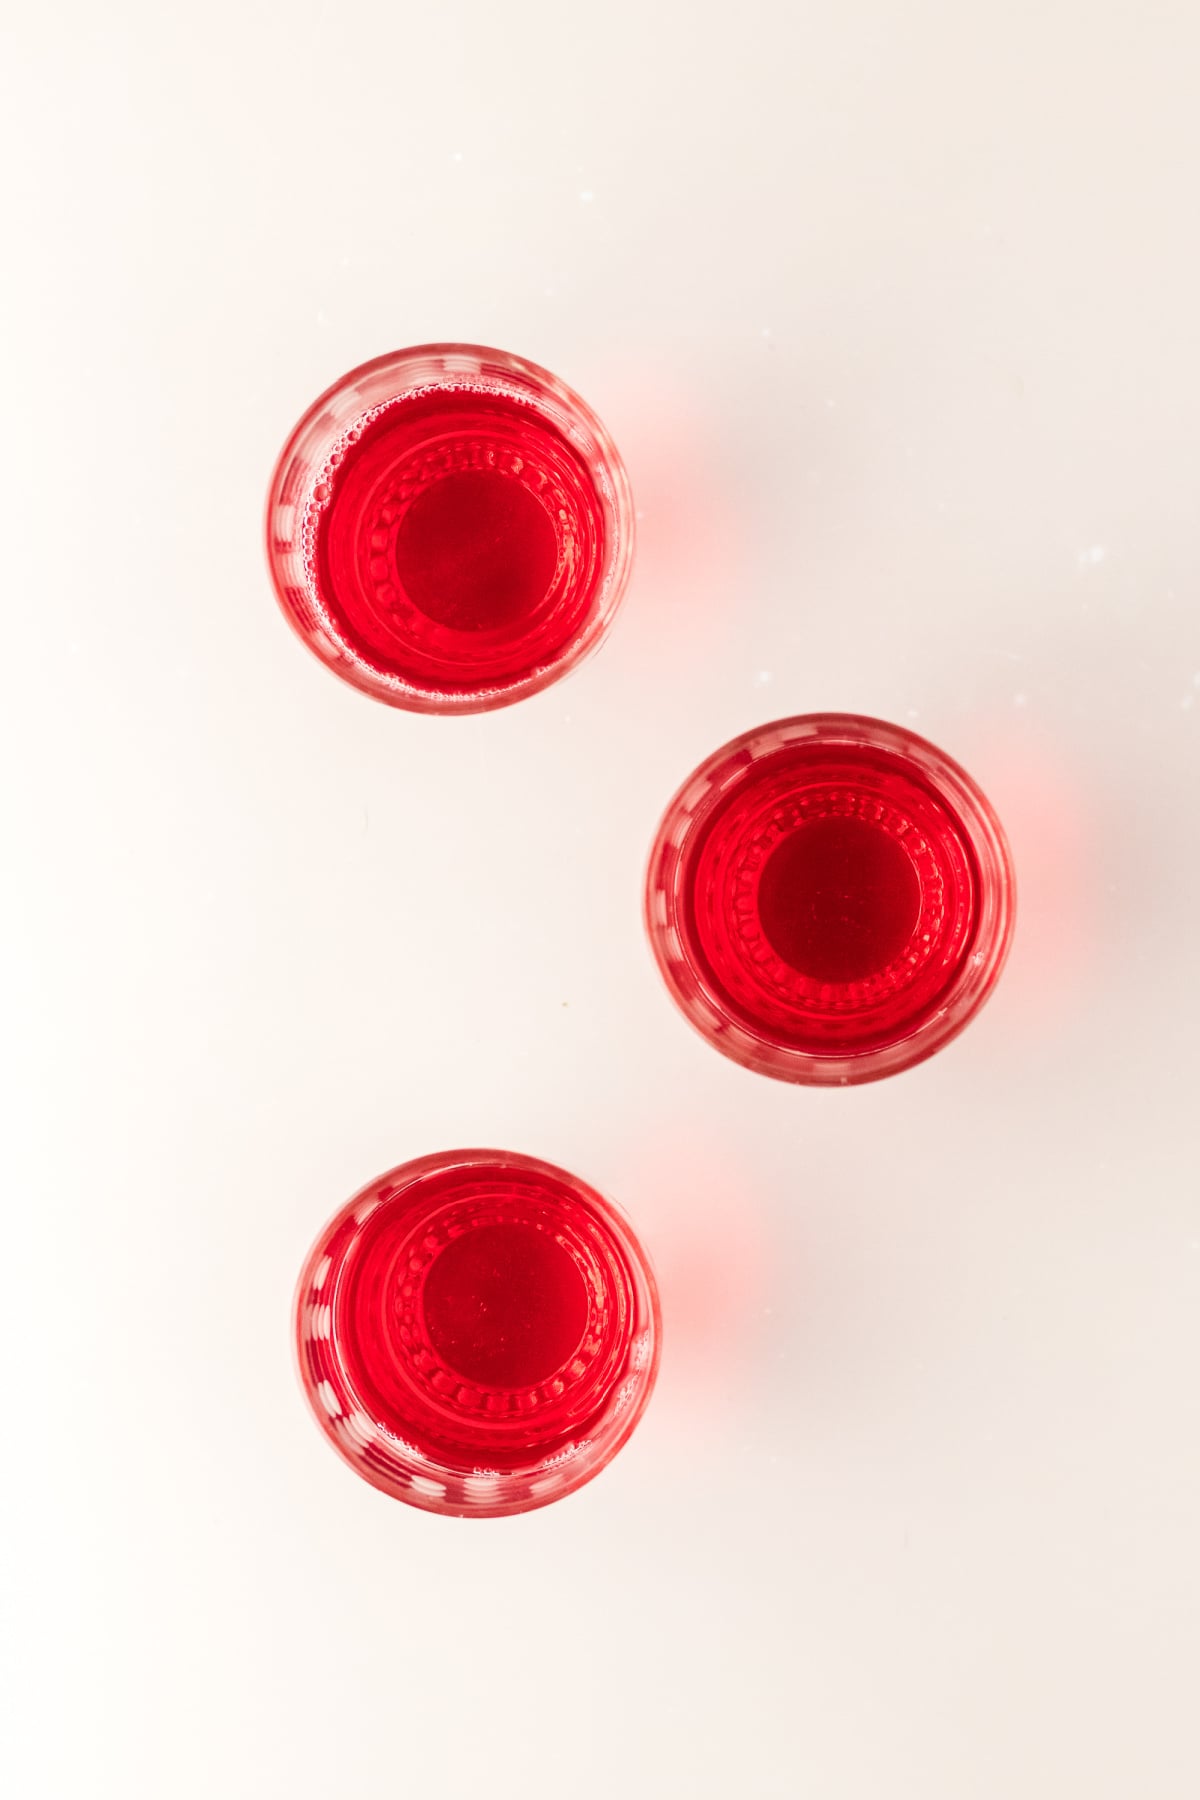
Step 1: First Jello layer. In a medium mixing bowl or a large glass measuring cup, whisk one package of jello with 1 cup boiling water. Stir until all of the granules have completely dissolved. Once the powder has dissolved, add 1 cup of cold water.
Divide the mixture evenly among your serving cups. Fill each one only halfway or so. Pop them in the fridge to chill until firm. This could take between 30-60 minutes depending on the size of serving dish you use.
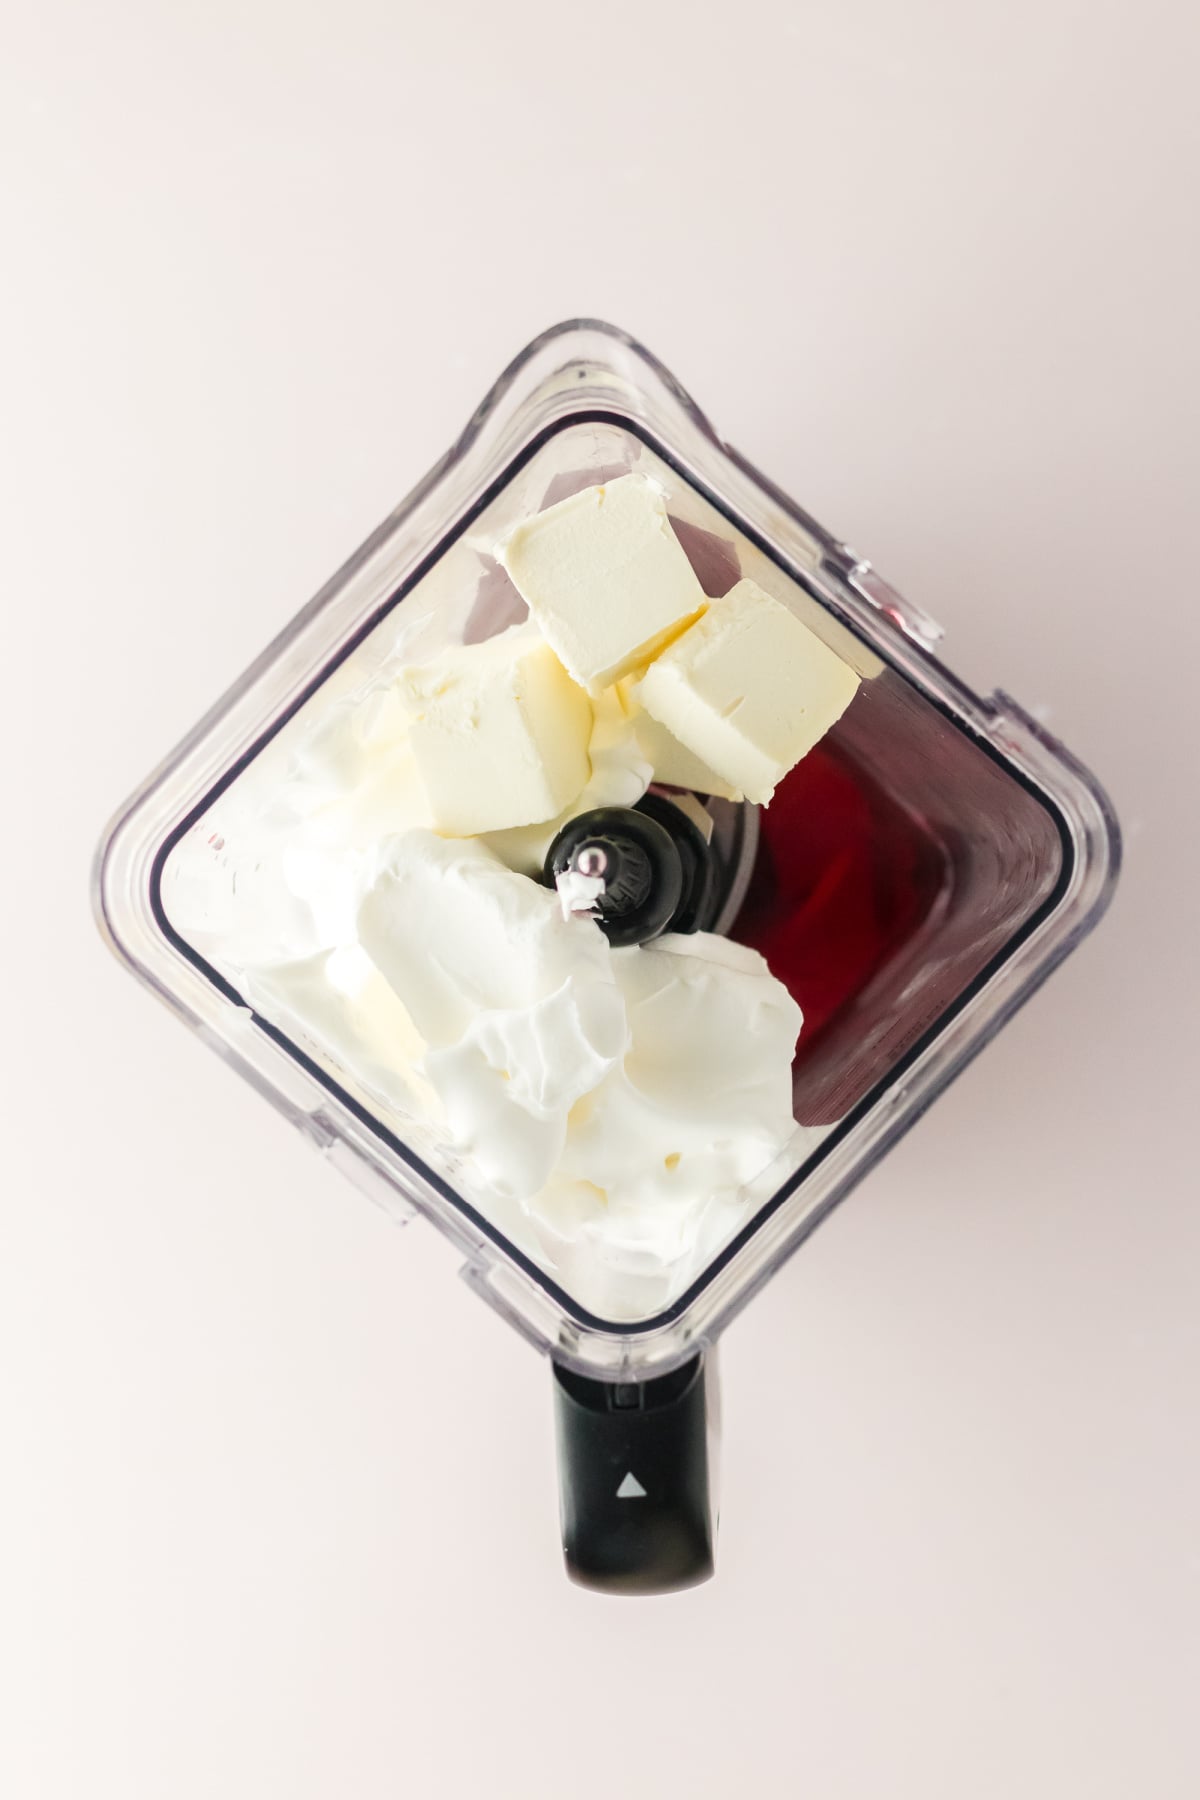
Step 2: Second creamy layer. Once the first layer is firm, start on the second layer. In your medium mixing bowl, combine the second box of jello with 1 cup boiling water. Whisk until the jello mix has completely dissolved. Cool for 15 or 20 minutes in your fridge, no longer, until the jello is cool and not set.
Pour the jello mixture into your blender. Add the cream cheese and 4 oz of the whipped topping. Pulse on high speed until completely smooth.
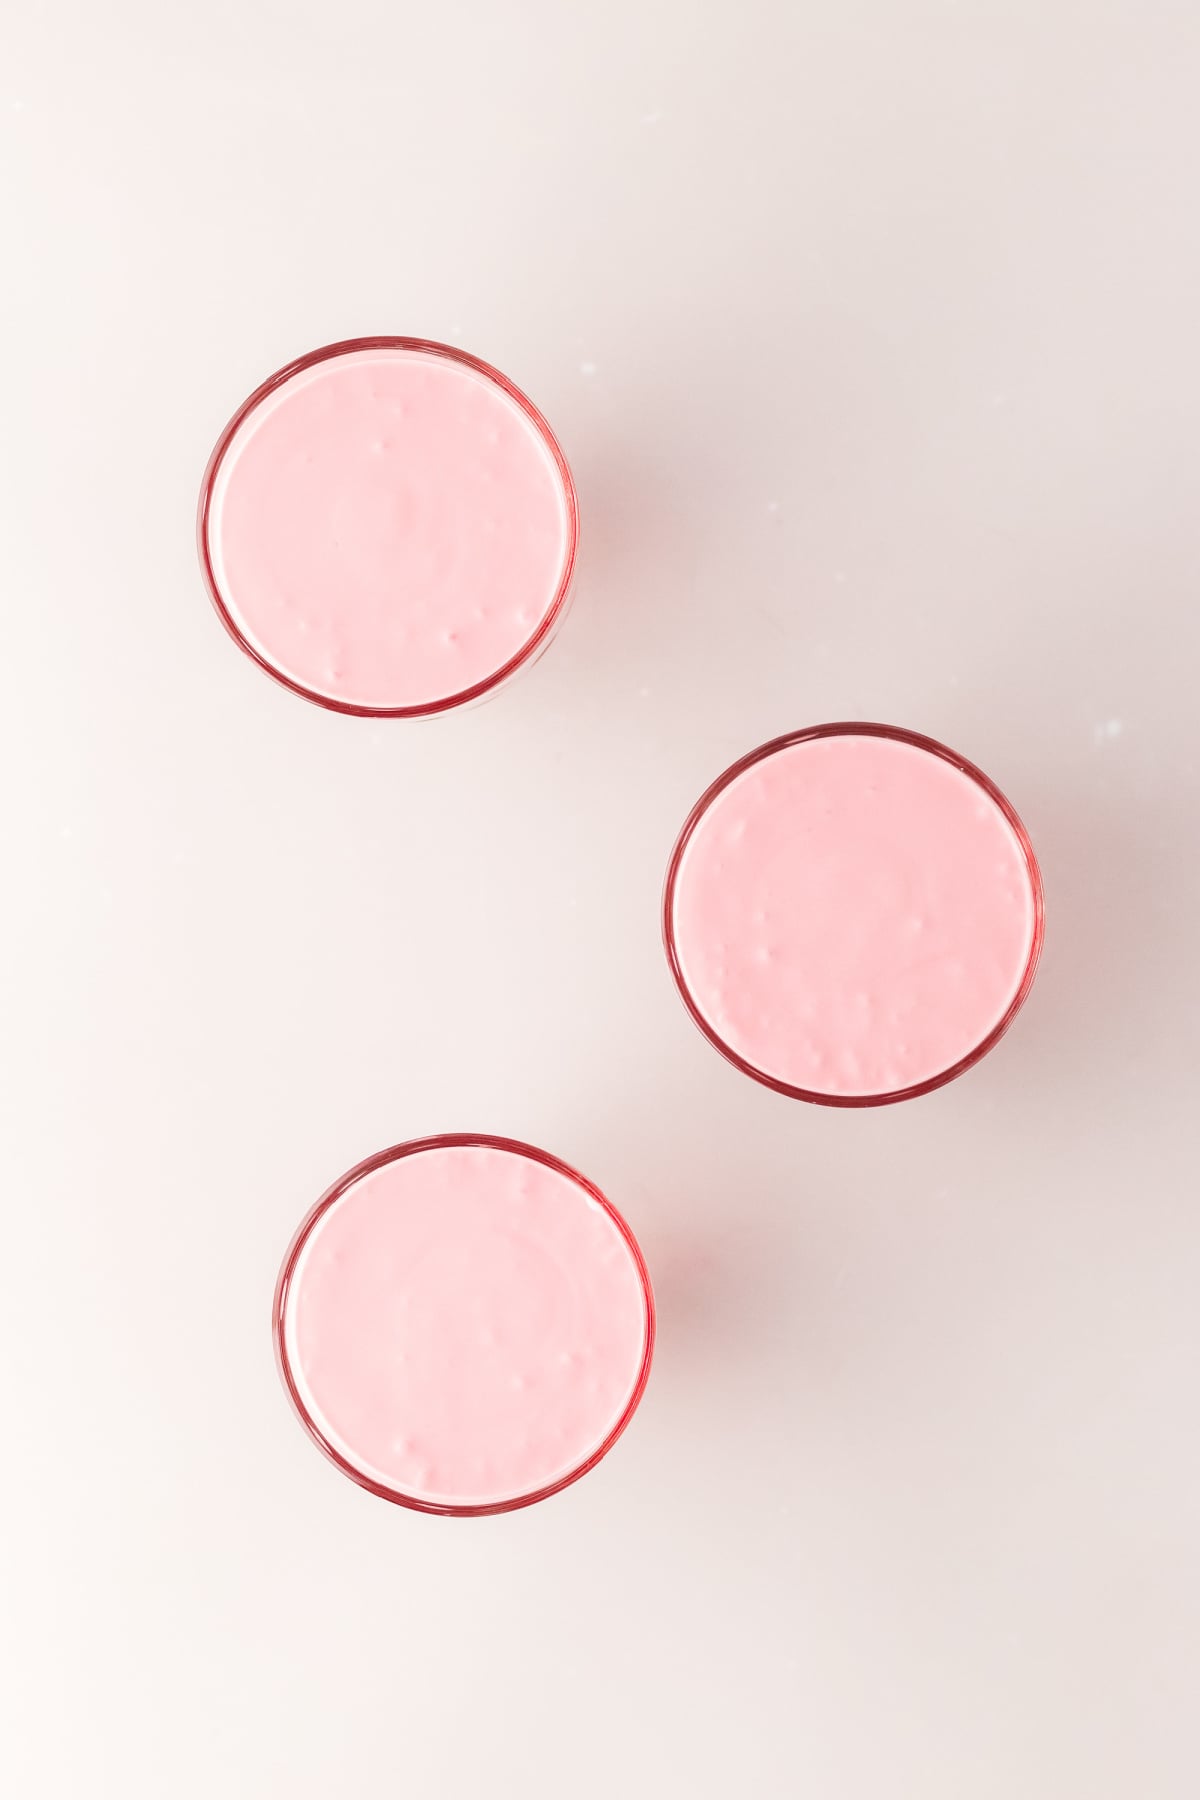
Step 3: Chill until firm. Divide the mixture among your serving dishes and carefully pour or spoon it over the first layer. Pop them in the fridge to chill for 30 minutes or so. This layer won't take as long as the first one.
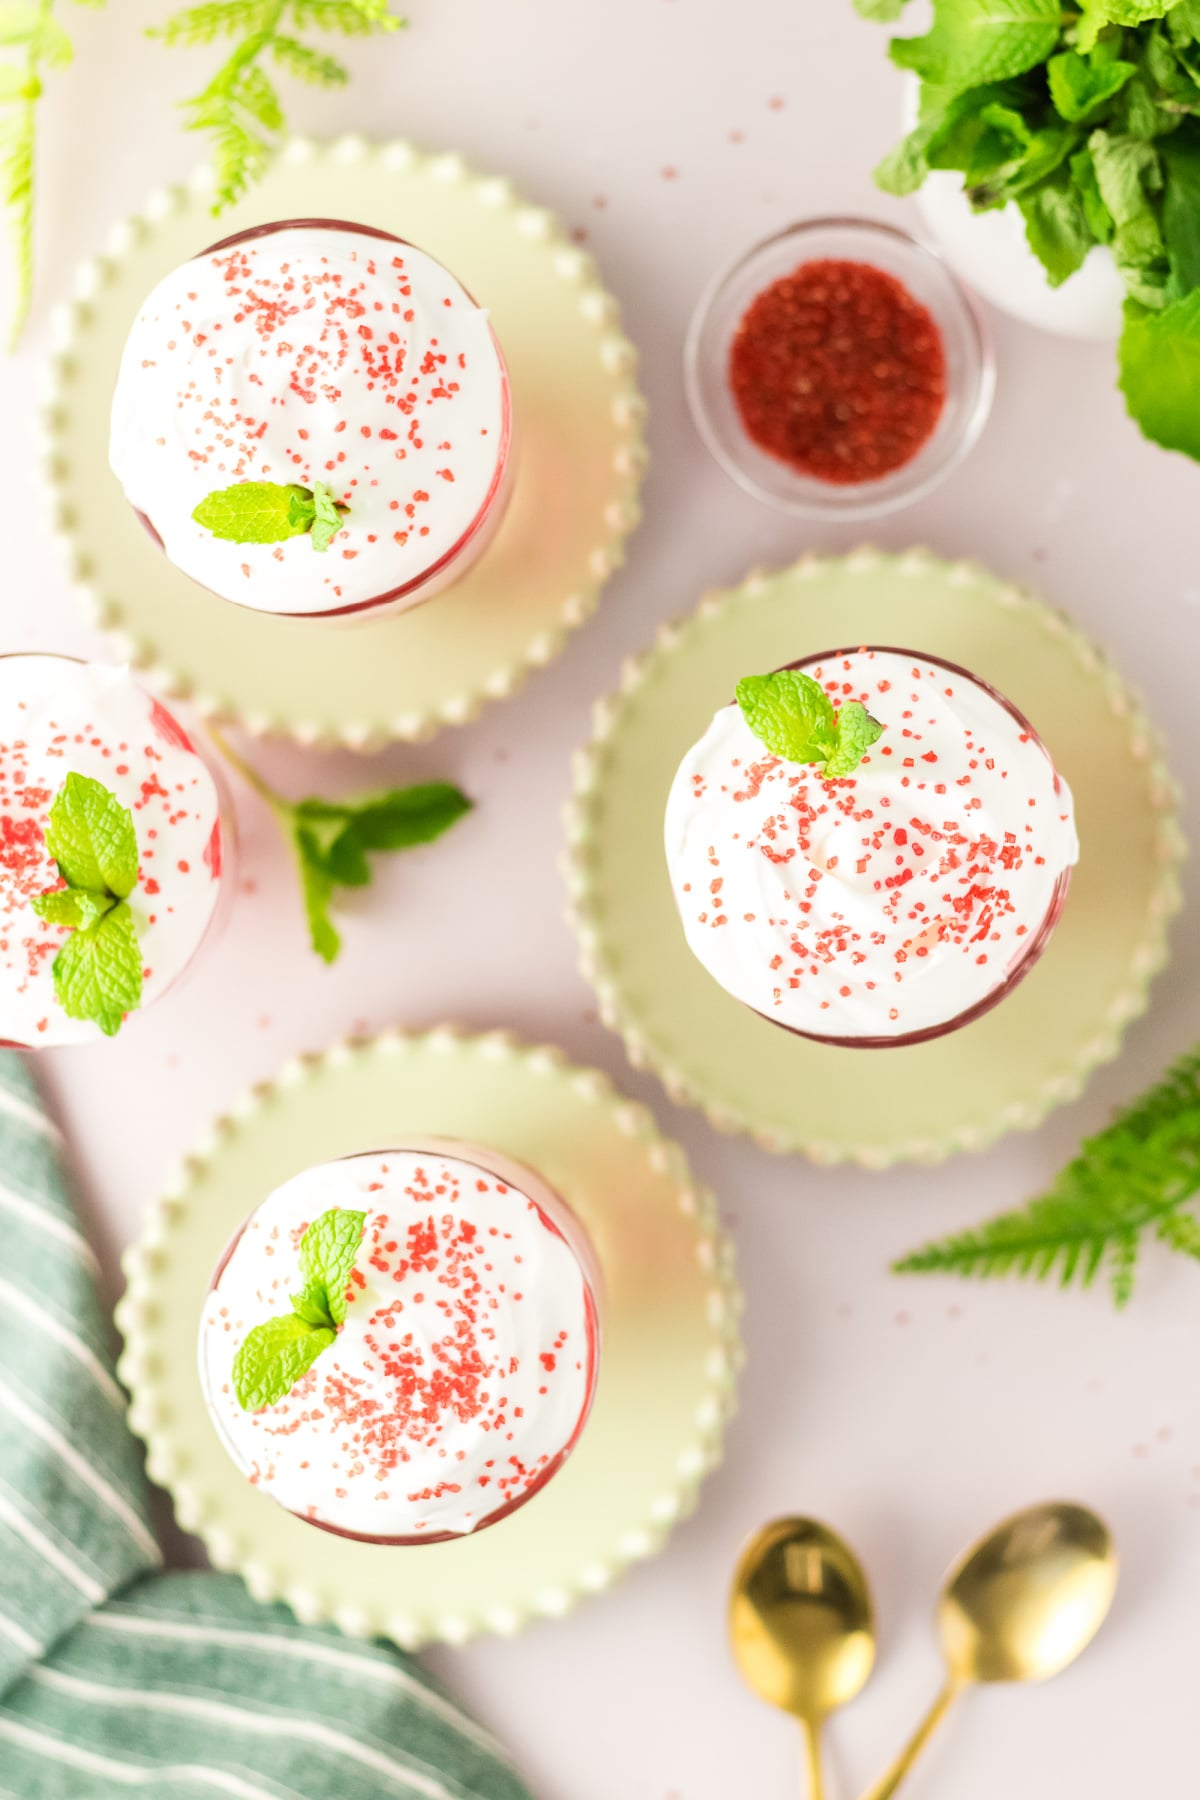
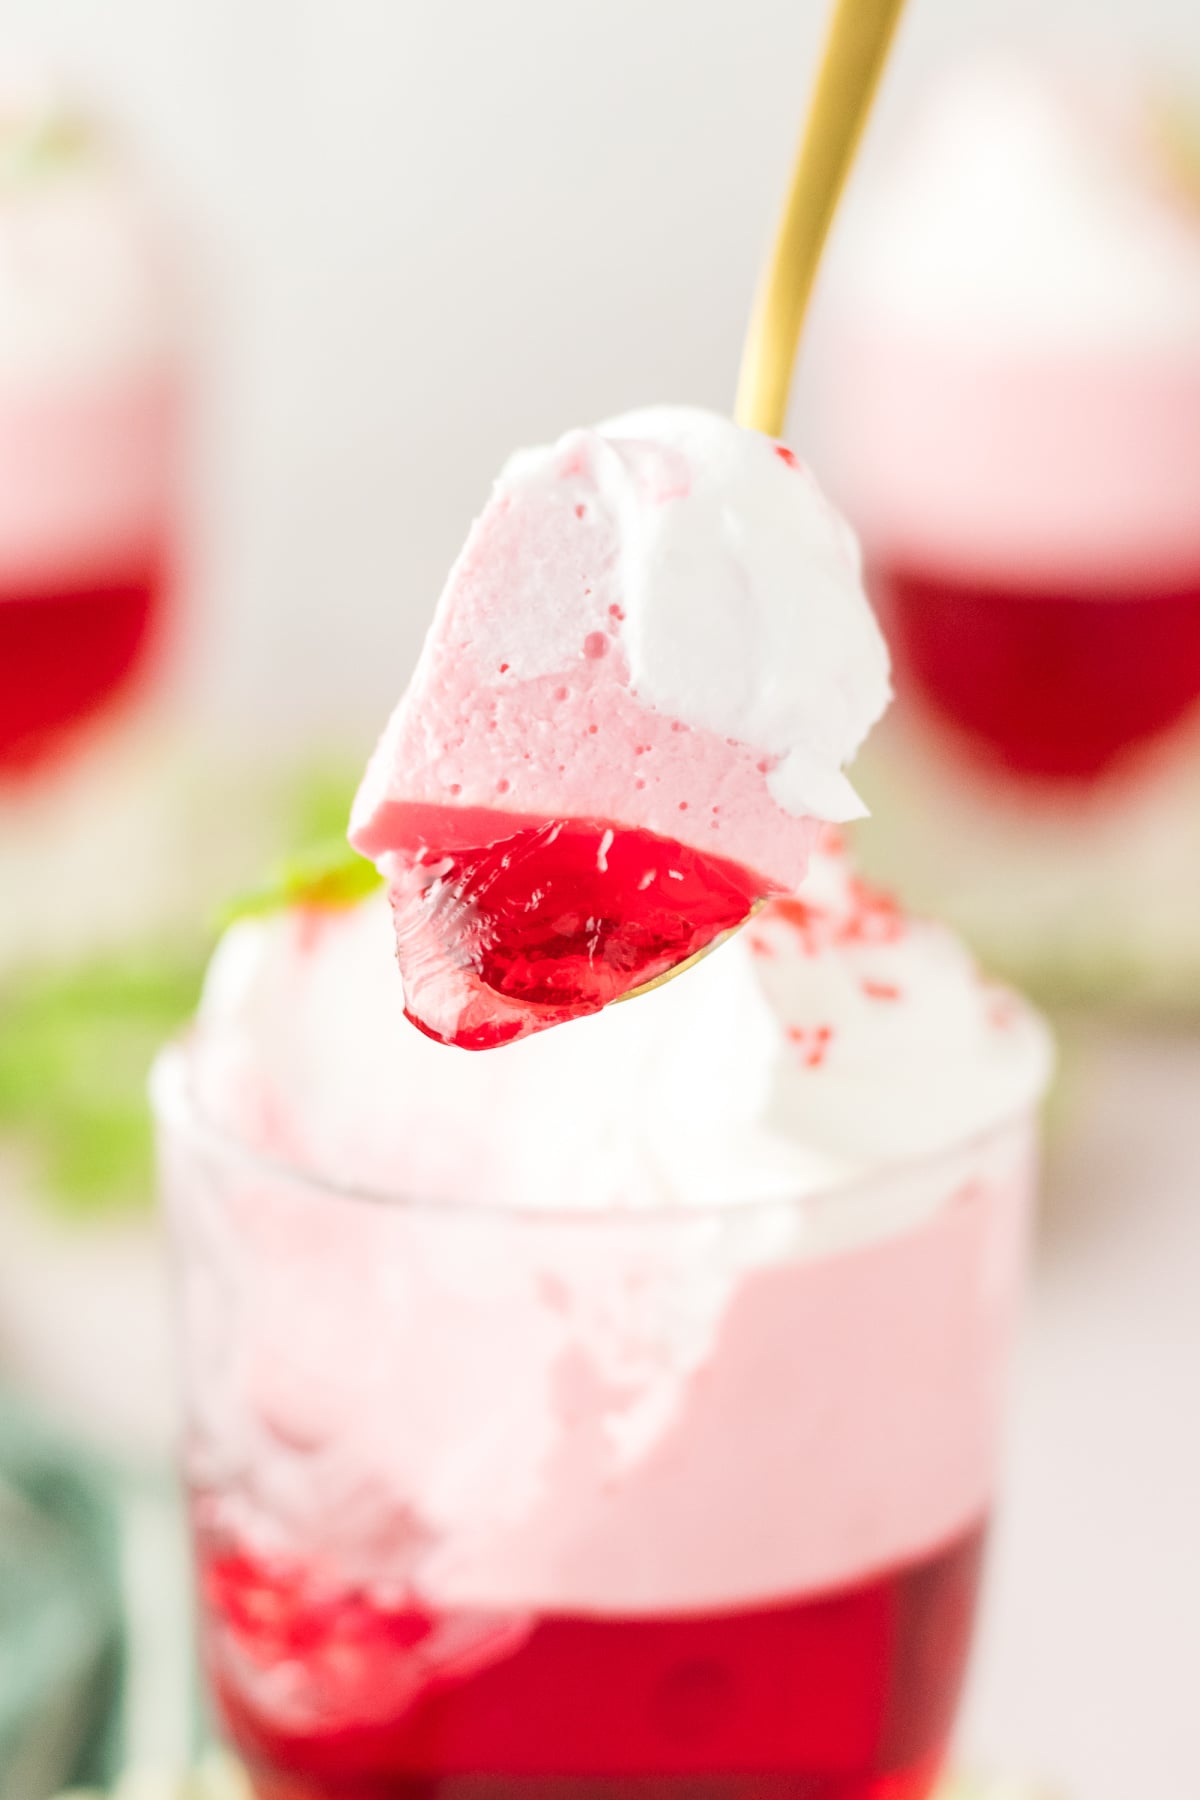
Step 4: Add topping. Once the second layer is firm, top each parfait with the remaining whipped topping and garnish with sprinkles and mint leaves. Enjoy once topped!
Jello Parfaits Expert Tips
- Cool the second gelatin first: Warm gelatin will deflate your whipped topping and create a runny filling so make it first and set it aside until needed.
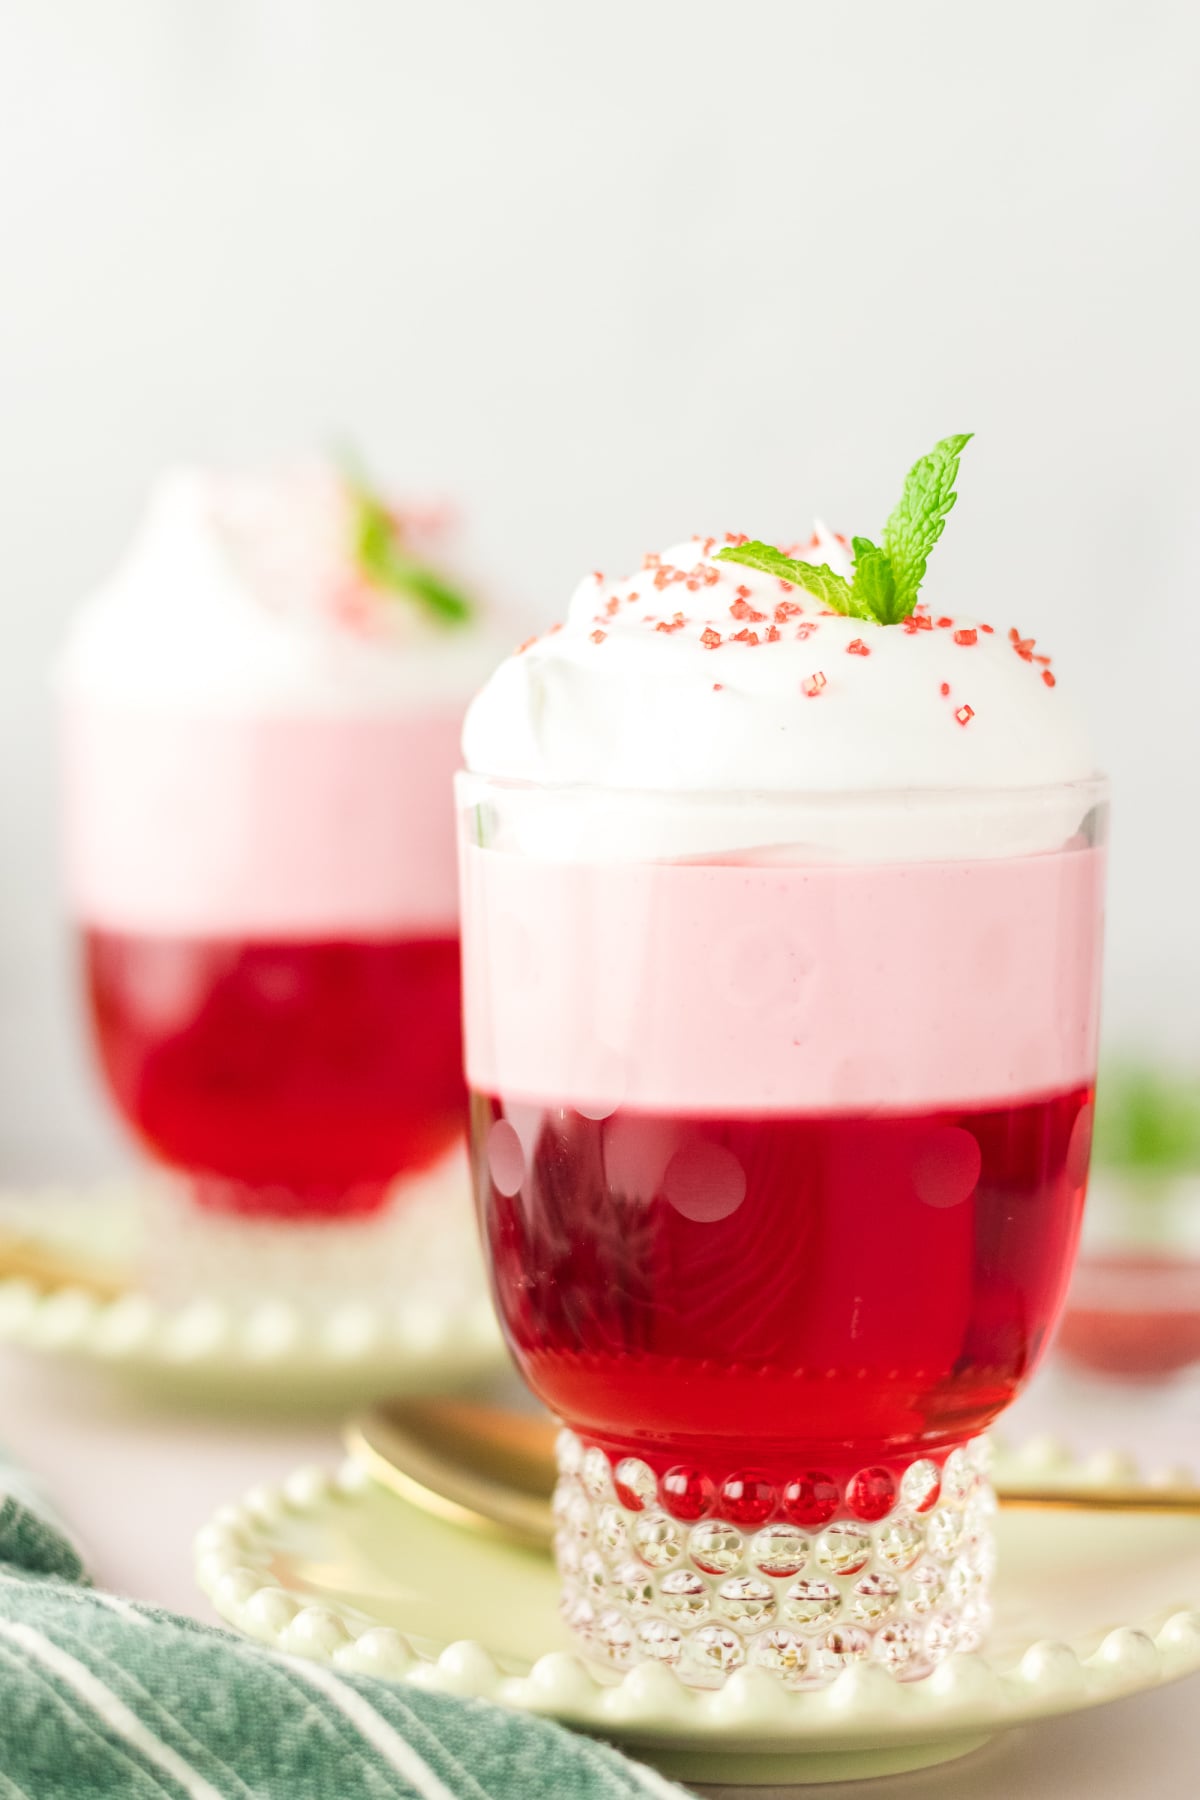
- Choose clear serving glasses: The colorful layers look extra beautiful when visible.
- Don't rush chilling time: Fully set layers keep your parfaits neat instead of blending together.
- Pour carefully: A spoon held over the first layer while pouring very slowing helps soften the pour and keeps layers distinct. You don't want to disturb the first layer so make sure the second layer is at room temperature. If it is too hot, you run the risk of melting the first layer.
- Pipe the whipped topping: Using a piping bag or resealable bag with the corner cut off to add the topping gives these parfaits a bakery-worthy presentation.
- Add topping just before serving: Fresh toppings stay prettier and crisper this way.
If you love recipes like this, you may also enjoy red, white and blue jello cups that you can make any colors you want and our jello sugar cookies.
Storage Directions
Refrigerator: Cover each parfait tightly with plastic wrap or store in airtight containers for up to 3 days. The texture is best within the first 48 hours.
Freezer: Freezing is not recommended. Gelatin can separate and become watery once thawed, and whipped topping loses its smooth texture.
Make Ahead: Prepare the layered parfaits up to 24 hours in advance, but add final whipped topping garnishes shortly before serving for the freshest presentation.
Serving Suggestions
- Serve alongside rainbow cupcakes, shortbread cookies and our easy strawberry pie for a colorful dessert spread.
- Pair with fresh fruit kabobs for a lighter dessert addition.
- Serve after BBQ favorites like burgers, hot dogs, or pulled pork.
- Include on holiday dessert trays with festive toppings.
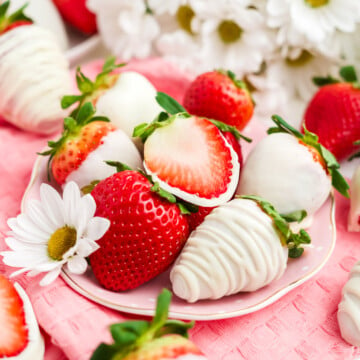
- Pair with white chocolate strawberries for an elegant finish.
Jello Parfaits Recipe FAQs
This usually happens when the gelatin wasn't fully dissolved, the water measurements were off, or the mixture didn't chill long enough. Be sure to whisk until every granule disappears and allow enough refrigerator time for each layer to fully firm before adding the next.
Because these contain cream cheese and whipped topping, they shouldn't sit at room temperature for more than about 2 hours. Keep them chilled until serving for food safety and best texture.
Yes. Sugar-free gelatin works well in this recipe if you'd like a lighter dessert option. Be sure to use the same package sizes for the best consistency.
Always allow each layer to fully set before adding the next. When pouring the creamy layer, spoon it gently over the back of a spoon rather than directly onto the gelatin for cleaner separation.
More Jello Recipes
If you like jello here are some other recipes you may also like to try.


If you try this recipe and love it please leave a star rating in the recipe card below or even better, drop a review in the comment section. I always appreciate your feedback. Be sure to follow along with me on Facebook, Pinterest, and YouTube for more easy recipes!
Jello Parfait
Equipment
- 4-6 serving glasses or dishes, preferably clear
- blender or immersion blender
Ingredients
- 2 boxes (3 oz) jello or 85g each (any flavour), divided
- 2 cups boiling water or 16 fl.oz, 500ml, divided
- 1 cup cold water or 8 fl.oz, 250ml
- ½ brick (4 oz) cream cheese or 113g, room temperature
- 1 tub (8 oz) whipped topping or 227g, divided
Garnish
- sprinkles
- mint leaves
- fresh fruit
- graham crackers or cookies crushed
- toasted coconut
- citrus zest
- candy pearls
- mini marshmallows
- chocolate shavings
Instructions
- In a medium mixing bowl or a large glass measuring cup, whisk one package of jello with 1 cup boiling water. Stir until all of the granules have completely dissolved. Once the powder has dissolved, add 1 cup of cold water.
- Divide the mixture evenly among your serving dishes. Fill each one only halfway or so. Pop them in the fridge to chill until firm. This could take between 30-60 minutes depending on the size of serving dish you use.
- Once the first layer is firm, start on the second layer. In your medium mixing bowl, combine the second box of jello with 1 cup boiling water. Whisk until the jello mix has completely dissolved. Cool for 15 or 20 minutes in your fridge, no longer, until the jello is cool and not set.
- Pour the jello mixture into your blender. Add the cream cheese and 4 oz or half of the whipped topping. Pulse on high speed until completely smooth.
- Divide the mixture among your serving dishes and carefully pour or spoon it over the first layer. Pop them in the fridge to chill for 30 minutes or so. This layer won't take as long as the first one.
- Once the second layer is firm, top each parfait with the remaining whipped topping and garnish with sprinkles and mint leaves. Enjoy once topped!
Notes
- Cool the second gelatin first: Warm gelatin will deflate your whipped topping and create a runny filling so make it first and set it aside until needed.
- Choose clear serving glasses: The colorful layers look extra beautiful when visible.
- Don't rush chilling time: Fully set layers keep your parfaits neat instead of blending together.
- Pour carefully: A spoon held over the first layer while pouring very slowing helps soften the pour and keeps layers distinct. You don't want to disturb the first layer so make sure the second layer is at room temperature. If it is too hot, you run the risk of melting the first layer.
- Pipe the whipped topping: Using a piping bag or resealable bag with the corner cut off to add the topping gives these parfaits a bakery-worthy presentation.
- Add topping just before serving: Fresh toppings stay prettier and crisper this way.

Leave a Reply