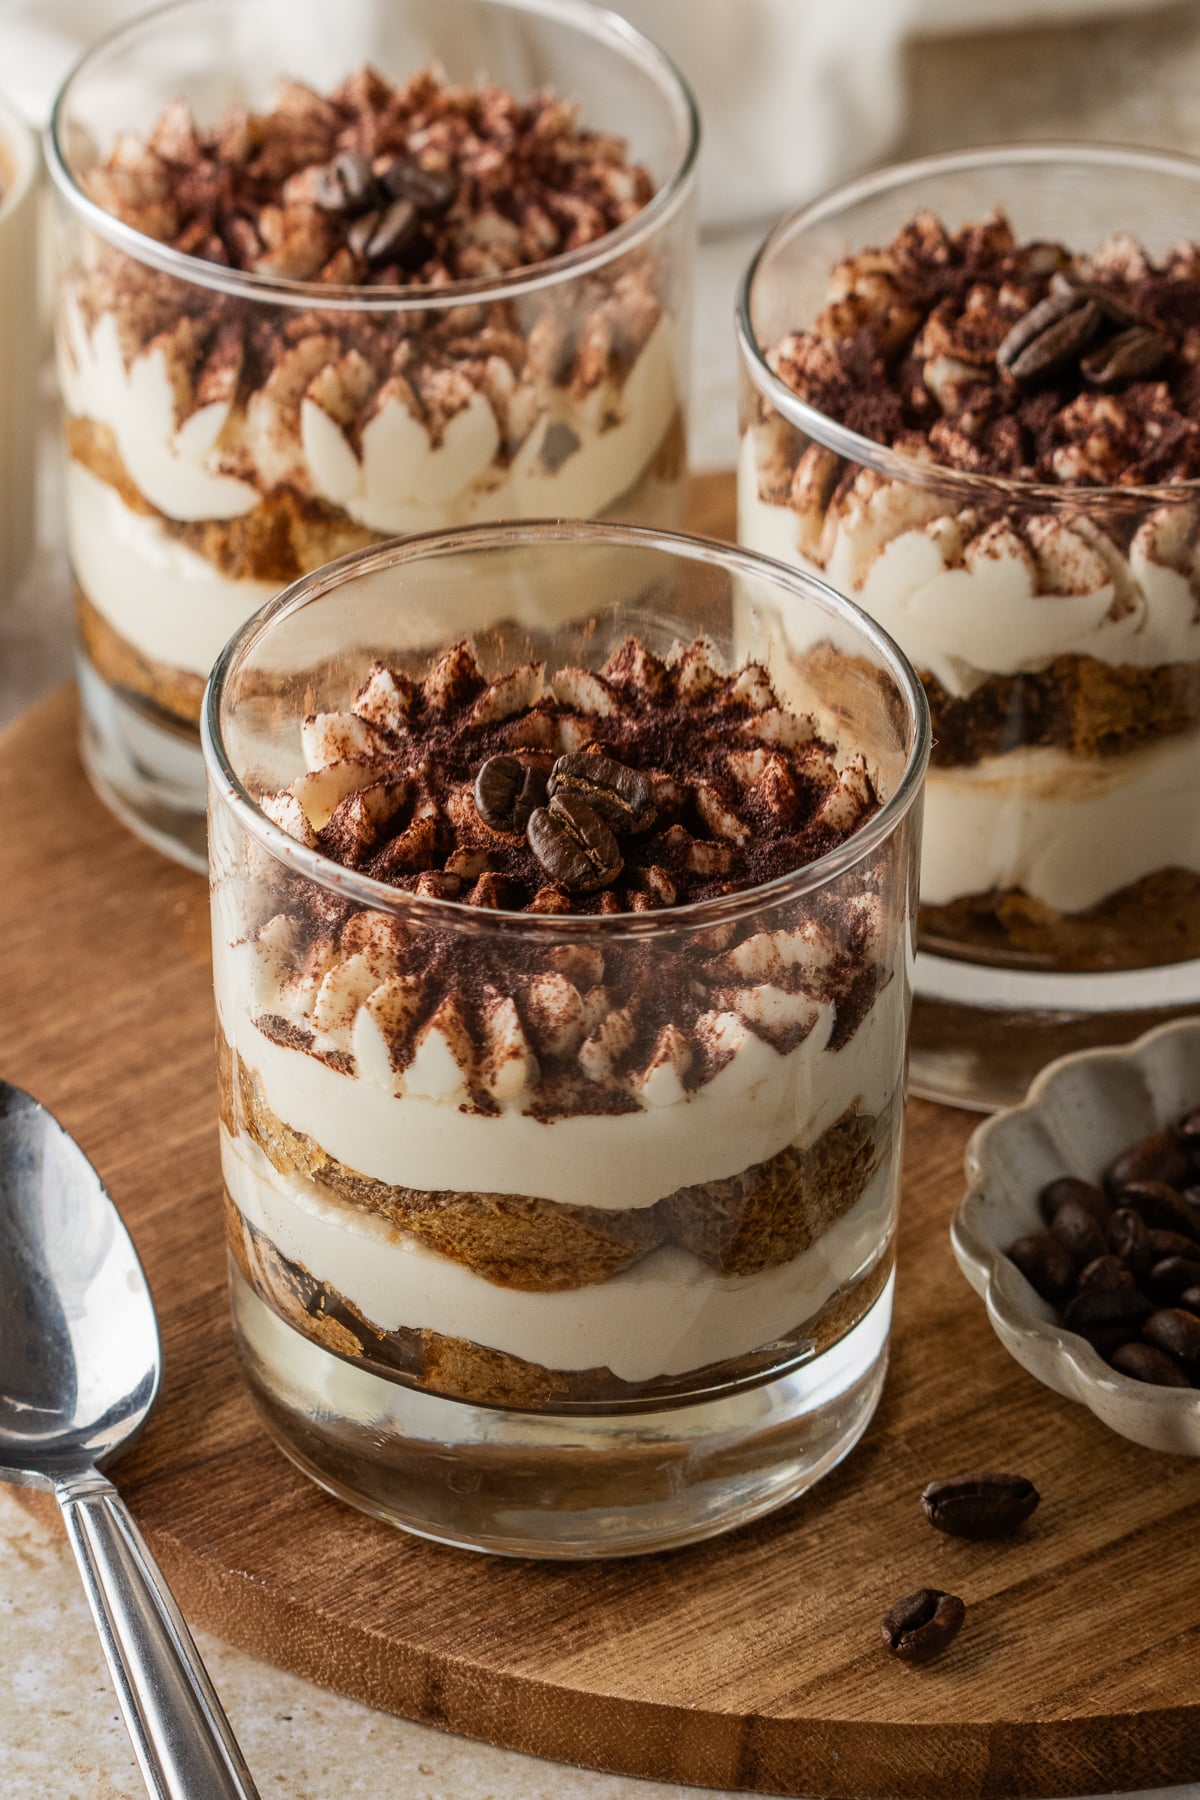
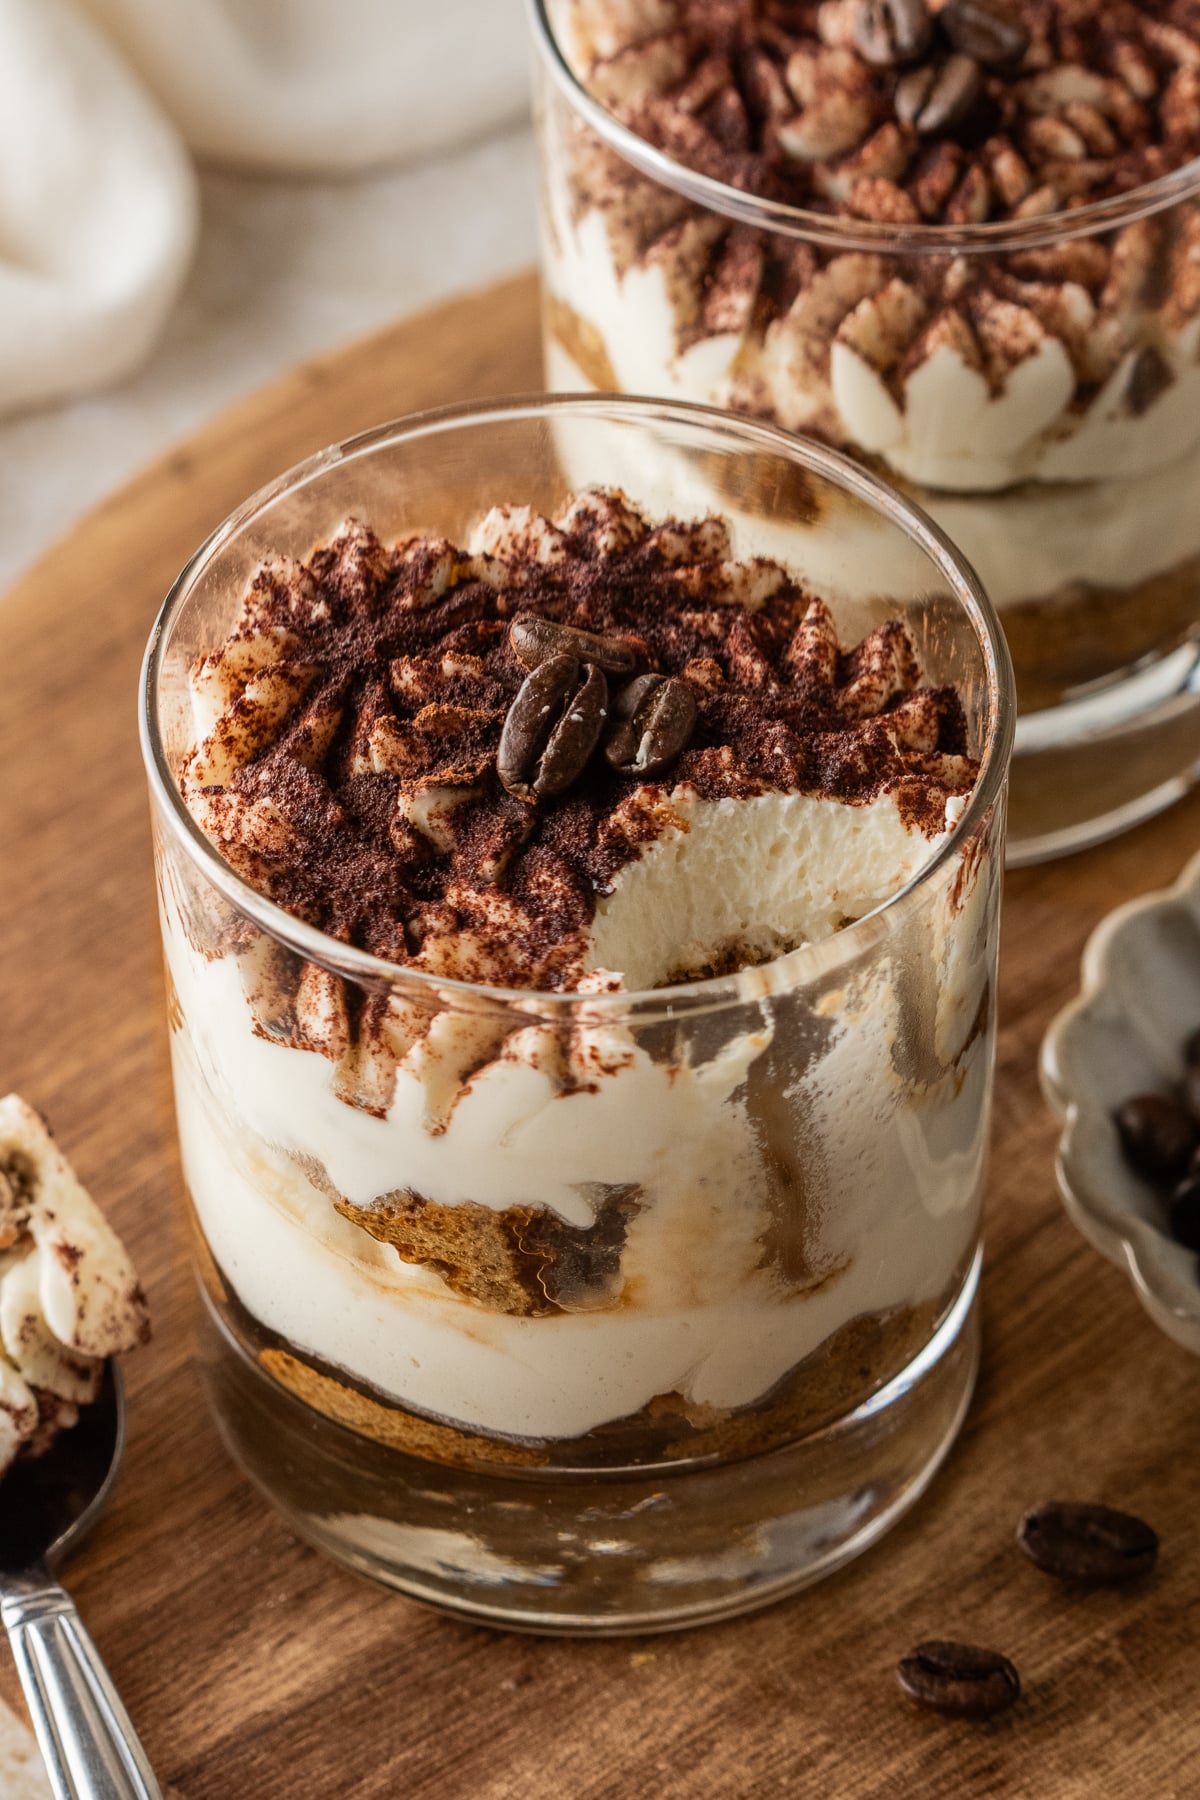
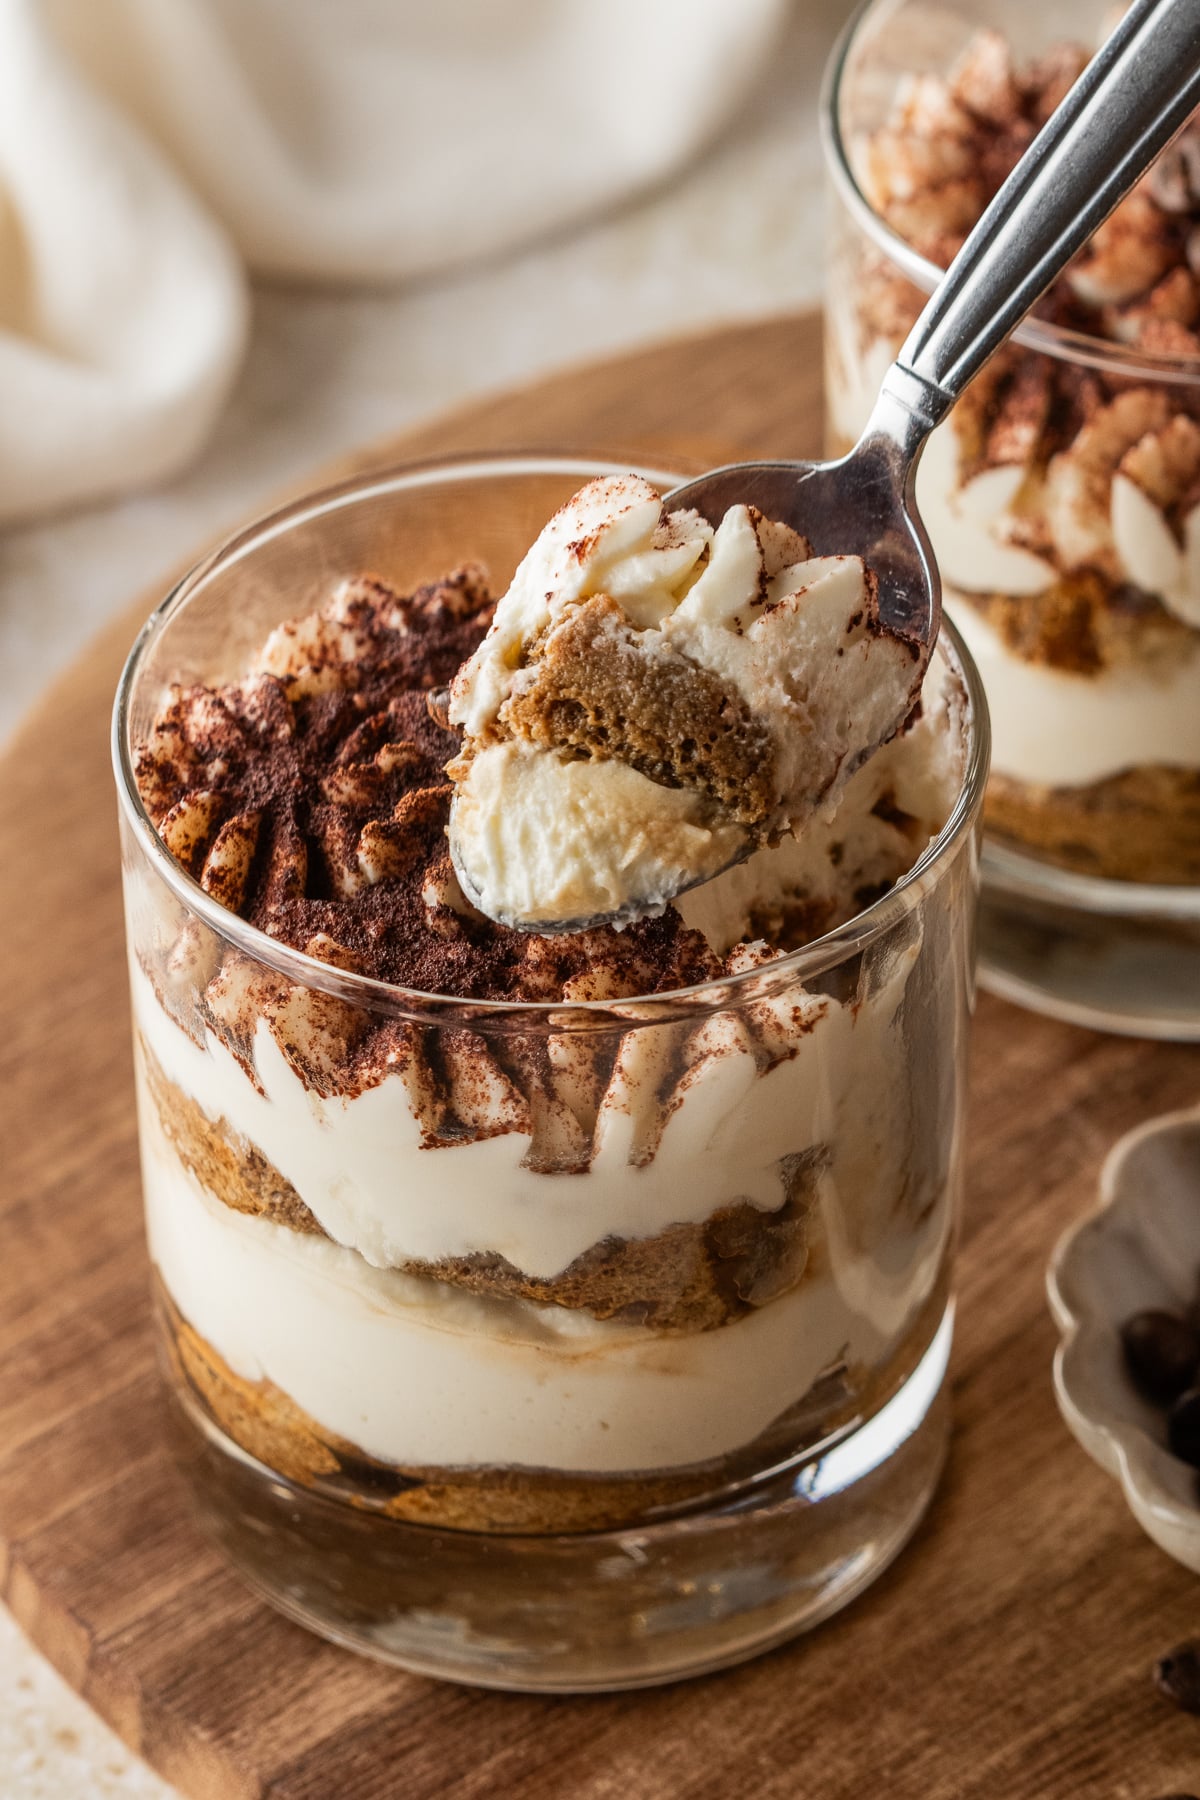
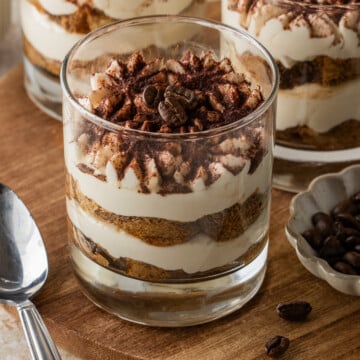
These Tiramisu Cups have all the traditional flavors and textures of classic tiramisu in easy individual servings. Layers of soaked ladyfingers and creamy mascarpone filling are served in clear cups to show off every layer beautifully. Best of all, this dessert is completely no-bake and alcohol-free.
Tiramisu Cups Recipe Essentials
- 🍽️ Course: Dessert
- ⏱️ Cooking Time: 20 min prep • 3 hr chill
- 🍴 Servings: 3 tiramisu cups
- ☕ Flavor Profile: Creamy, rich, coffee-forward, and lightly sweet
- 🍚 Best Served With: Espresso, coffee, or chocolate biscotti
- 🧊 Make Ahead?: Yes, chill for at least 3 hours; keeps up to 3 days refrigerated.
Summarize and Save This Content On
I originally made these tiramisu cups for a dinner party, and now they've become one of my favorite desserts for date night. I always use clear cups because they show off the gorgeous layers and make the presentation feel extra special.
They only take about 20 minutes of work, and while I love this small batch recipe for intimate gatherings, it's also really easy to double or triple for parties.
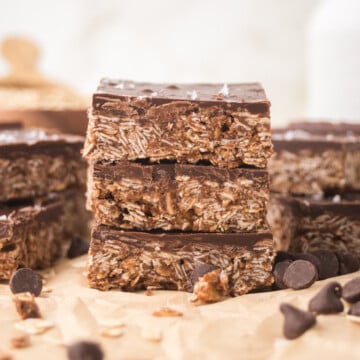
If you like no-bake individual dessert cups, try these banana pudding cups and s'mores parfaits next.
Why You'll Love This Recipe
- Restaurant-quality presentation: The gorgeous layers of tiramisu in a cup are great on their own, but serving them in a cocktail glass or making tiramisu shooters will take the presentation over the top.
- It's make-ahead friendly: Since the tiramisu cups need some time to chill anyway, it's the perfect dessert to make in advance for a special occasion, party, or even date night like our key lime tiramisu.
- There are no eggs or raw dairy: This is a no-bake recipe without any eggs, so there's no worry about raw dairy.
Ingredients
The main components of these tiramisu cups are listed below. All of them are easily found at your local grocery store.
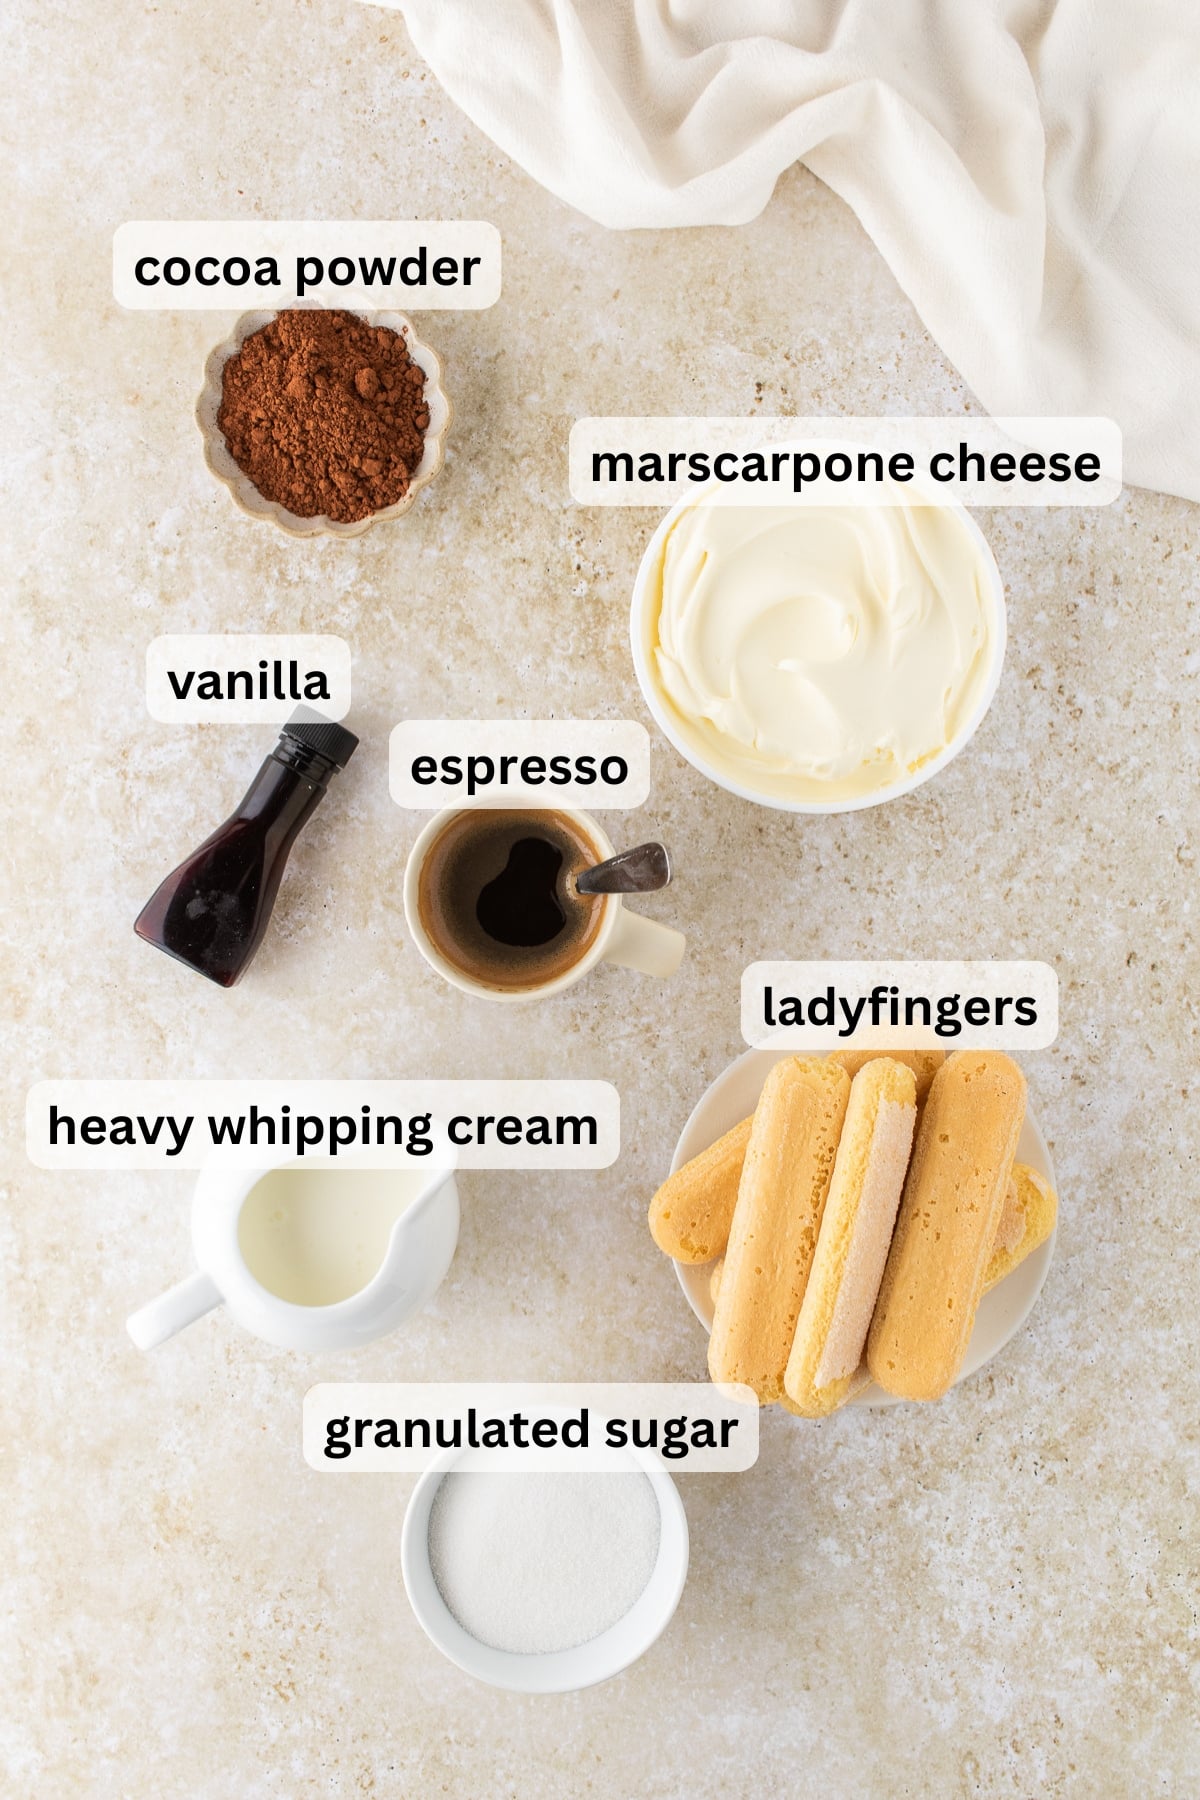
- Mascarpone: This lends that tanginess and creaminess to traditional tiramisu. Allow it to soften to make it easier to work with. Since it's a cheese, you'll find it in the deli section at most grocery stores, not the dairy section. These tiramisu cookies feature mascarpone in the frosting.
- Heavy cream: The cream will whip best when it's cold, so I recommend using it straight from the refrigerator. Heavy cream and heavy whipping cream may be used interchangeably.
- Espresso: After brewing the espresso, allow it to cool completely before dipping the lady fingers in it. This helps to keep them from getting soggy. You can use strong brewed coffee instead of instant espresso.
- Lady fingers: There are soft and crispy varieties of lady fingers. I recommend crispy because they have better structure and can handle the espresso soak better. Biscoff or shortbread cookies work in a pinch, too.
- Cocoa powder: Unsweetened cocoa powder is the best choice for this tiramisu cup recipe. Sift it for a clean finish!
See the recipe card below for exact ingredient amounts, nutritional information, and detailed instructions.
Variations
- Spiked: Make an adult version by adding a tablespoon or two of Kahlua, Marsala wine, or your favorite dark rum.
- Chocolate: Stir a tablespoon of cocoa powder into the mascarpone filling for an even more decadent version. You can even add a garnish of chocolate shavings.
- Kid-friendly: Use decaf coffee or espresso to make it kid-friendly. Even chocolate milk works as a soak for the lady fingers!
How to Make Tiramisu Cups
These are the steps needed to prepare the ingredients and assemble the tiramisu cups. It only takes a few minutes of work to get them ready!
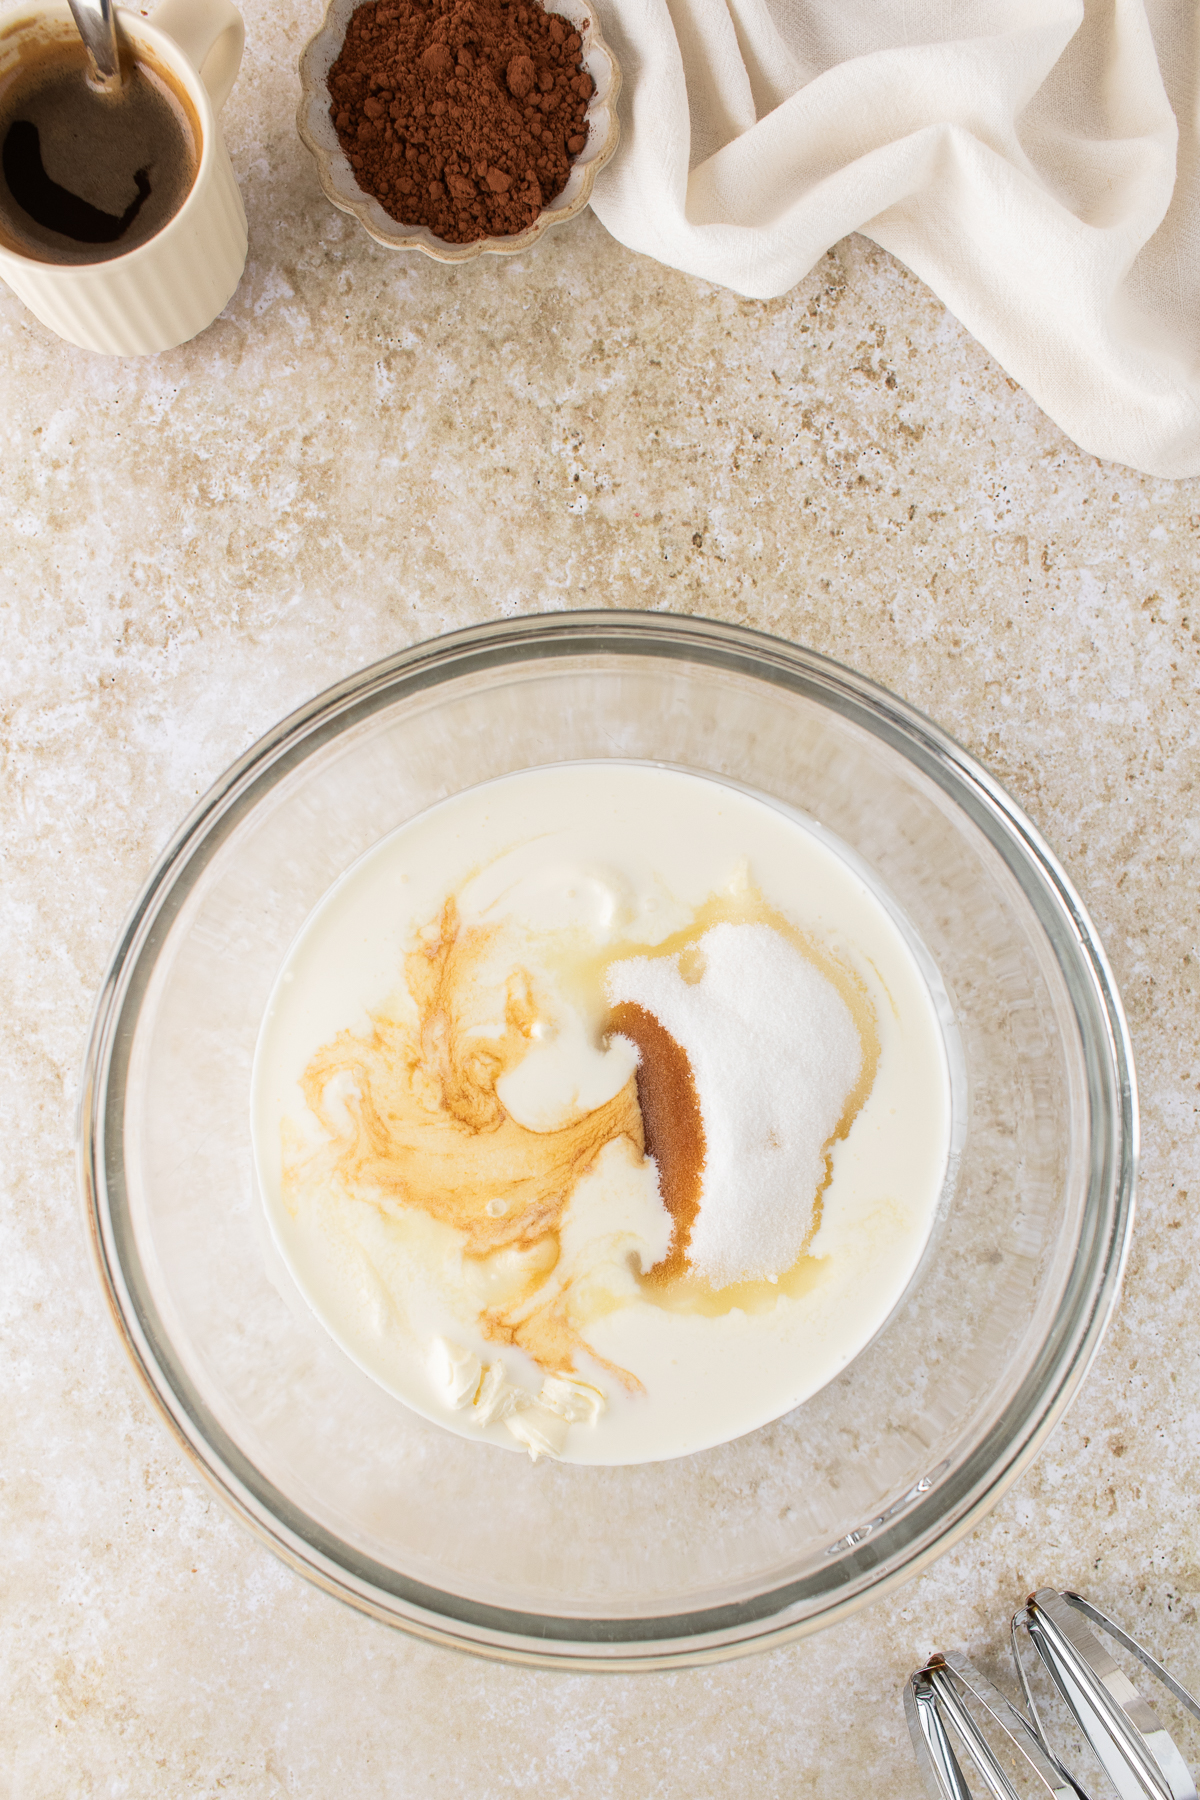
Step 1: Prepare the filling. Combine the mascarpone, cream, vanilla, and sugar in a mixing bowl, and then beat the ingredients until they thicken and become fluffy.
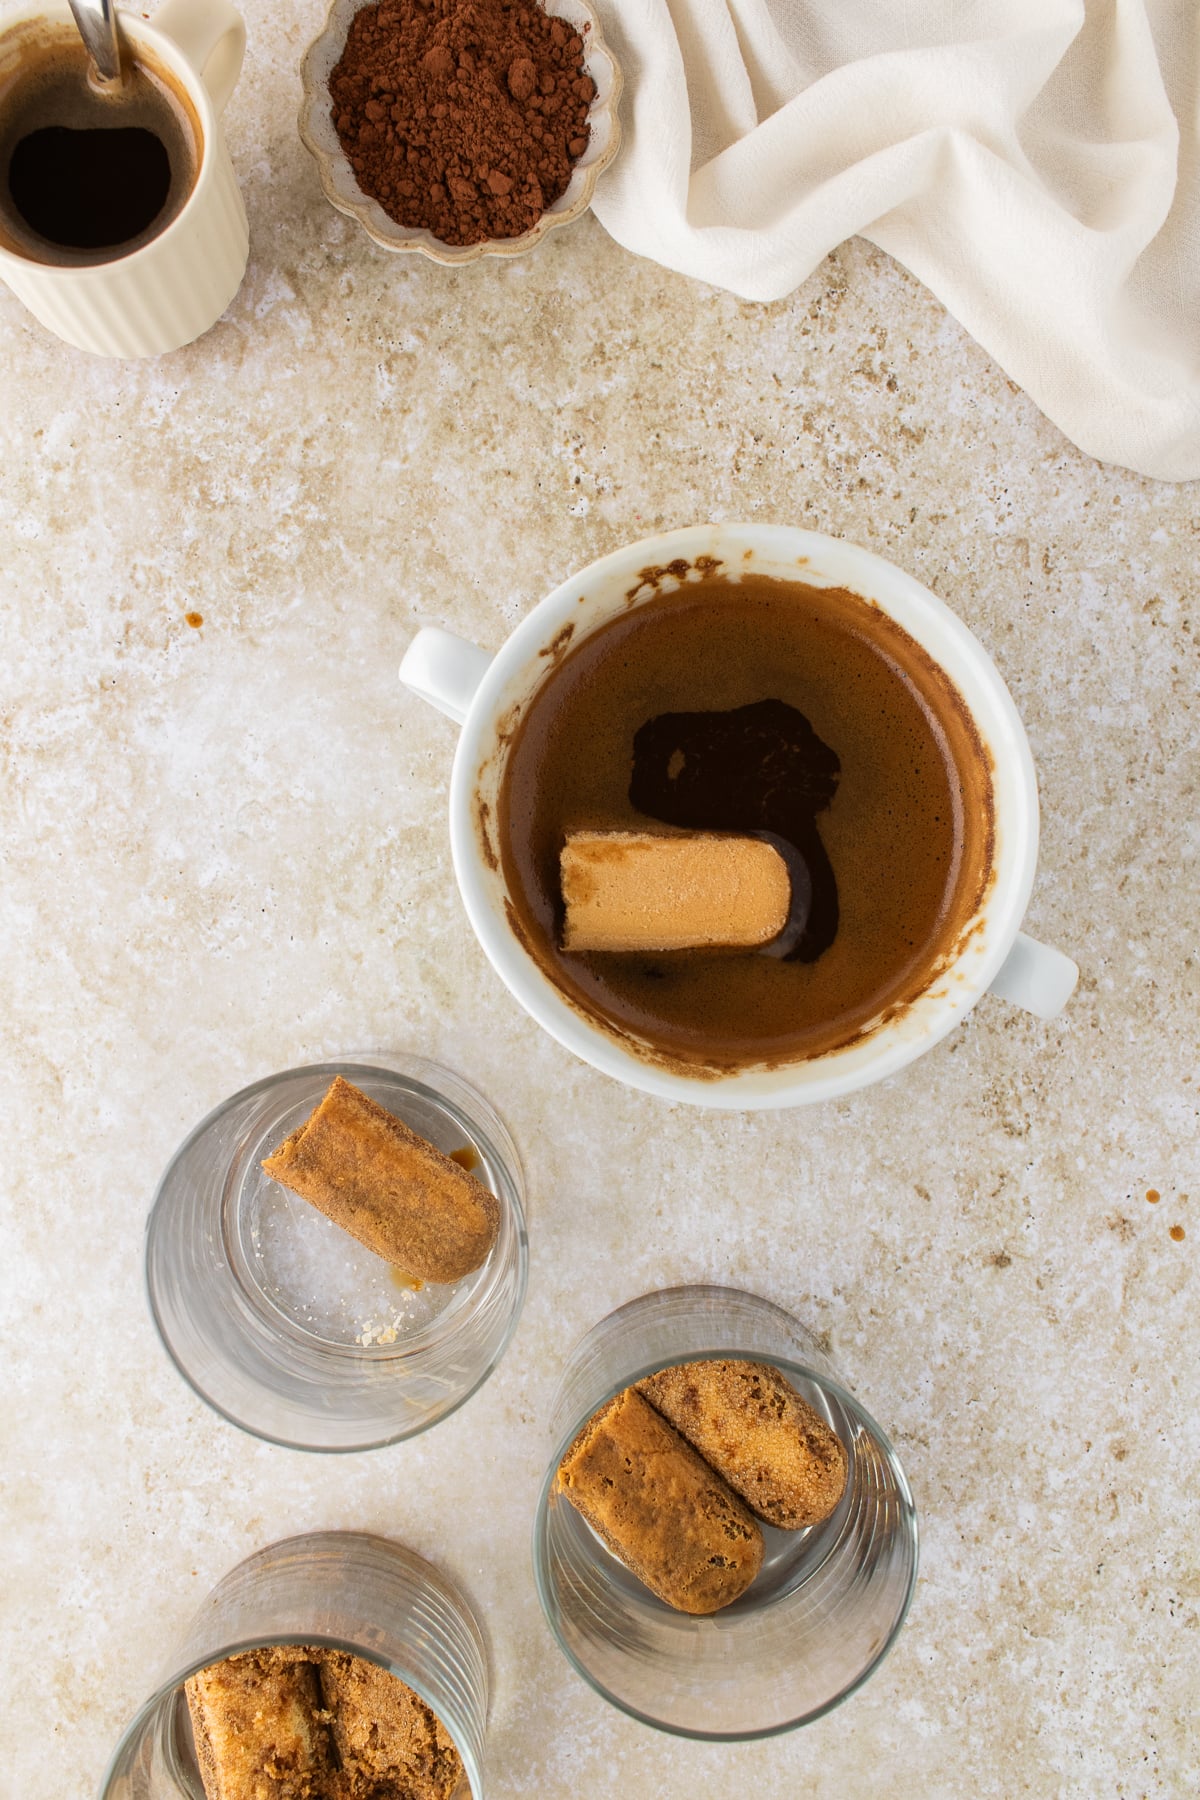
Step 2: Make the espresso and dip the cookies. Brew and cool the espresso before you stir in the sugar. Now you can quickly begin dipping the ladyfingers into the espresso mixture.
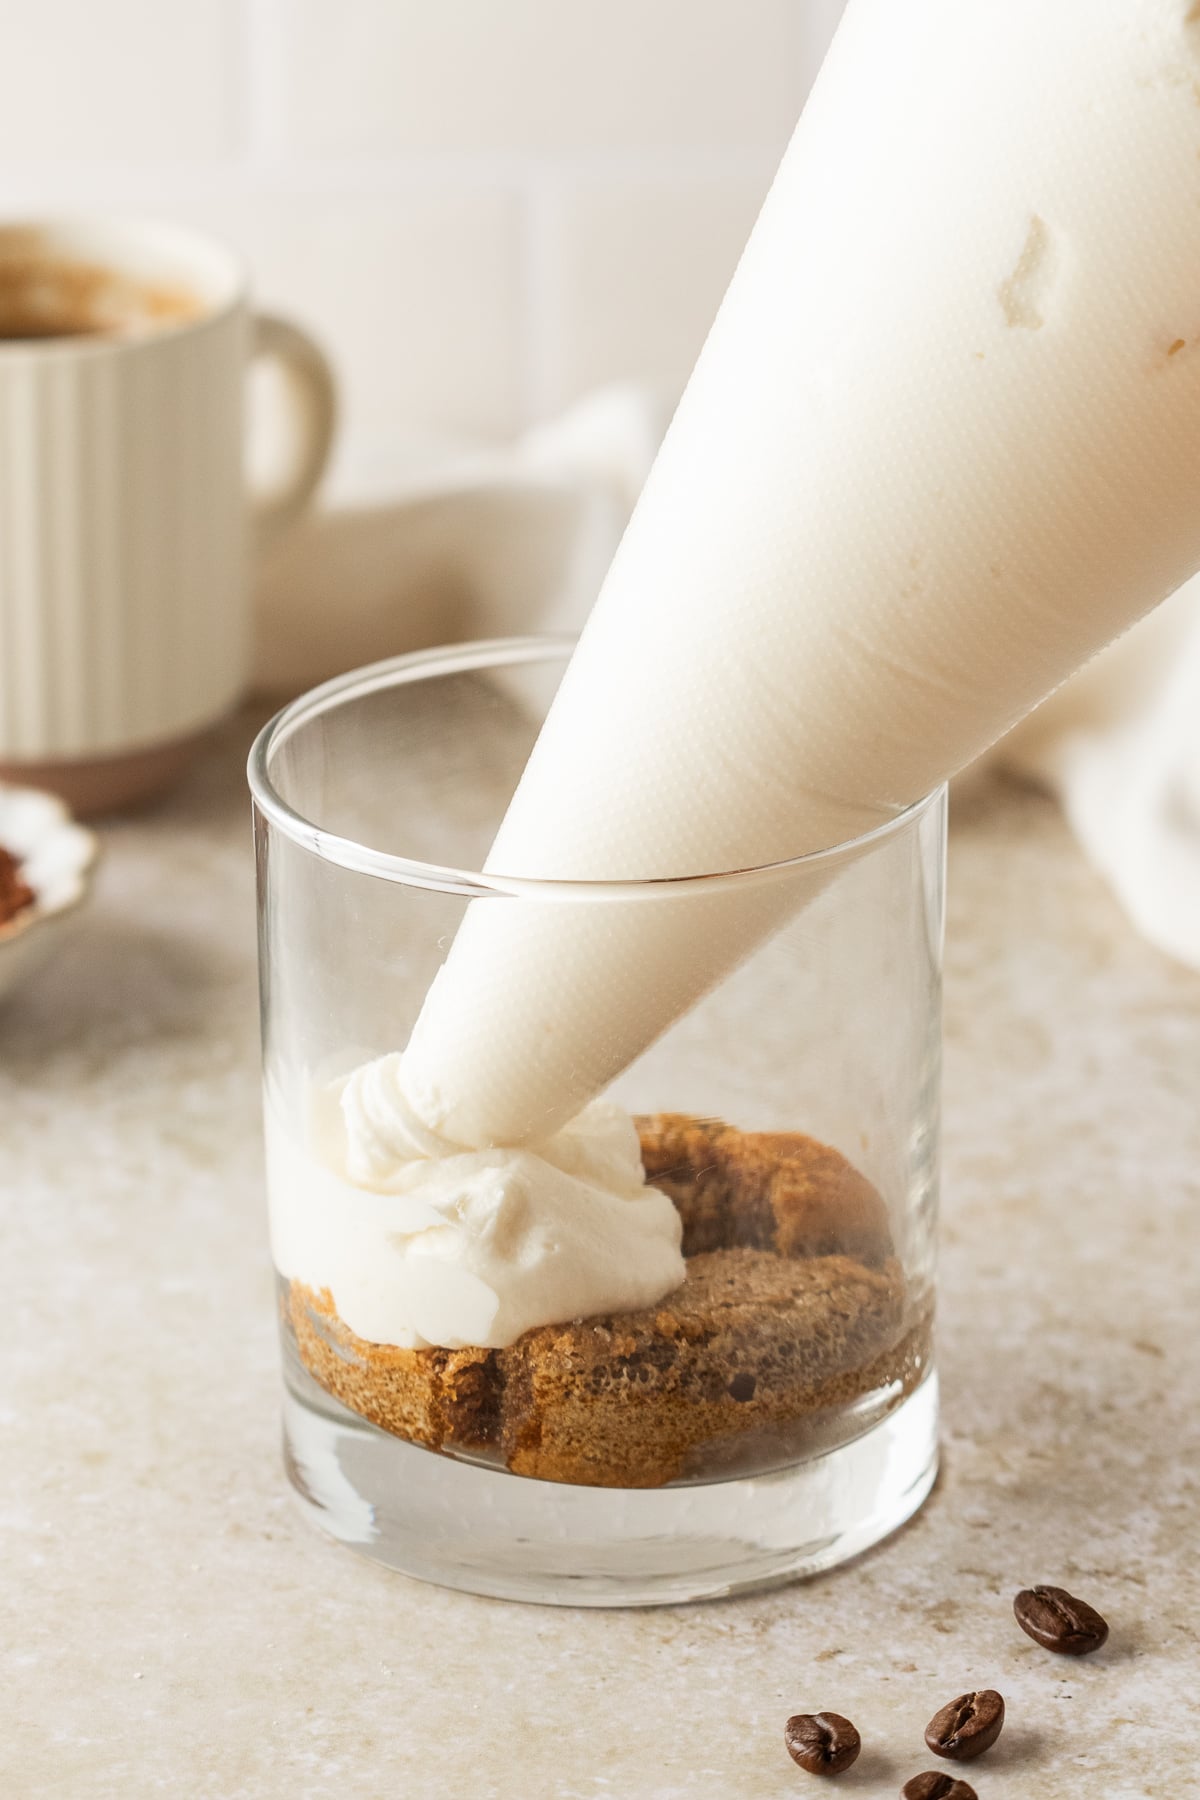
Step 3: Pipe the first layer. Add the mascarpone filling to a piping bag and pipe an even layer over the ladyfingers.
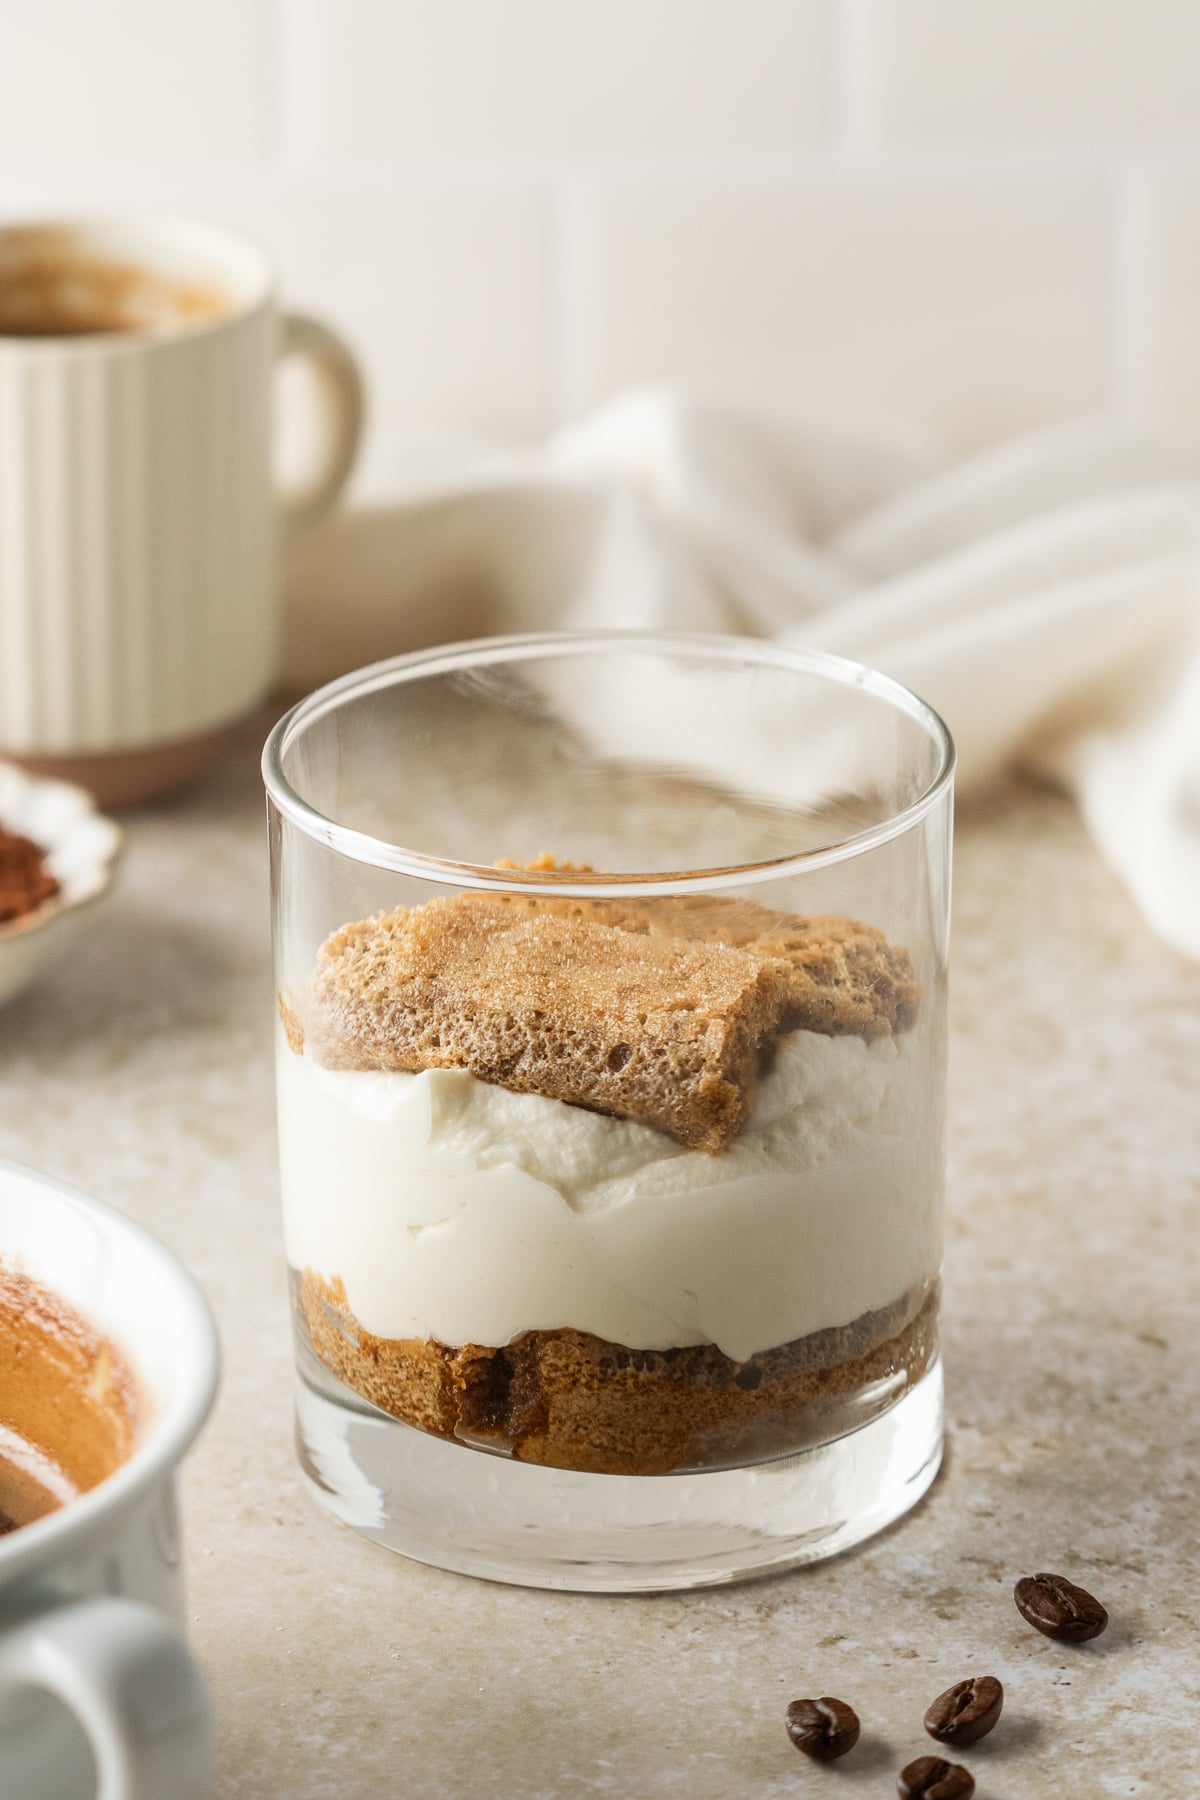
Step 4: Add the second layer. Repeat another layer of the ladyfingers.
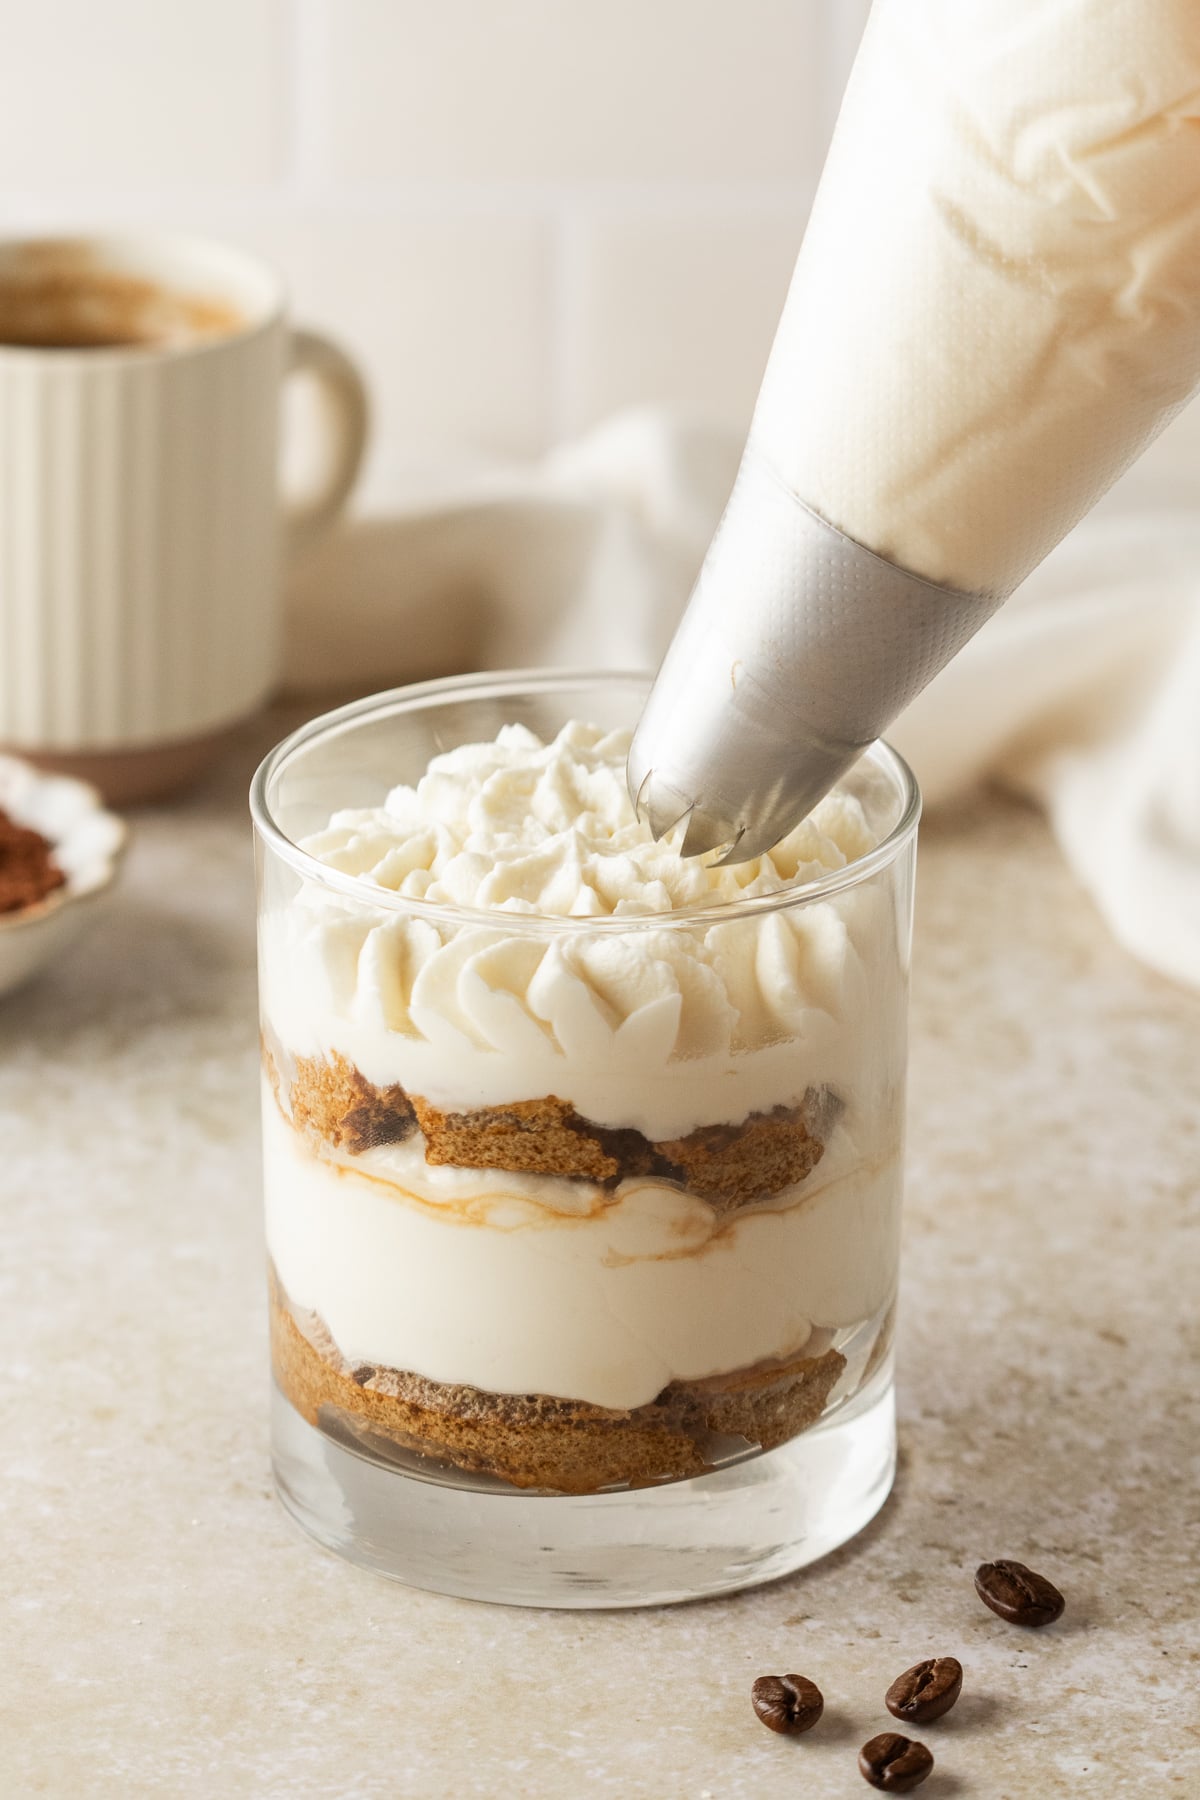
Step 5: Add the last layer. Pipe more of the filling on top of the dipped cookies.
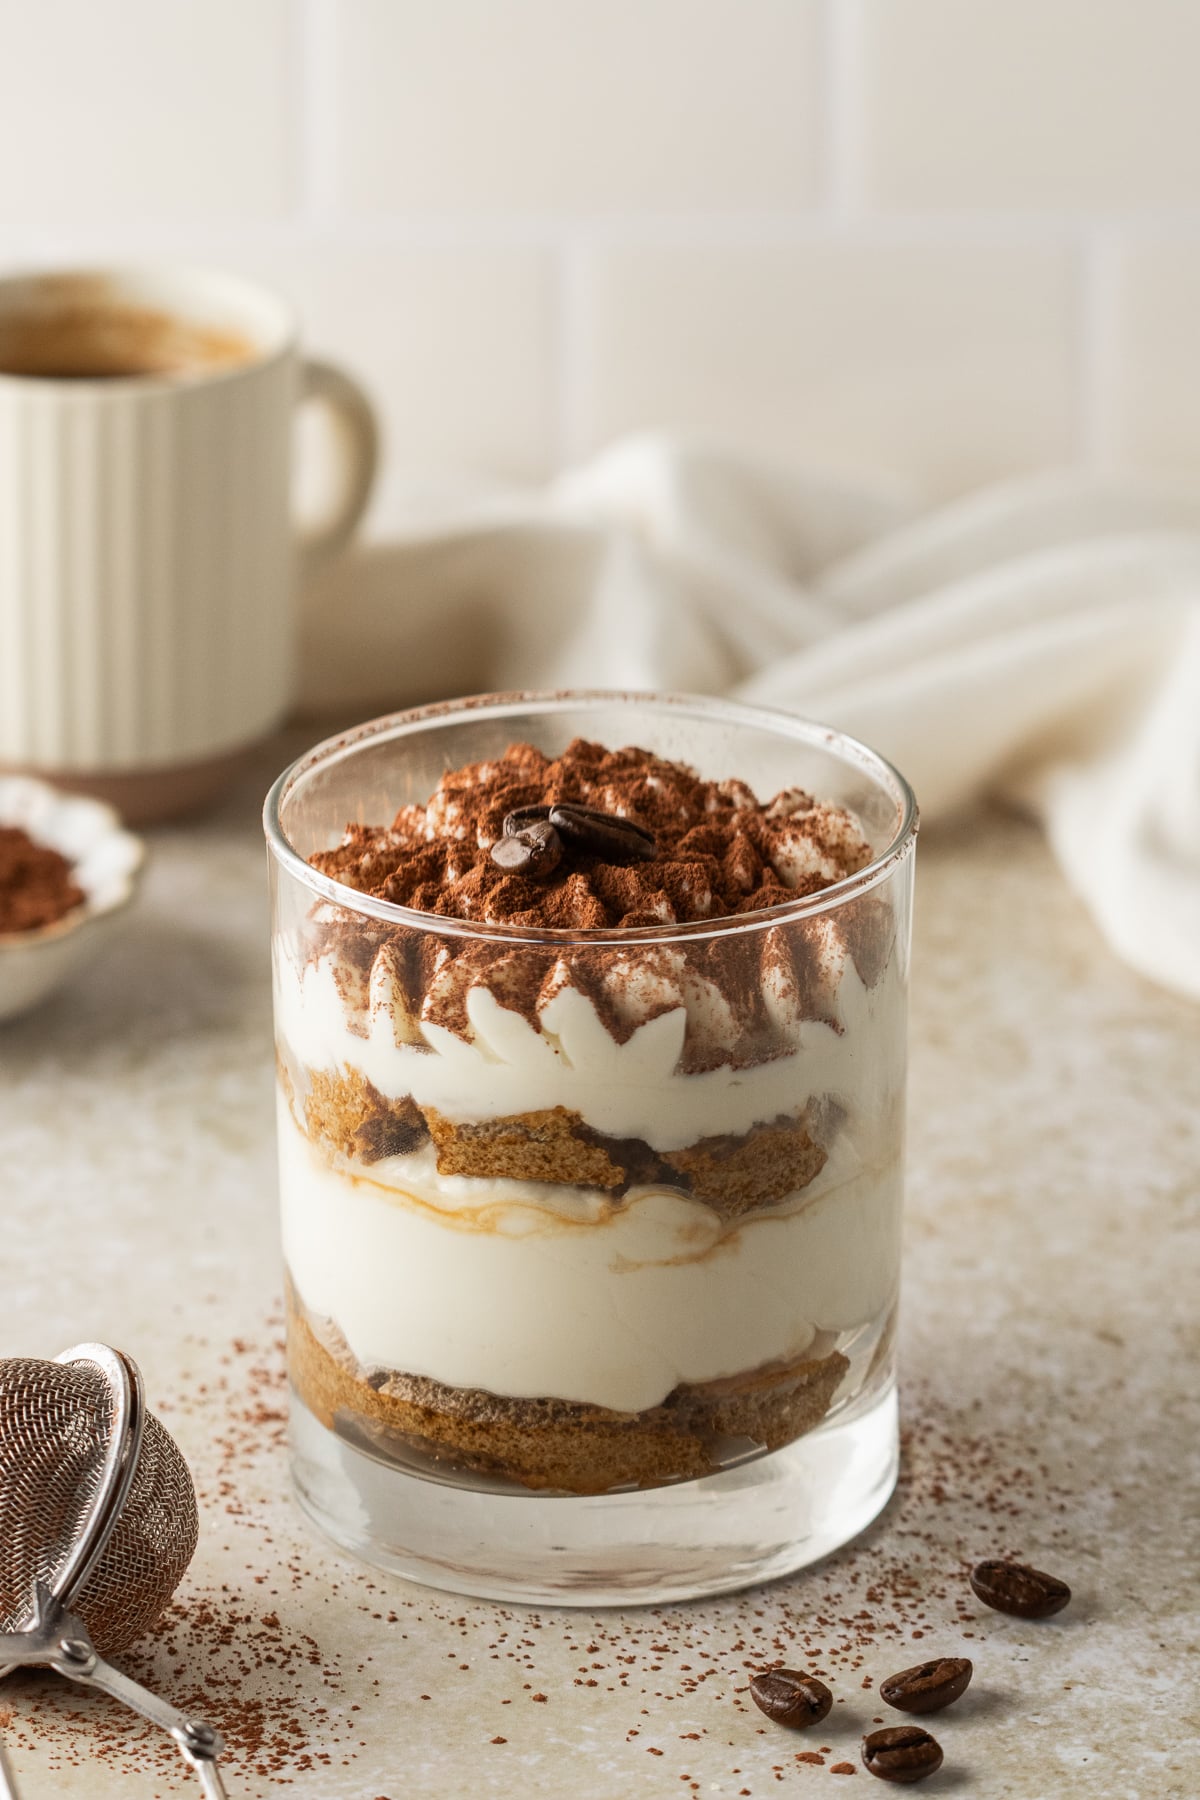
Step 6: Garnish and chill. Dust the top of each tiramisu cup with cocoa powder and place them in the fridge to chill and set for at least 3 hours. Then, serve with a hot coffee or a pumpkin chai latte.
Expert Tips
- Use a Ziploc bag for piping: If you don't have a piping bag, you can use a Ziploc bag instead; just snip off one of the corners. You can just spoon the filling as well, but it won't be as nice a presentation.
- Avoid oversoaking the lady fingers: When you place the ladyfingers in the espresso, they don't need to stay in it long. A few seconds on each side is plenty for them to soak.
- Scale up the recipe for a crowd: This is a small batch, but you can easily double or triple the recipe to serve at a party or gathering.
- Storage directions: Cover the cups tightly with plastic wrap and store them in the fridge for up to 3 days. Allow the plastic wrap to touch the surface of the tiramisu to prevent a film from forming.
This Oreo tiramisu has similar flavors and the classic layered look of Italian tiramisu.
Serving Suggestions
- Drinks: A rich beverage like this Bailey's martini or a simple cup of coffee would be a great pairing.
- Espresso treats: Create a delicious spread of espresso desserts featuring espresso chocolate chip cookies, coffee brownies, and these tiramisu cups.
- Dinner ideas: Classic lasagna or even this gnocchi carbonara are amazing Italian pasta dishes to serve for dinner, and then enjoy tiramisu in a glass for dessert.
Tiramisu Cups Recipe FAQs
This happens when the mascarpone filling is not whipped enough or if you over-soak the ladyfingers. Whip the filling until it's thick enough to pipe and only dip the ladyfingers in the espresso briefly.
I recommend 8-10 oz glasses for a regular-sized dessert. I like rock glasses or wide-mouth mason jars best for these mascarpone cream dessert cups. You can also make mini tiramisu cups in shot glasses for a smaller version.
Prepare your tiramisu cups up to 24 hours ahead of time. Cover them tightly and keep them in the refrigerator. Dust with cocoa powder just before serving!
Yes! Tightly cover them without the cocoa powder on top and freeze them for up to 1 month. Thaw them in the refrigerator overnight before enjoying them.
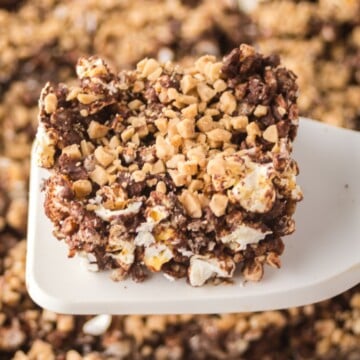
More No-Bake Dessert Recipes
Do you like easy desserts that don't require the oven? Here are some recipes you may also like to try.


If you try this recipe and love it please leave a star rating in the recipe card below or even better, drop a review in the comment section. I always appreciate your feedback. Be sure to follow along with me on Facebook, Pinterest, and YouTube for more easy recipes!
Tiramisu Cups
Equipment
- piping bag or resealable bag with corner cut off
Ingredients
Mascarpone Filling
- 8 oz mascarpone cheese softened
- ¾ cup heavy whipping cream
- ⅓ cup granulated sugar
- 1 teaspoon vanilla extract
Espresso Soak
- ¾ cup brewed espresso cooled
- 1 tablespoon granulated sugar
Layers
- About 15-18 ladyfingers broken as needed to fit cups
- Topping
- Cocoa powder for dusting
Instructions
For the mascarpone filling
- In a large mixing bowl, add mascarpone, heavy cream, sugar, and vanilla extract.
- Using a hand mixer, beat until thick, smooth, and fluffy, about 2-3 minutes.
- The mixture should hold its shape and be thick enough to pipe.
- Transfer all of the filling to a piping bag (no tip or a round tip is fine for layering).
For the espresso soak
- In a shallow bowl, combine the cooled espresso and sugar.
- Stir until the sugar is dissolved.
Assemble the tiramisu cups
- Quickly dip each ladyfinger into the espresso mixture (do not soak too long).
- Layer 1: Add a layer of dipped ladyfingers to the bottom of each cup, breaking as needed to fit the cup.
- Pipe an even layer of mascarpone filling over the top.
- Add another layer of dipped ladyfingers.
- Transfer the remaining filling to a piping bag fit with a large star tip.
- Pipe large dollops on top of each cup.
- Lightly dust the tops with cocoa powder and a couple roasted coffee beans, if desired just before chilling or serving.
- Refrigerate for at least 3 hours to allow the layers to set and flavors to develop.
Notes
- If you do not have a piping bag, use a Ziploc bag with the corner snipped off. You can also spoon in the filling, though the layers may not look as neat.
- Dip the lady fingers in the espresso for just a few seconds per side, as they soak up liquid very quickly.
- If the filling is runny, the mascarpone mixture likely was not whipped enough, or the ladyfingers were oversoaked. Whip the filling until thick and pipeable, and only briefly dip the ladyfingers in the espresso.
Leave a Reply