
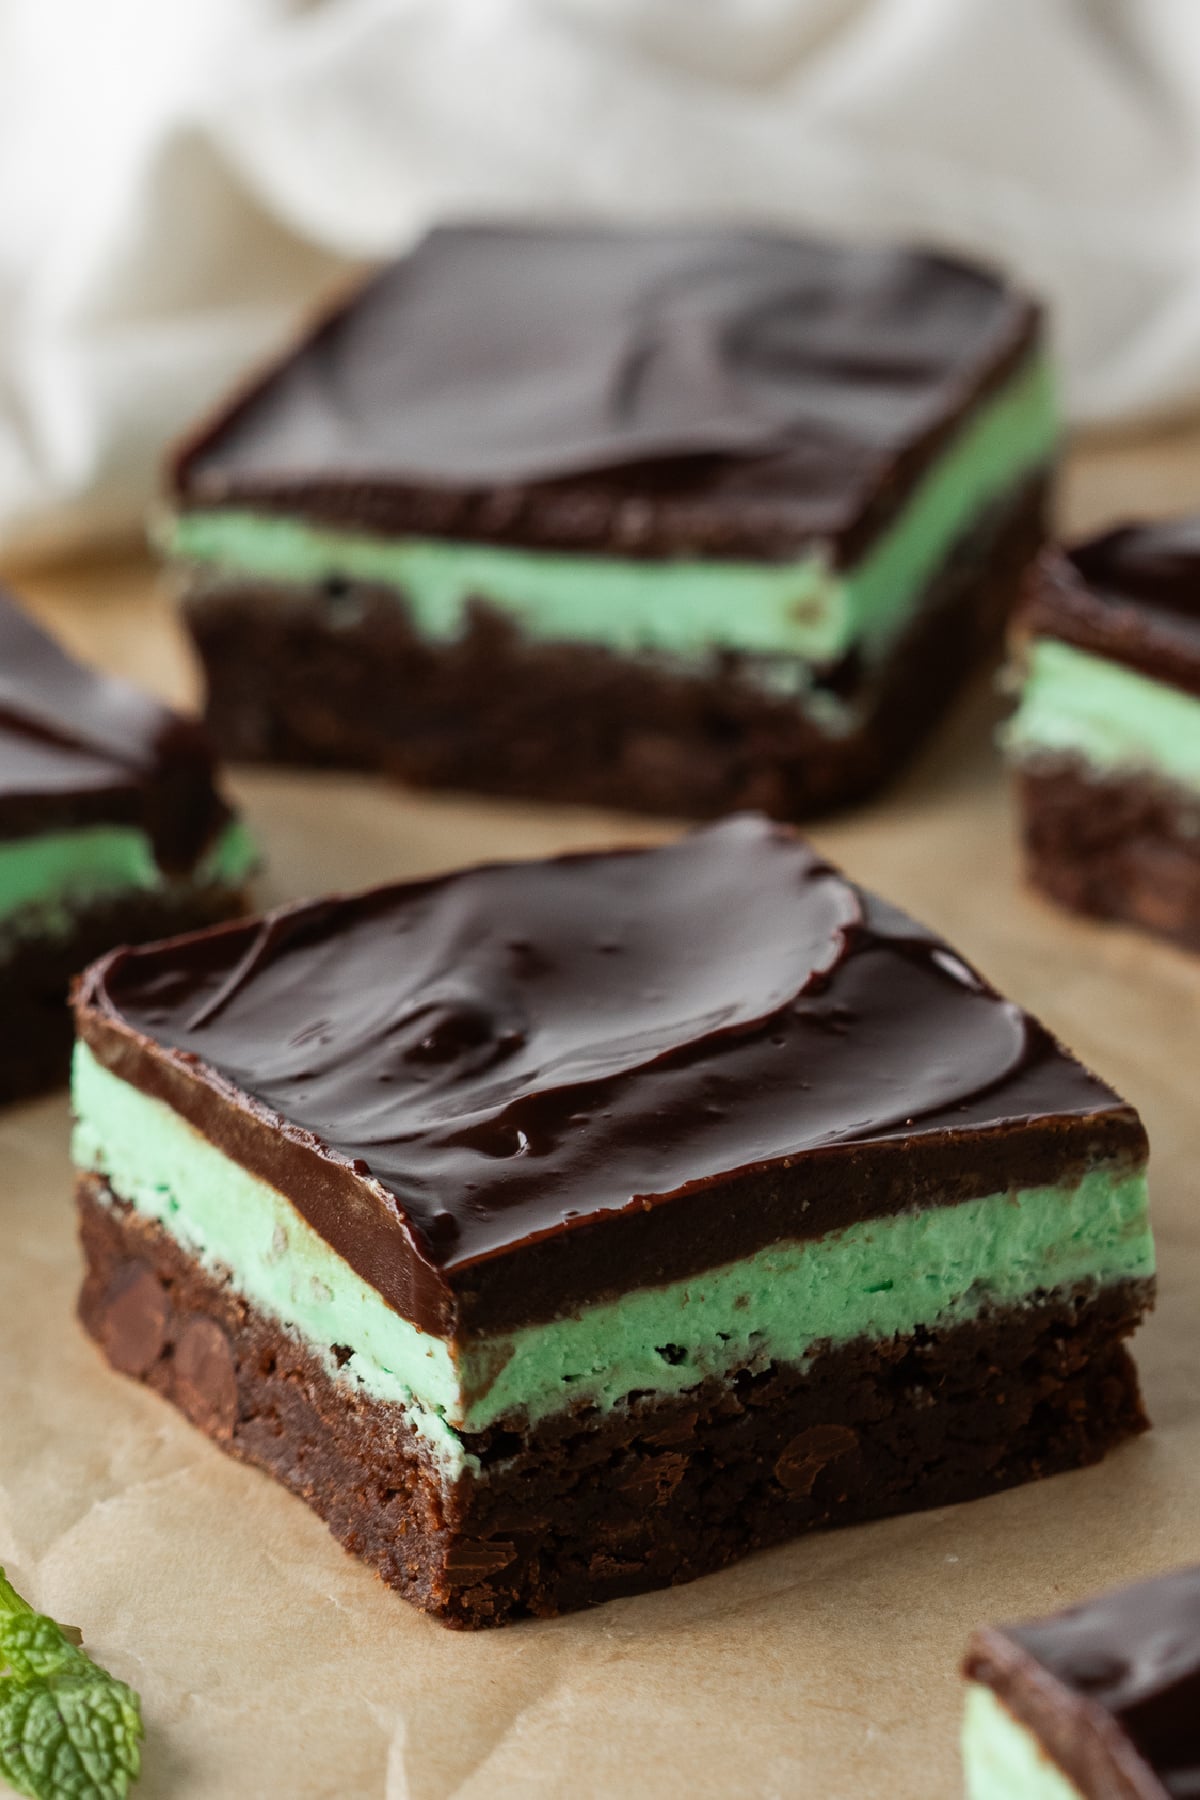
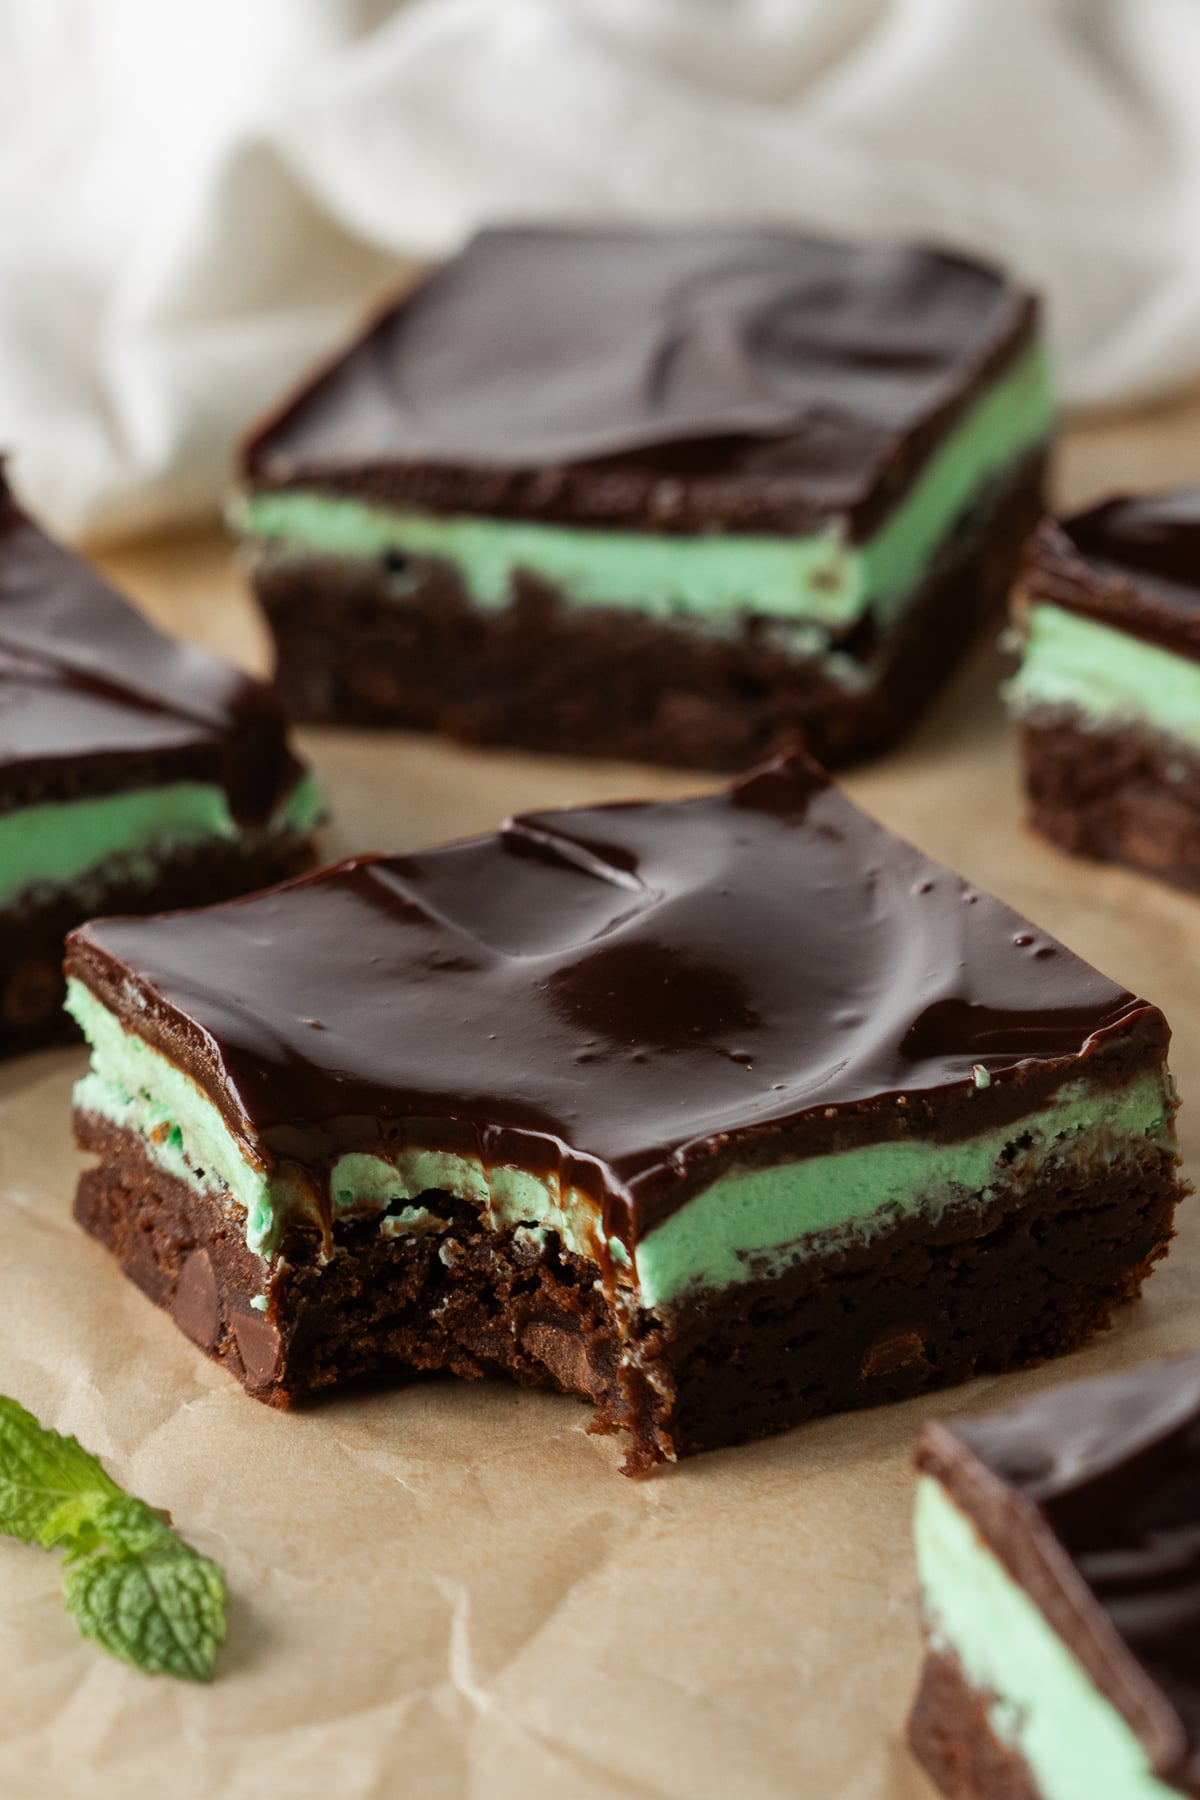
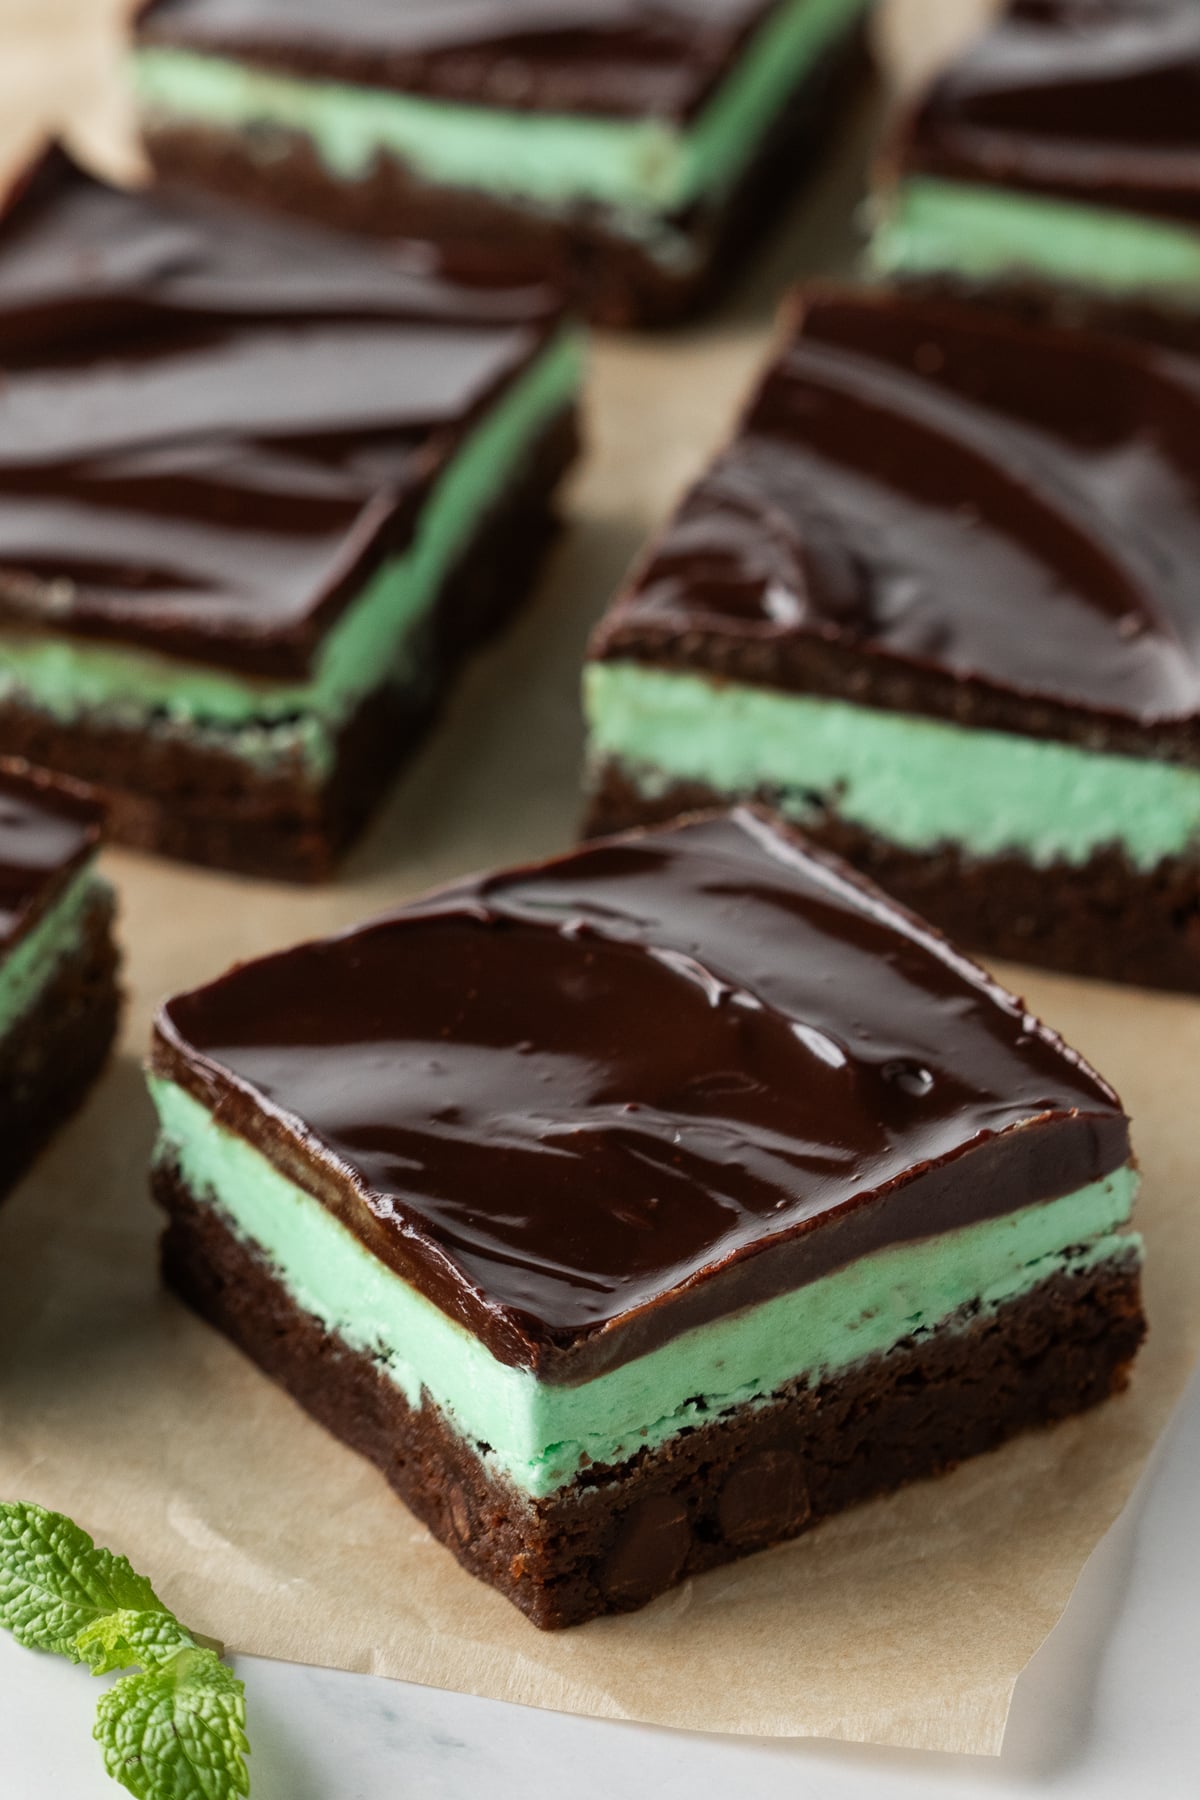
These Chocolate Mint Brownies have three irresistible layers: a dense, fudgy-chewy brownie loaded with chocolate chips, fluffy peppermint frosting, and smooth chocolate ganache. The rich chocolate and pretty green center make them especially fun for St. Patrick's Day and Christmas, but they're too good to save for holidays.
Chocolate Mint Brownies At A Glance
- 🍽️ Course: Dessert
- ⏱️ Cooking Time: 25-27 minutes, plus cooling and chilling
- 🍴 Servings: 9 large or 16 smaller brownies
- 🍫 Flavor Profile: Rich chocolate, cool peppermint, sweet and fudgy
- ☕ Best Served With: Coffee, hot chocolate, milk, or vanilla ice cream
- 🧊 Make Ahead: Yes. Make 1-2 days ahead and refrigerate until serving.
Summarize and Save This Content On
These mint chocolate brownies aren't just regular brownies with peppermint added. Each layer has a job: the dense brownie gives them substance, the fluffy mint frosting adds cool peppermint flavor, and the semisweet ganache balances the sweetness while creating that dramatic three-layer appearance.
My son also helped us confirm one important part of this recipe: waiting really does matter. He cut into a batch before the final chill was finished, and although they tasted great, the layers weren't nearly as firm and clean as the brownies we allowed to set for the full 60-70 minutes.
This was inspired by my espresso brownies and pairs perfectly with our chocolate cobbler when you're craving an extra-chocolatey dessert.
Jump to:
Why You Will Love This Recipe
- Three Distinct Layers: A fudgy-chewy chocolate brownie, fluffy peppermint frosting, and smooth semisweet ganache give you different flavors and textures in every bite.
- Tested for Balanced Mint Flavor: We tested different extracts and amounts to get noticeable peppermint flavor without overpowering the chocolate.
- Make-Ahead Friendly: These brownies are as good or slightly better the next day, making them ideal for holidays, parties, and planned desserts.
How We Tested Chocolate Mint Brownies
- Brownie Texture + Bake Time: We wanted a dense, moist brownie between fudgy and chewy rather than cakey. In our 9x9-inch metal pan, 25-27 minutes consistently gave us the best texture. We pull them when the edges are set and a toothpick has several moist crumbs.
- Sugars + Chocolate Chips: Using both brown and granulated sugar gave us better moisture, chew, and flavor than granulated sugar alone. We also preferred chocolate chips in the batter for pockets of melted chocolate and extra fudginess.
- Peppermint + Vanilla: We overwhelmingly preferred peppermint extract to mint extract and found ½ teaspoon was just right. Larger amounts quickly became overpowering. Adding vanilla rounded out the peppermint and tasted better than frosting made without it.
- Mint Frosting: Heavy cream produced a richer, fluffier frosting than milk and firmed nicely when chilled. A 30-minute chill gave us a stable base for the ganache.
- Chocolate Ganache: Semisweet chocolate gave us the best balance; milk chocolate was too sweet and dark chocolate more bitter. The 2:1 chocolate-to-cream ratio created a firm but easily sliced ganache, while cooling it for 10 minutes kept it from melting the mint layer.
- Chilling + Serving: A final 60-70-minute chill produced our cleanest layers. We preferred the texture after letting refrigerated brownies sit at room temperature for 10-15 minutes, and they were just as good or slightly better the next day.
Ingredients
These brownies use simple baking ingredients, but the combination and proportions are important for creating three distinct layers.
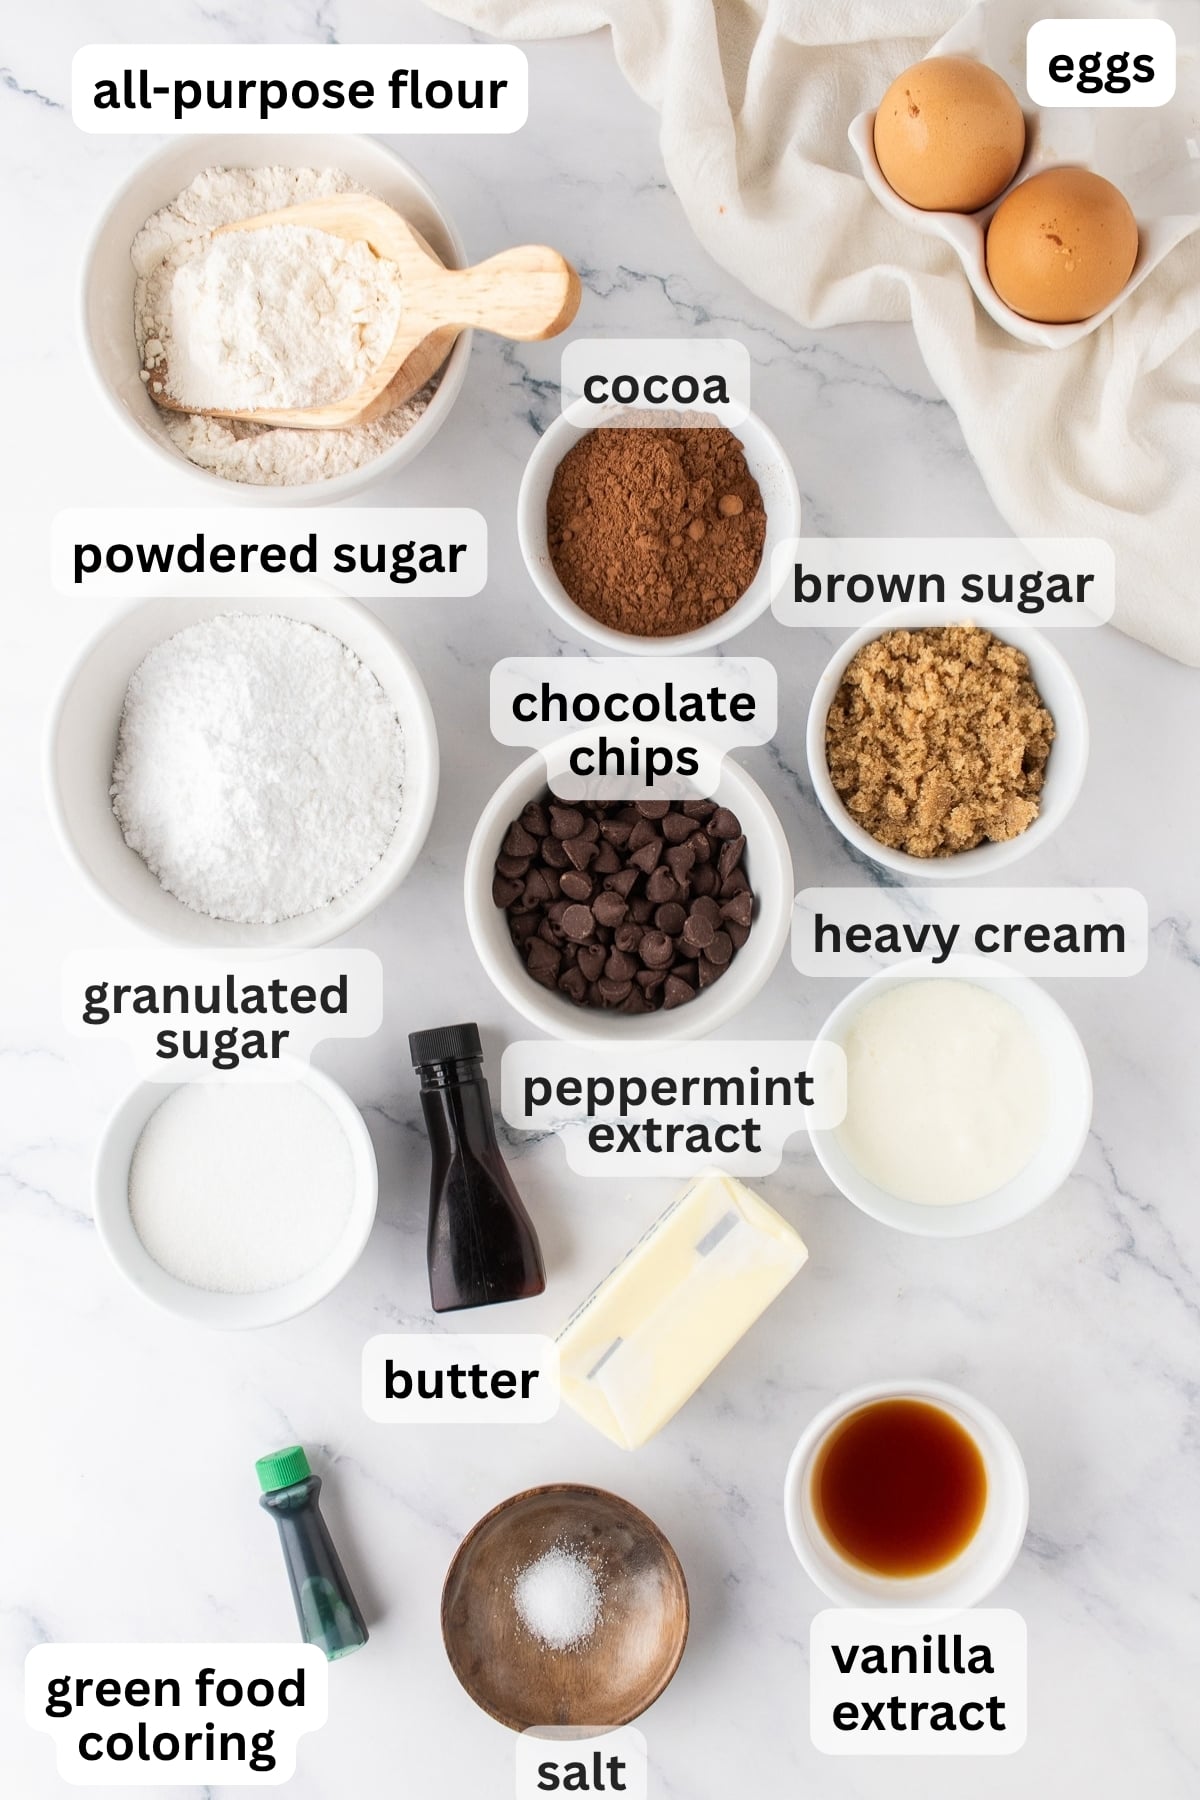
- Butter + Sugars: Melted butter, granulated sugar, and brown sugar create a rich brownie with moisture and slight chew.
- Eggs + Vanilla: Eggs provide structure and richness, while vanilla rounds out the chocolate and peppermint flavors.
- Flour + Cocoa + Salt: All-purpose flour provides structure, natural unsweetened cocoa supplies the chocolate base, and salt balances the sweetness.
- Semi-Sweet Chocolate Chips: Chips add pockets of chocolate to the brownies and combine with heavy cream to make the ganache.
- Mint Frosting: Softened butter, powdered sugar, heavy cream, peppermint extract, vanilla, and green food coloring create the fluffy center layer.
- Chocolate Ganache: Semi-sweet chocolate chips and heavy cream create a smooth topping that sets firmly enough for clean slices while remaining soft enough to bite through.
You'll find the exact ingredient amounts and complete instructions in the recipe card below.
Variations
- Chocolate Chips: Leave the chips out of the brownie batter for cleaner cuts, or substitute mini chips for smaller pockets of chocolate.
- Chocolate Options: Natural unsweetened cocoa is our standard choice, but Dutch-process cocoa can be used for a darker, richer chocolate flavor. For the ganache, replace semisweet chocolate with dark chocolate for a less sweet finish or milk chocolate for a considerably sweeter one.
- Mint Frosting: Milk can replace the heavy cream, although the buttercream will be slightly less rich. For stronger peppermint flavor, add additional extract in very small increments, tasting as you go. Leave the frosting white for a more understated dessert, adjust the green coloring to your preference, or change the color to coordinate with another celebration.
- Serving + Holidays: Green frosting makes these especially festive for Christmas or St. Patrick's Day, while other frosting colors can suit different occasions. For parties, cookie trays, or smaller portions, cut the pan into 16 squares instead of 9.
How To Make Chocolate Mint Brownies
Although these brownies have three layers, each one is straightforward. The key is allowing enough cooling and chilling time between them.
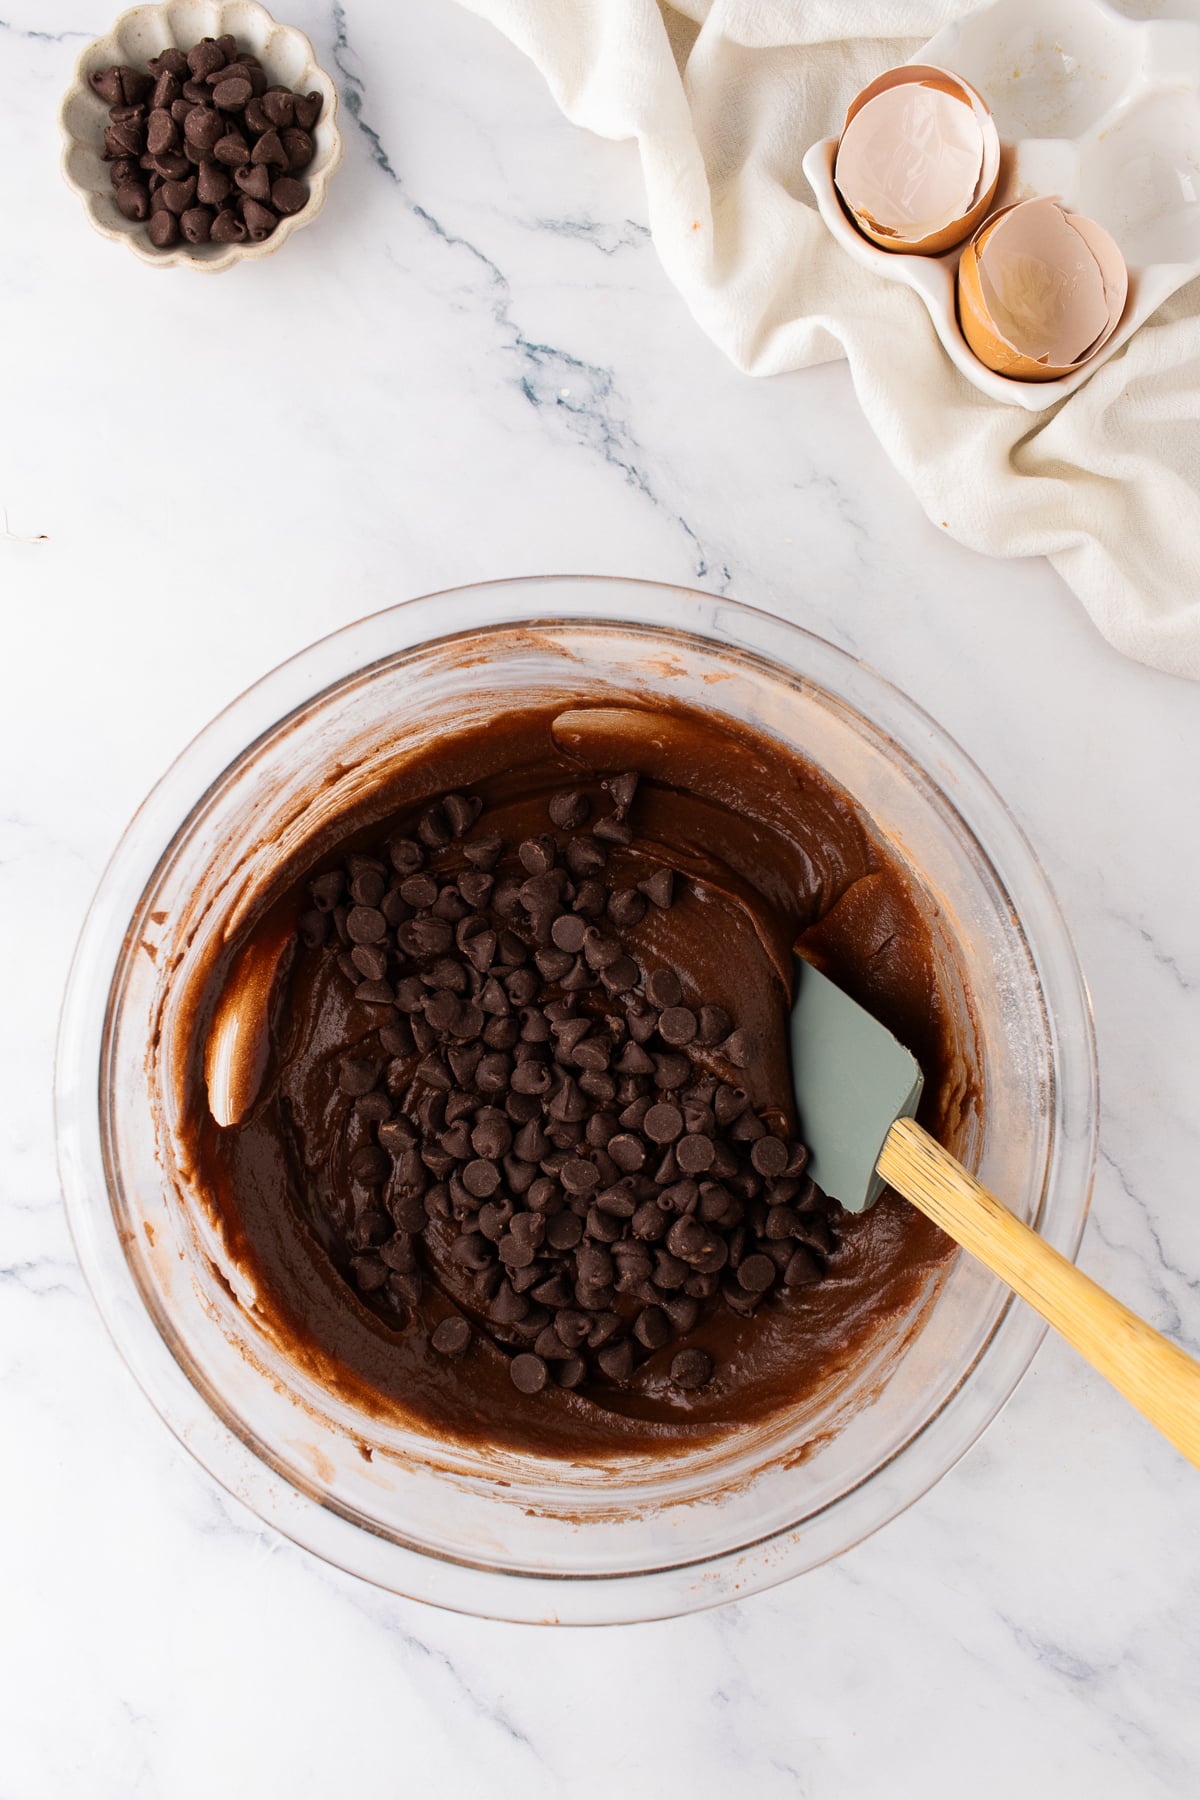
Step 1: Make the Brownie Batter. Preheat the oven to 350°F and grease and line a 9x9-inch metal baking pan with parchment paper. Whisk the melted butter with both sugars, then whisk in the eggs and vanilla until smooth and slightly thickened. Stir in the flour, cocoa powder, and salt just until combined, then fold in the chocolate chips.
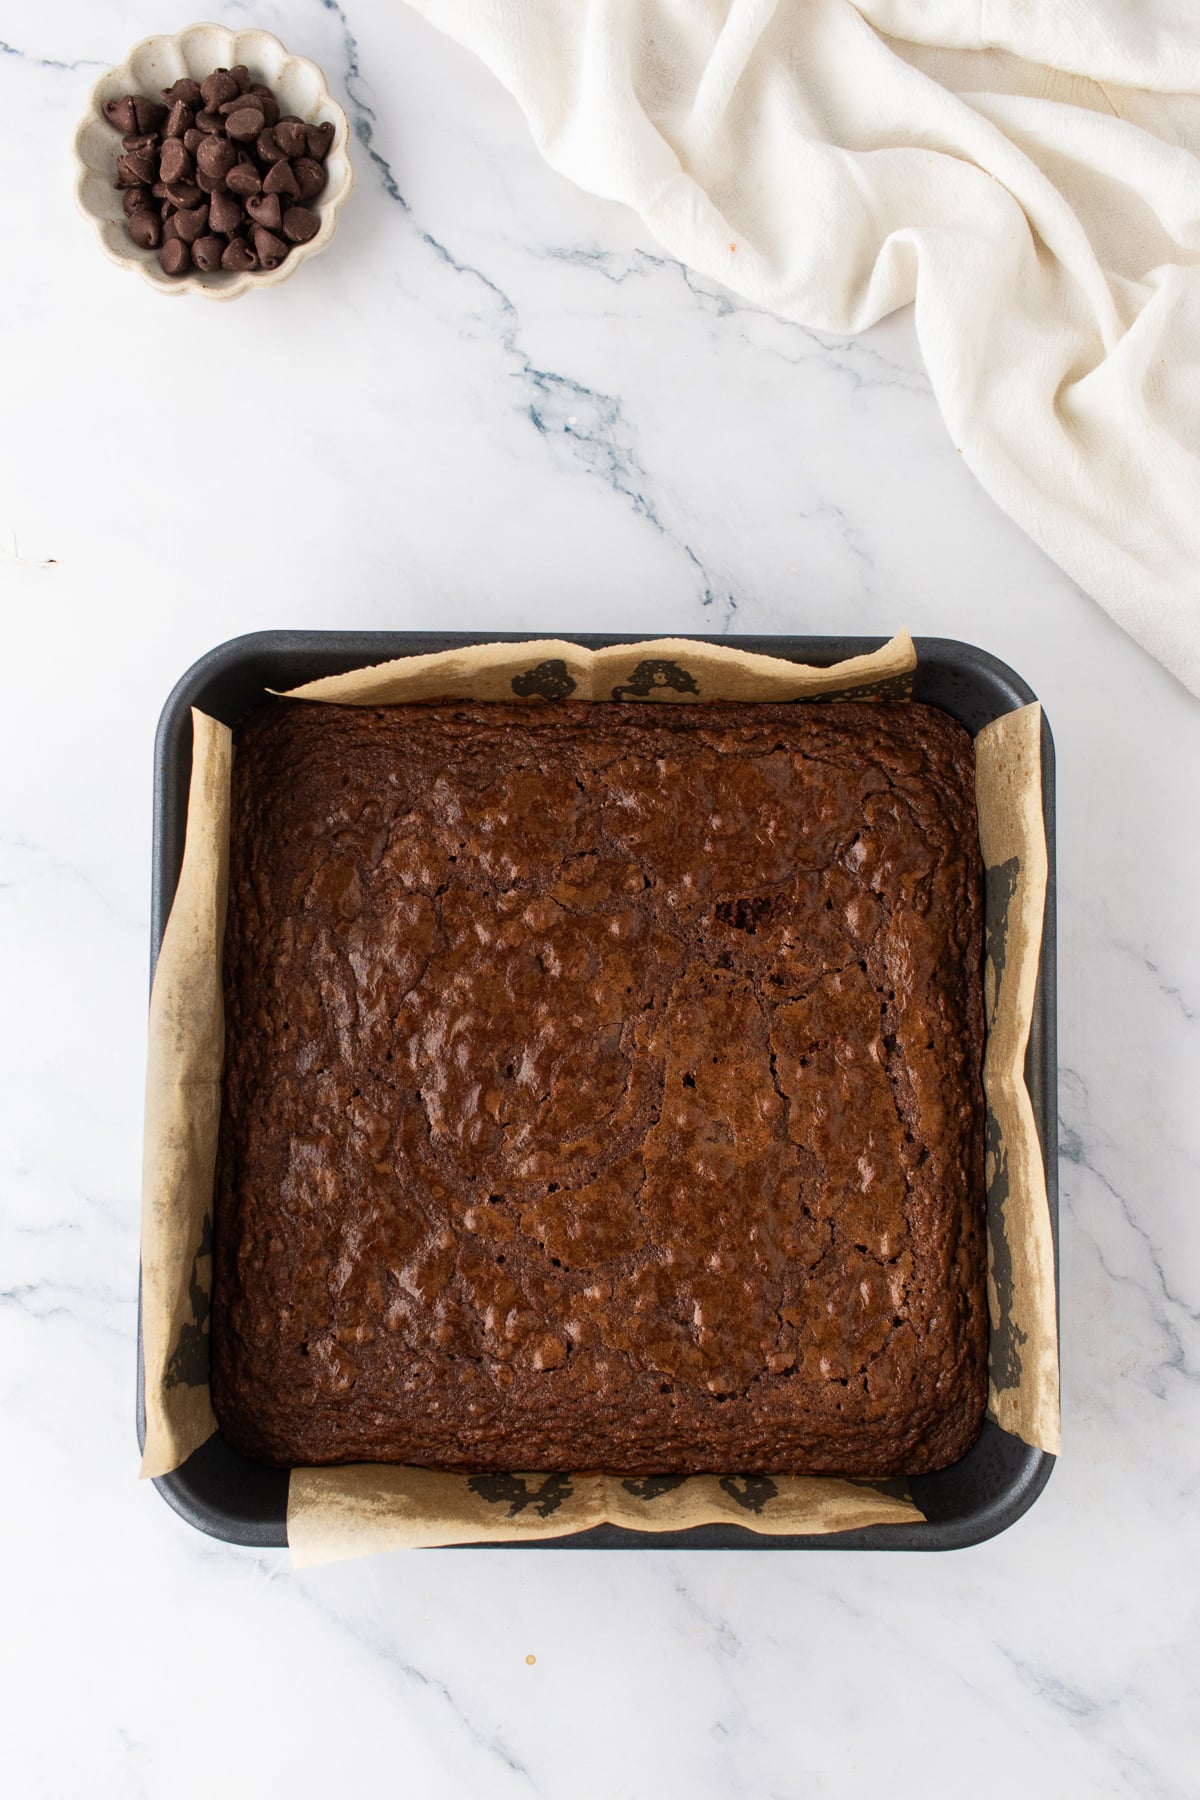
Step 2: Bake and Cool. Spread the batter evenly in the prepared pan and bake for 25-27 minutes, or until the edges are set and just beginning to pull away from the pan and a toothpick inserted in the center comes out with several moist crumbs but no wet batter. Cool completely in the pan for about 1 hour before frosting.
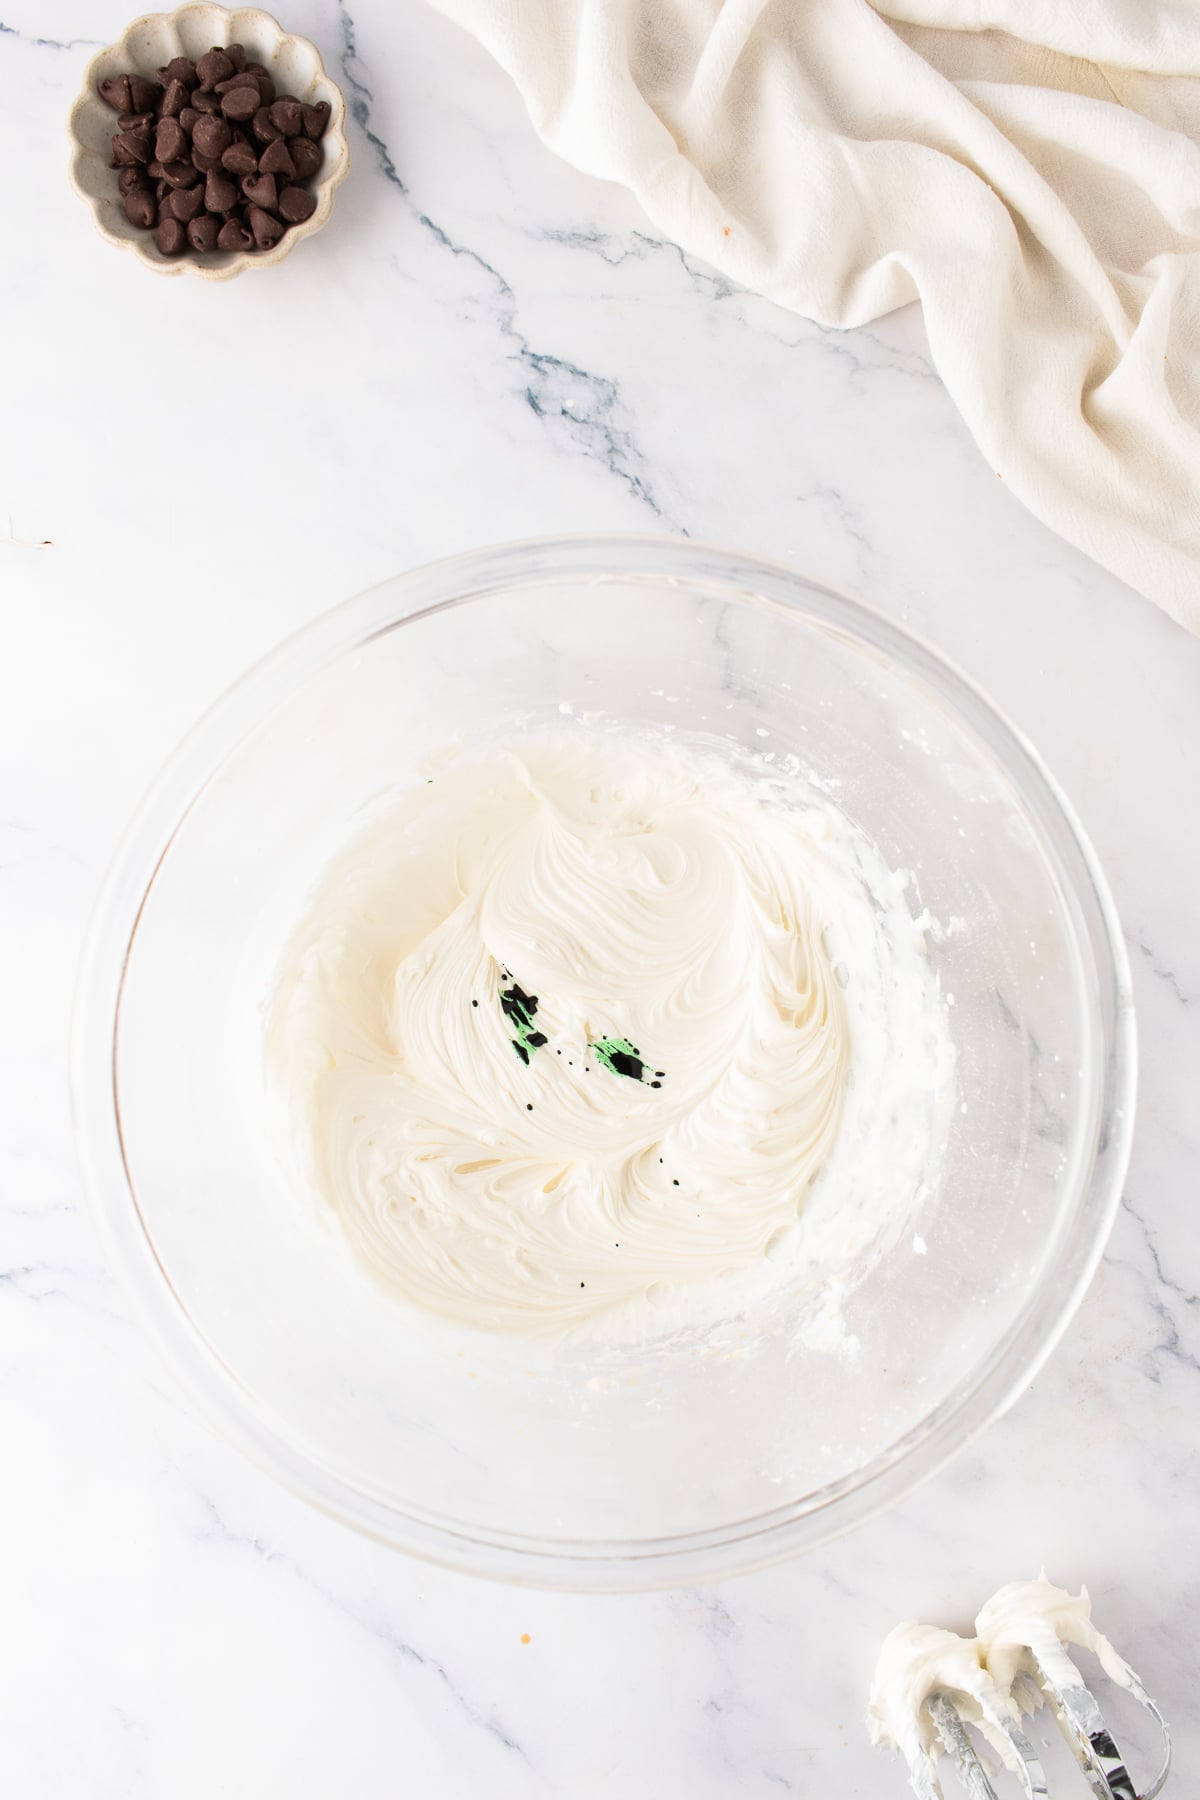
Step 3: Make the Mint Frosting. Beat the softened butter until creamy, then gradually mix in the powdered sugar. Add the heavy cream, peppermint extract, and vanilla and beat for 2-3 minutes, until light and fluffy. Add 2-3 drops of green food coloring and mix until evenly colored.
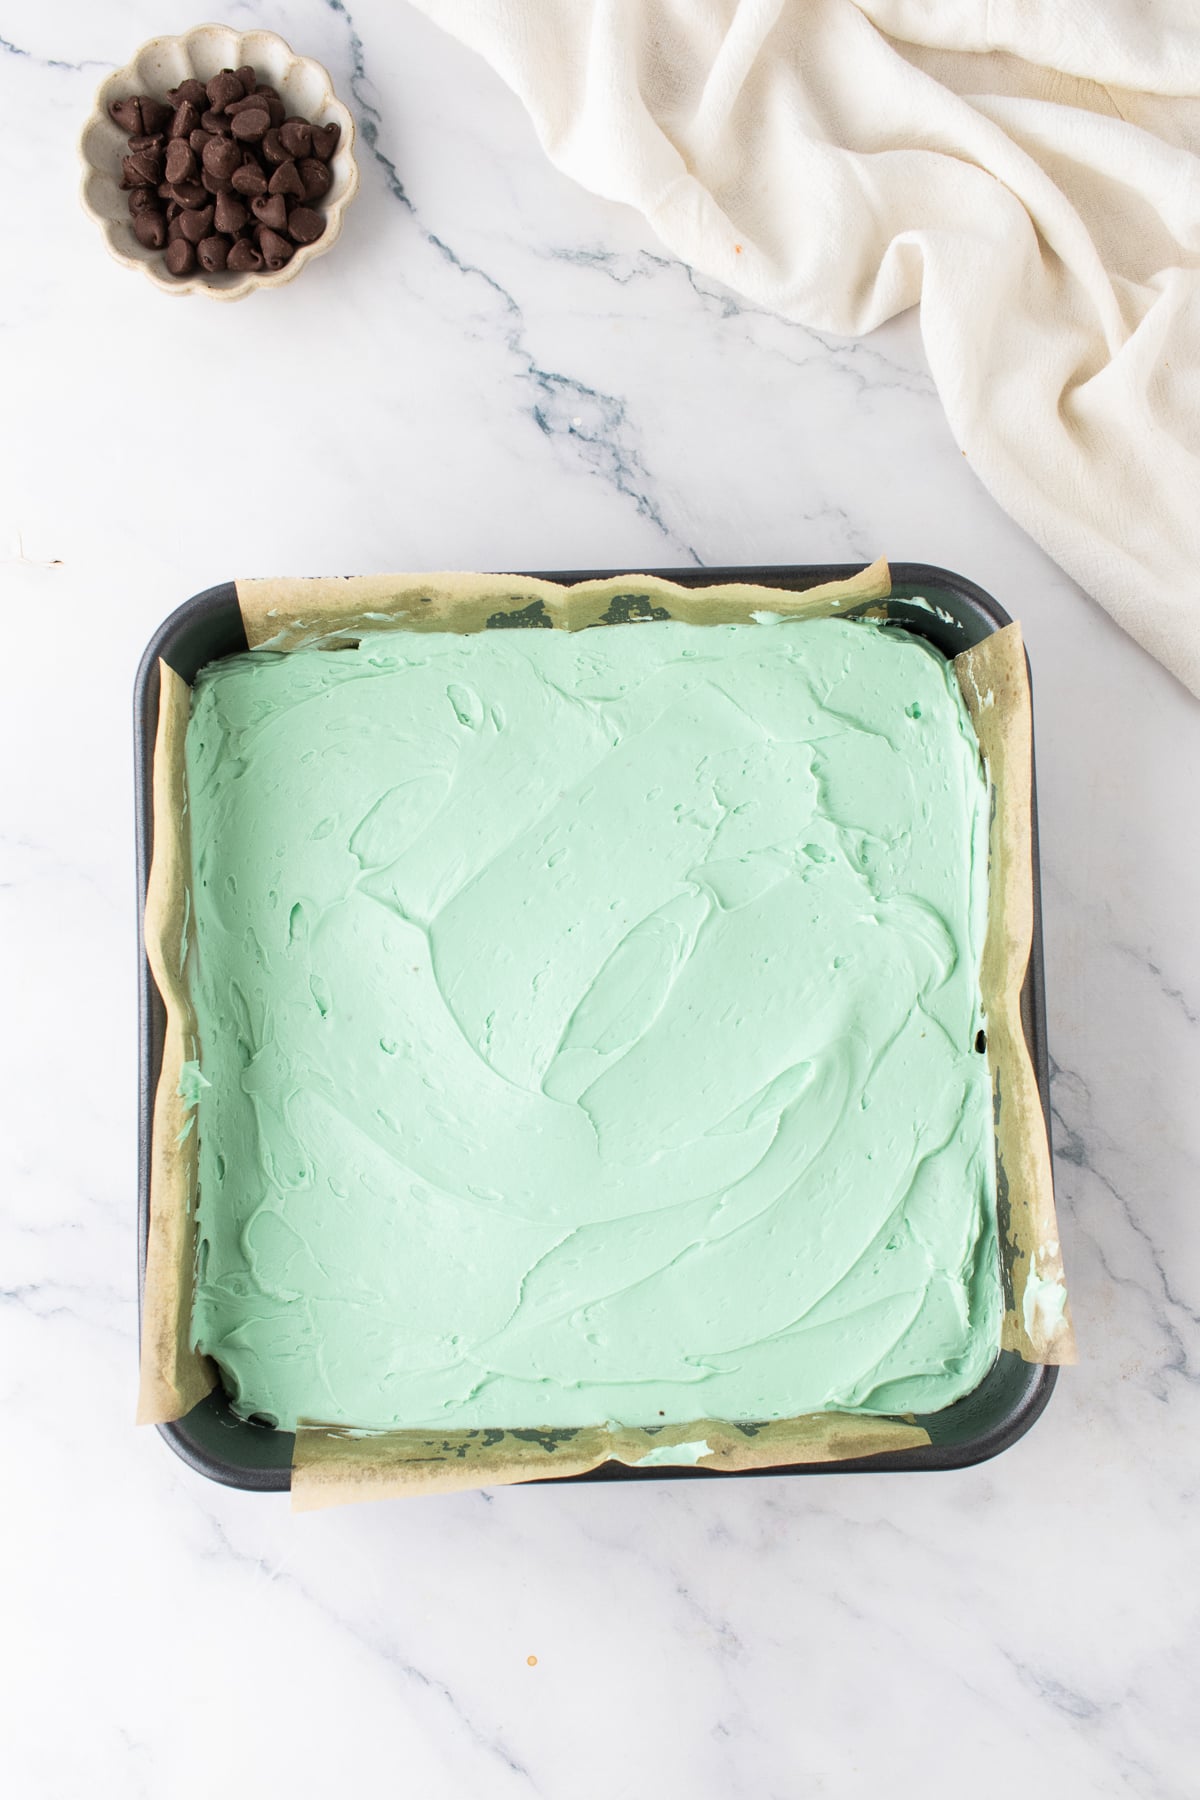
Step 4: Frost and Chill. Spread the mint frosting evenly over the completely cooled brownies. Refrigerate for 30 minutes, or until the frosting is firm to the touch. If your kitchen is particularly warm, chill for 30-40 minutes.
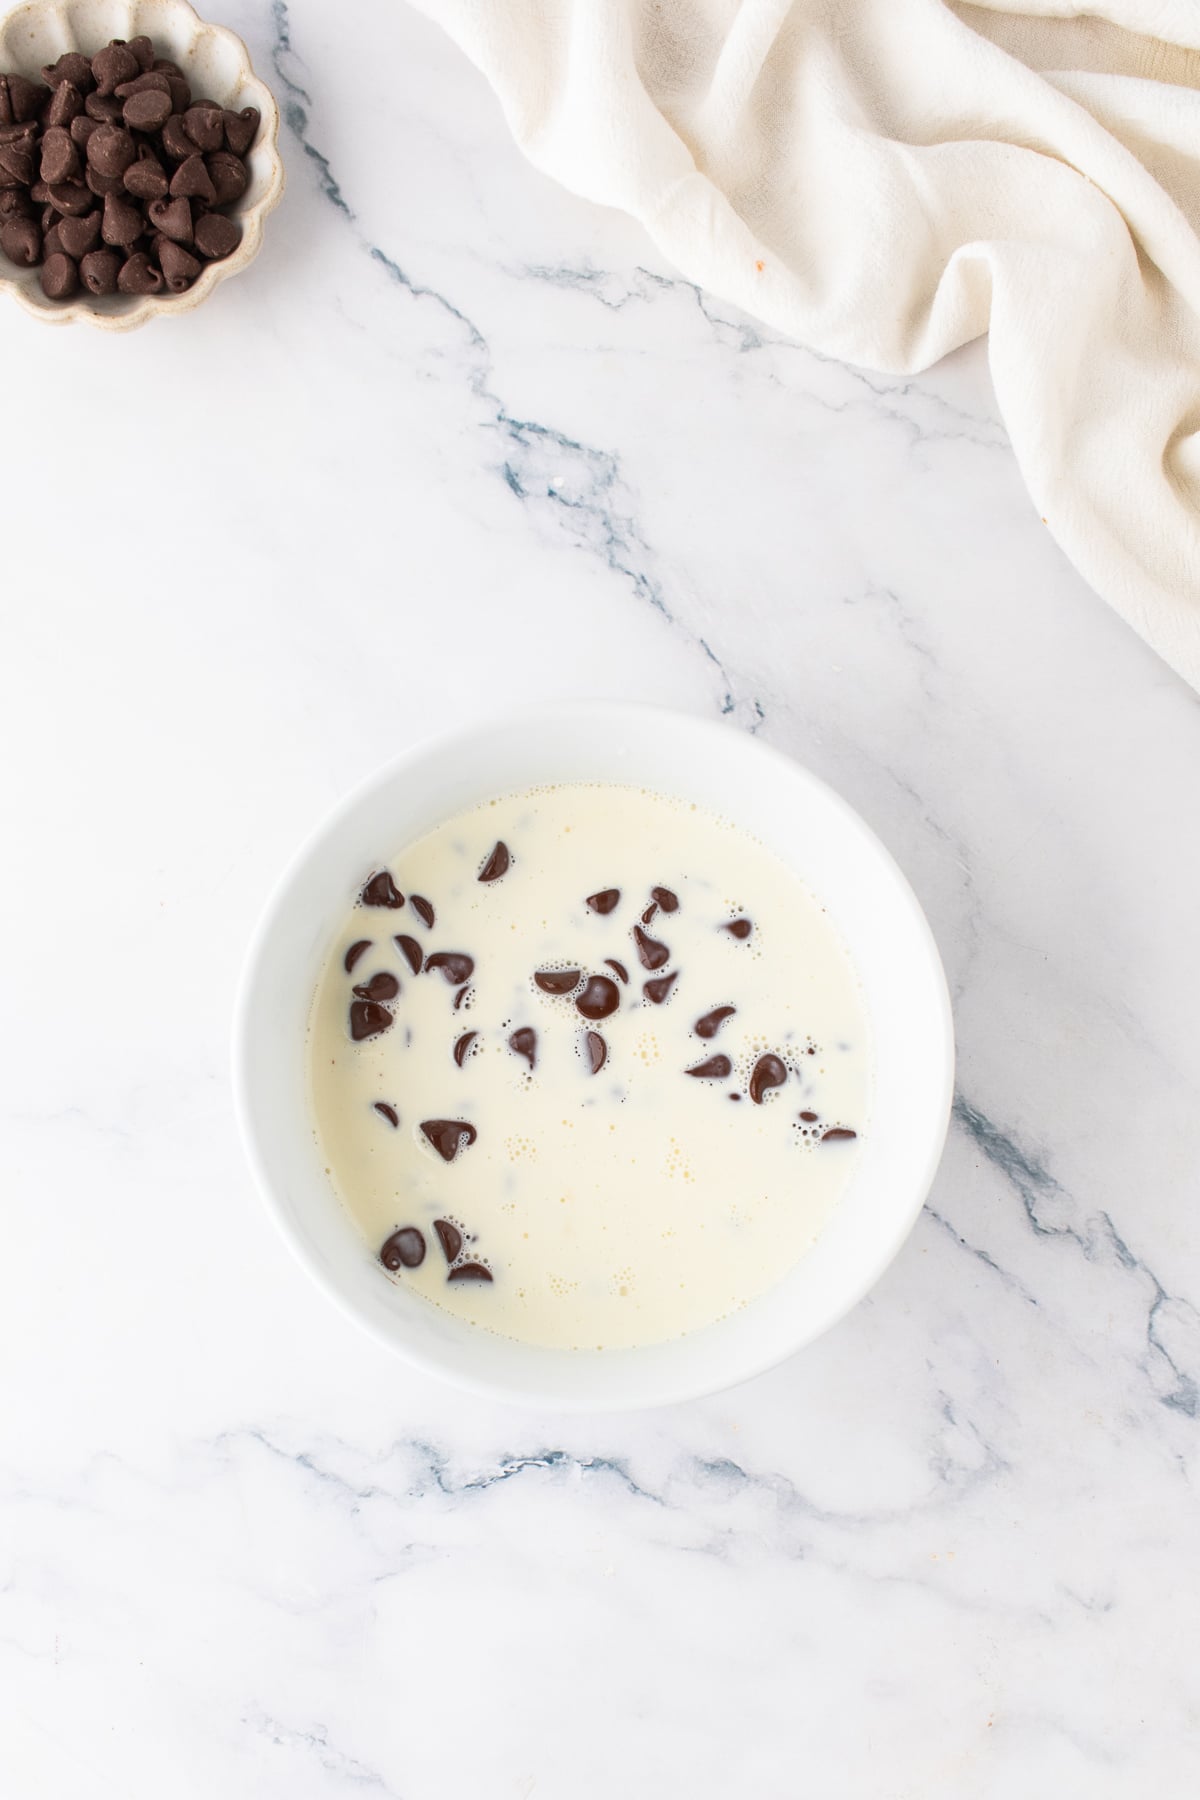
Step 5: Make and Add the Ganache. Place the chocolate chips in a heat-safe bowl. Heat the heavy cream in the microwave in 15-20 second intervals until hot and just beginning to bubble. Pour it over the chocolate chips and let stand for 2 minutes, then stir until smooth and glossy. Let the ganache cool for 10 minutes, then spread it evenly over the chilled mint layer.
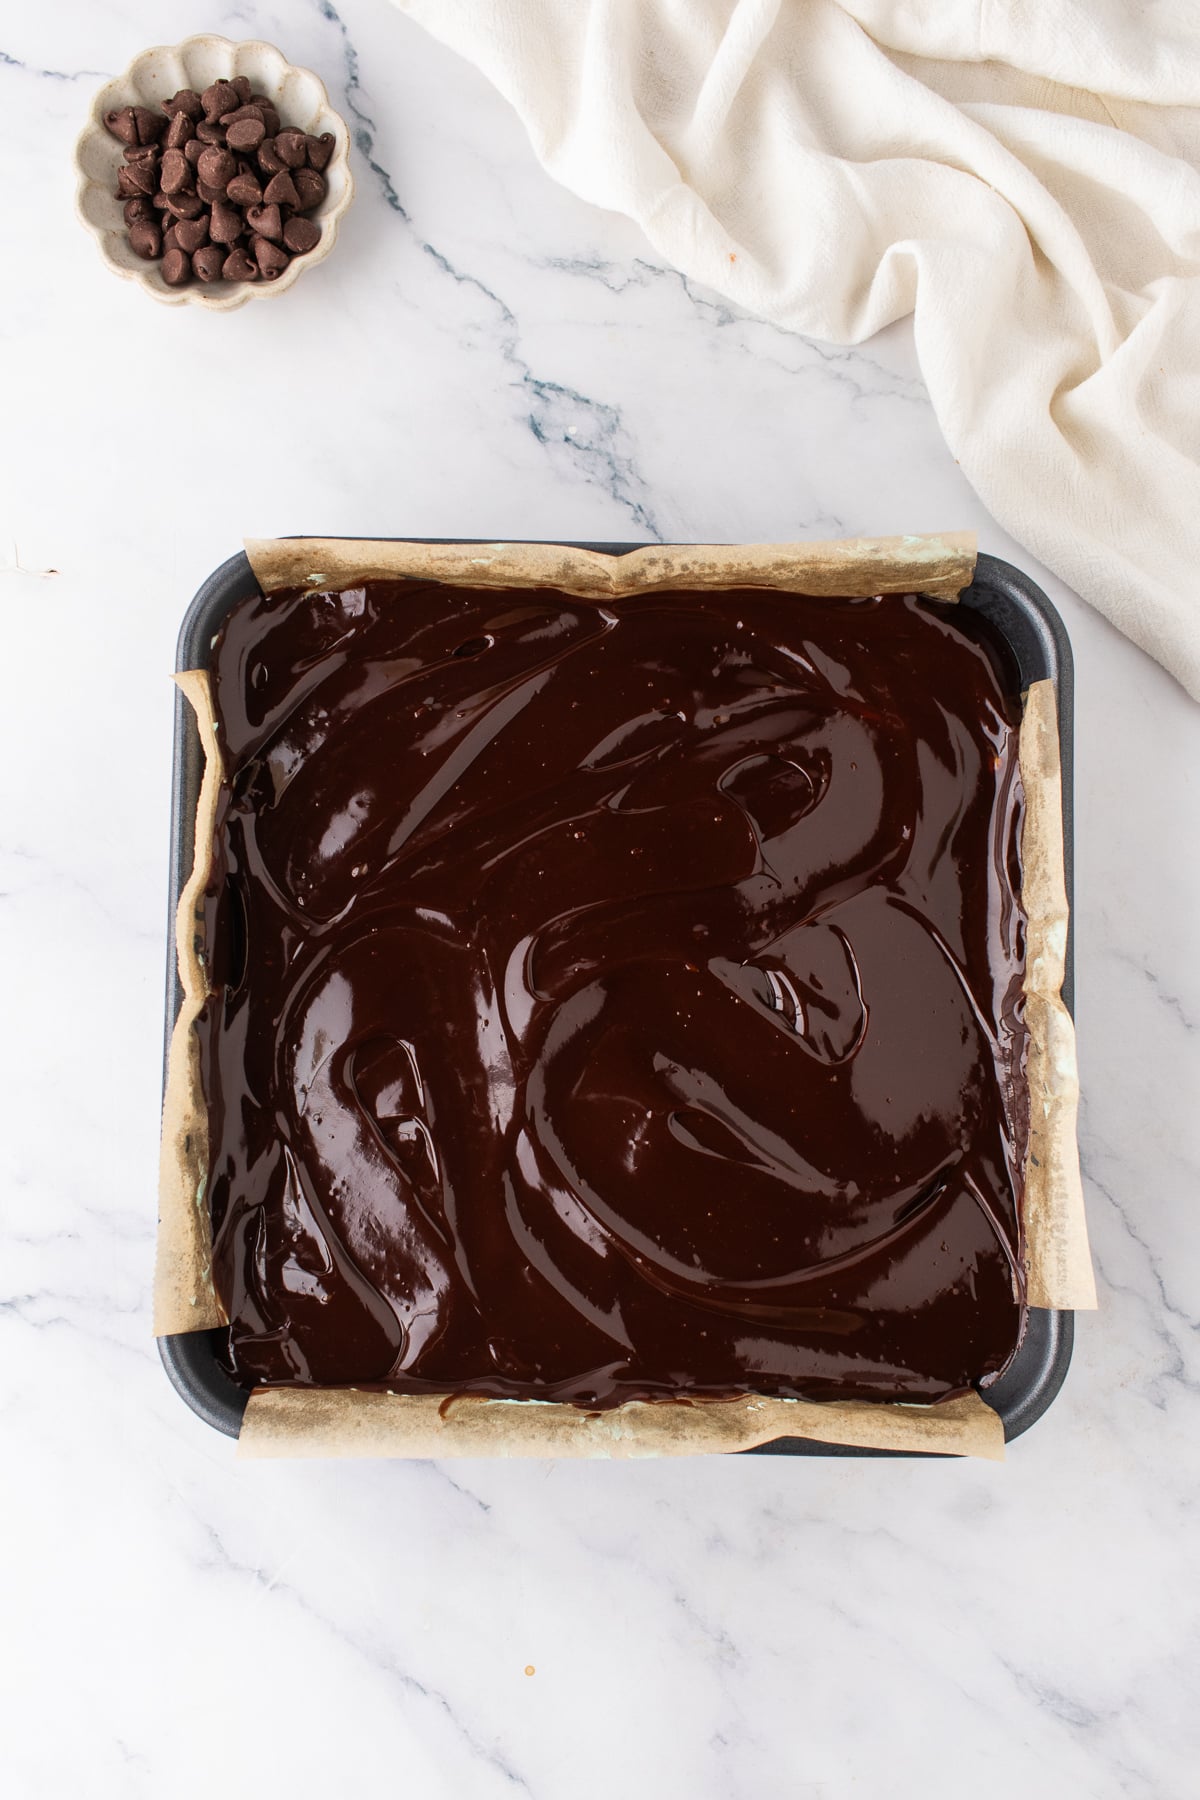
Step 6: Chill and Slice. Refrigerate for 60-70 minutes, or until the ganache is completely set. Lift the brownies from the pan using the parchment and cut into 9 large squares or 16 smaller squares.
Expert Tips
- Don't Overbake: Remove the brownies when the edges are set and a toothpick has several moist crumbs. Baking until the toothpick is clean can produce a drier, cakier brownie.
- Cool Completely: Frosting warm brownies can soften or melt the mint layer.
- Be Careful With Peppermint: Start with ½ teaspoon. Peppermint extract becomes overpowering quickly, so increase it only a tiny amount at a time.
- Chill Between Layers: The mint frosting should feel firm before adding the ganache so the chocolate and green layers remain distinct.
- Cool the Ganache: Give it about 10 minutes before pouring. It should be fluid enough to spread but no longer hot.
- Cut With a Hot Knife: Once completely chilled, use a large, sharp knife warmed under hot water and dried. Wipe and reheat it between cuts for sharply defined layers.
If you love chocolate and mint together, try our grasshopper brownies next for another rich brownie with a creamy mint layer.
Storage Directions
Refrigerator: Store the brownies covered in the refrigerator for up to 5 days. For the best texture, let them sit at room temperature for 10-15 minutes before serving.
Freezer: Fully assembled brownies can be frozen. Wrap them well and thaw overnight in the refrigerator. We've found the frosting and ganache hold up reasonably well after freezing.
Reheat: These brownies don't need reheating. Because of the buttercream and ganache layers, simply let refrigerated brownies sit at room temperature for 10-15 minutes to soften slightly.
Make Ahead: Make the brownies 1-2 days before serving and keep them covered in the refrigerator. The flavor is just as good or slightly better the next day as the mint settles into the other layers.
Serving Suggestions
- À La Mode: Add a scoop of vanilla, chocolate ice cream or brownie ice cream with caramel for a richer plated dessert.
- Chocolate-Mint Dessert: Pair with our mint brownie ice cream when you want to lean into the chocolate-mint combination.
- Simple Dessert: Serve slightly cool or at room temperature with coffee, hot chocolate, or a cold glass of milk.
- Holiday Dessert Tray: Cut into 16 smaller squares for Christmas or St. Patrick's Day dessert trays and parties.
- Brownie Dessert Spread: Serve alongside our caramel brownie trifle, chocolate fudge brownie cake, caramel brownie cheesecake, or brownie batter donut copycat for a chocolate-lover's dessert table.
Chocolate Mint Brownies FAQs
Yes, but the flavor will be different. We tested both and overwhelmingly preferred peppermint extract for the classic chocolate-mint flavor. Mint extract was milder and had more of a spearmint character.
Yes. They're an excellent make-ahead dessert. Prepare them 1-2 days in advance and store them covered in the refrigerator. We found them just as good or slightly better the next day.
The brownies probably need more chilling time. We got the cleanest layers after a 60-70-minute final chill. Use a hot, sharp knife and wipe it clean between every cut.
Our recipe was tested in a 9x9-inch metal pan, so that's the size we recommend. An 8x8-inch pan would create thicker brownies and require a longer baking time, but we haven't tested the recipe in that size.
More Brownie Recipes
If the rich, fudgy-chewy brownie layer is your favorite part, try more of our homemade brownie recipes for everything from classic chocolate desserts to over-the-top brownie treats.


If you try this recipe and love it please leave a star rating in the recipe card below or even better, drop a review in the comment section. I always appreciate your feedback. Be sure to follow along with me on Facebook, Pinterest, and YouTube for more easy recipes!
Chocolate Mint Brownies
Equipment
Ingredients
Chocolate Brownies
- ½ cup unsalted butter melted
- ¾ cup granulated sugar
- ½ cup light brown sugar packed
- 2 large eggs room temperature
- 2 teaspoons vanilla extract
- ¾ cup all-purpose flour
- ½ cup unsweetened cocoa powder
- ½ teaspoon salt
- ½ cup semi-sweet chocolate chips
Mint Frosting
- ½ cup unsalted butter softened
- 2 cups powdered sugar
- 2 tablespoons heavy cream or milk
- ½ teaspoon peppermint extract
- ½ teaspoon vanilla extract
- 2-3 drops green food coloring
Chocolate Ganache
- 1 cup semi-sweet chocolate chips
- ½ cup heavy cream
Instructions
- Make the Brownie Batter. Preheat the oven to 350°F and grease and line a 9x9-inch metal baking pan with parchment paper. Whisk the melted butter with both sugars, then whisk in the eggs and vanilla until smooth and slightly thickened. Stir in the flour, cocoa powder, and salt just until combined, then fold in the chocolate chips.
- Bake and Cool. Spread the batter evenly in the prepared pan and bake for 25-27 minutes, or until the edges are set and just beginning to pull away from the pan and a toothpick inserted in the center comes out with several moist crumbs but no wet batter. Cool completely in the pan for about 1 hour before frosting.
- Make the Mint Frosting. Beat the softened butter until creamy, then gradually mix in the powdered sugar. Add the heavy cream, peppermint extract, and vanilla and beat for 2-3 minutes, until light and fluffy. Add 2-3 drops of green food coloring and mix until evenly colored.
- Frost and Chill. Spread the mint frosting evenly over the completely cooled brownies. Refrigerate for 30 minutes, or until the frosting is firm to the touch. If your kitchen is particularly warm, chill for 30-40 minutes.
- Make and Add the Ganache. Place the chocolate chips in a heat-safe bowl. Heat the heavy cream in the microwave in 15-20 second intervals until hot and just beginning to bubble. Pour it over the chocolate chips and let stand for 2 minutes, then stir until smooth and glossy. Let the ganache cool for 10 minutes so it remains pourable without melting the mint frosting, then spread it evenly over the chilled mint layer.
- Chill and Slice. Refrigerate for 60-70 minutes, or until the ganache is completely set. Lift the brownies from the pan using the parchment and cut into 9 large squares or 16 smaller squares. For the cleanest layers, use a hot, sharp knife, wiping it clean between each cut.
Notes
- Pan: We tested this recipe in a 9x9-inch metal pan.
- Doneness: Several moist crumbs on the toothpick are ideal. Don't wait for it to come out completely clean.
- Peppermint: We found ½ teaspoon gave the best balance. Add more cautiously because peppermint extract becomes strong quickly.
- Chocolate Chips: They add melted chocolate pockets and extra fudginess but can be omitted for cleaner slices.
- Ganache: Cool it for about 10 minutes before spreading so it doesn't soften the mint frosting.
- Chilling: Allow 60-70 minutes for the final chill for the cleanest layers.
- Serving: For our preferred texture, let refrigerated brownies sit at room temperature for 10-15 minutes before eating.
- Make Ahead: These are excellent made 1-2 days ahead and refrigerated.

Leave a Reply