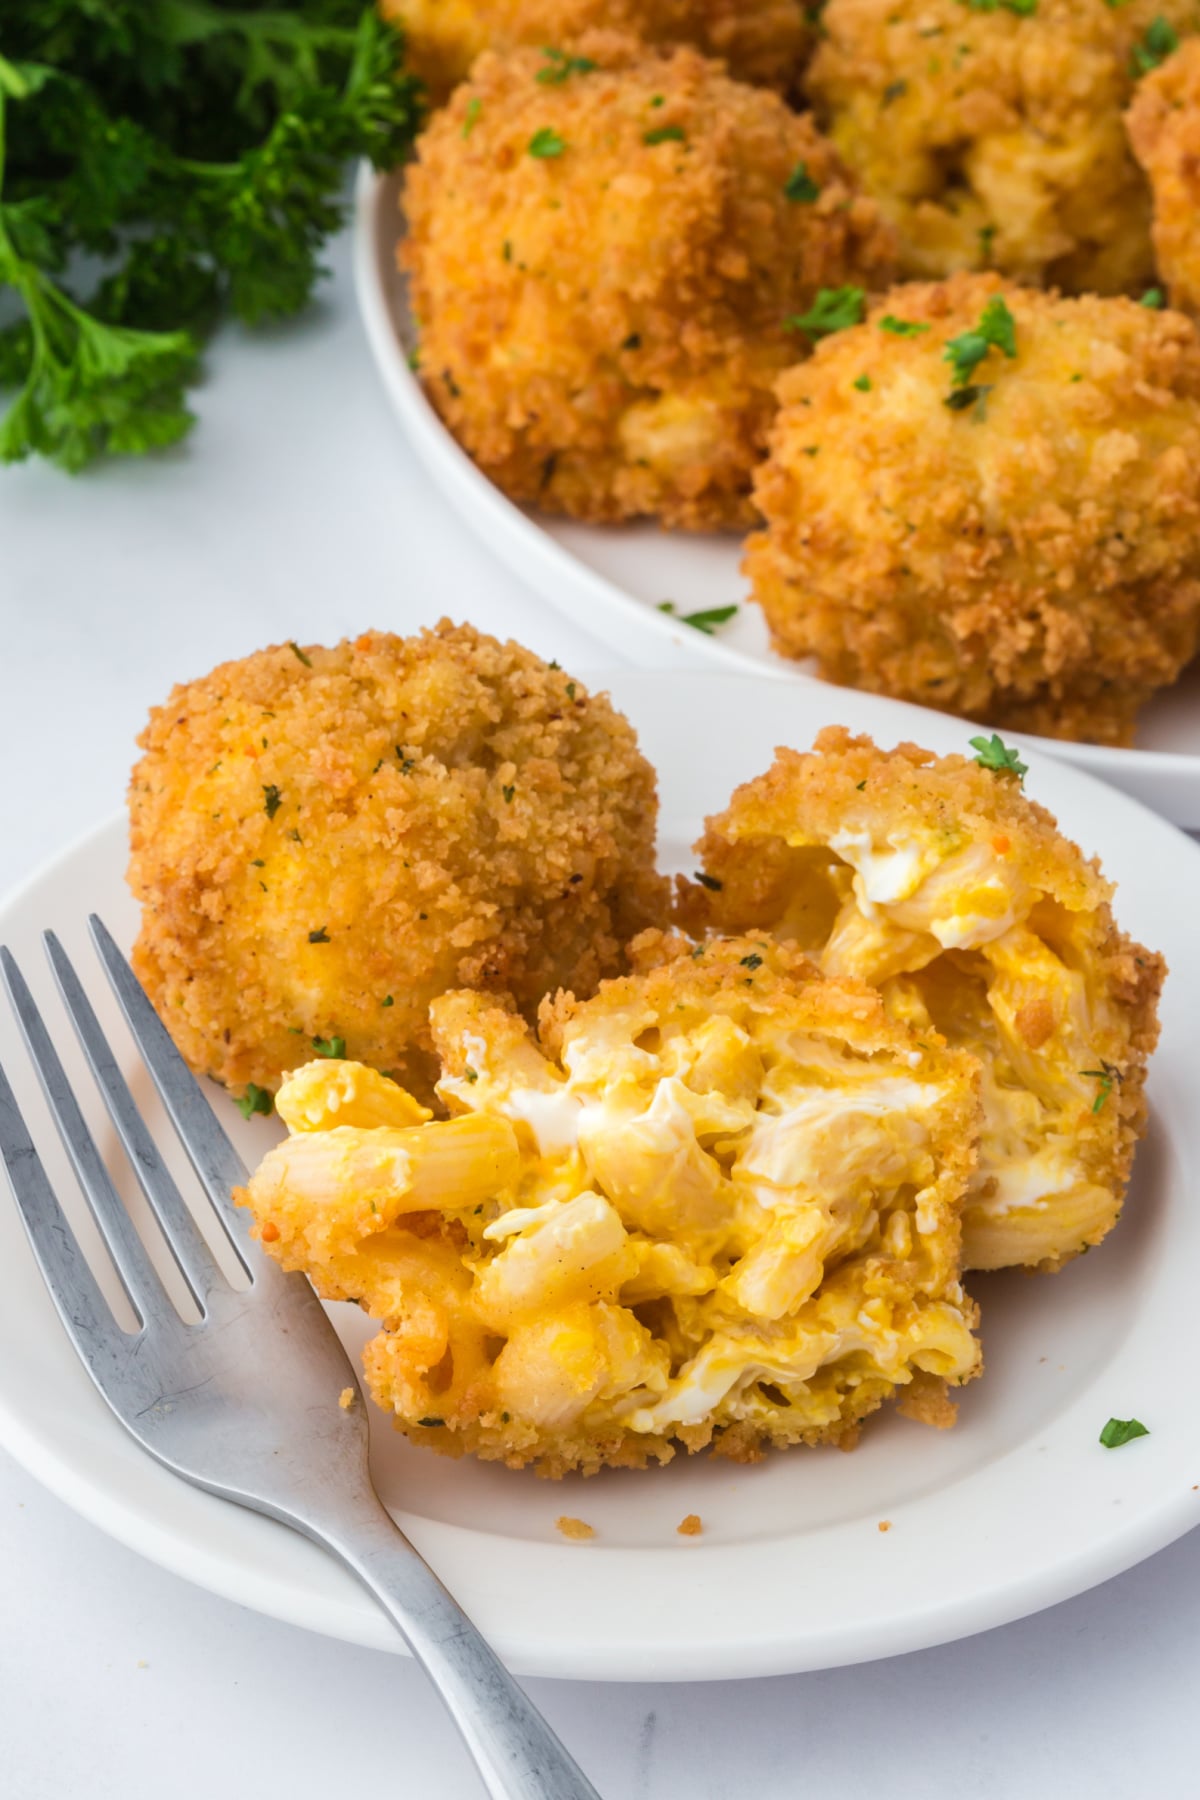
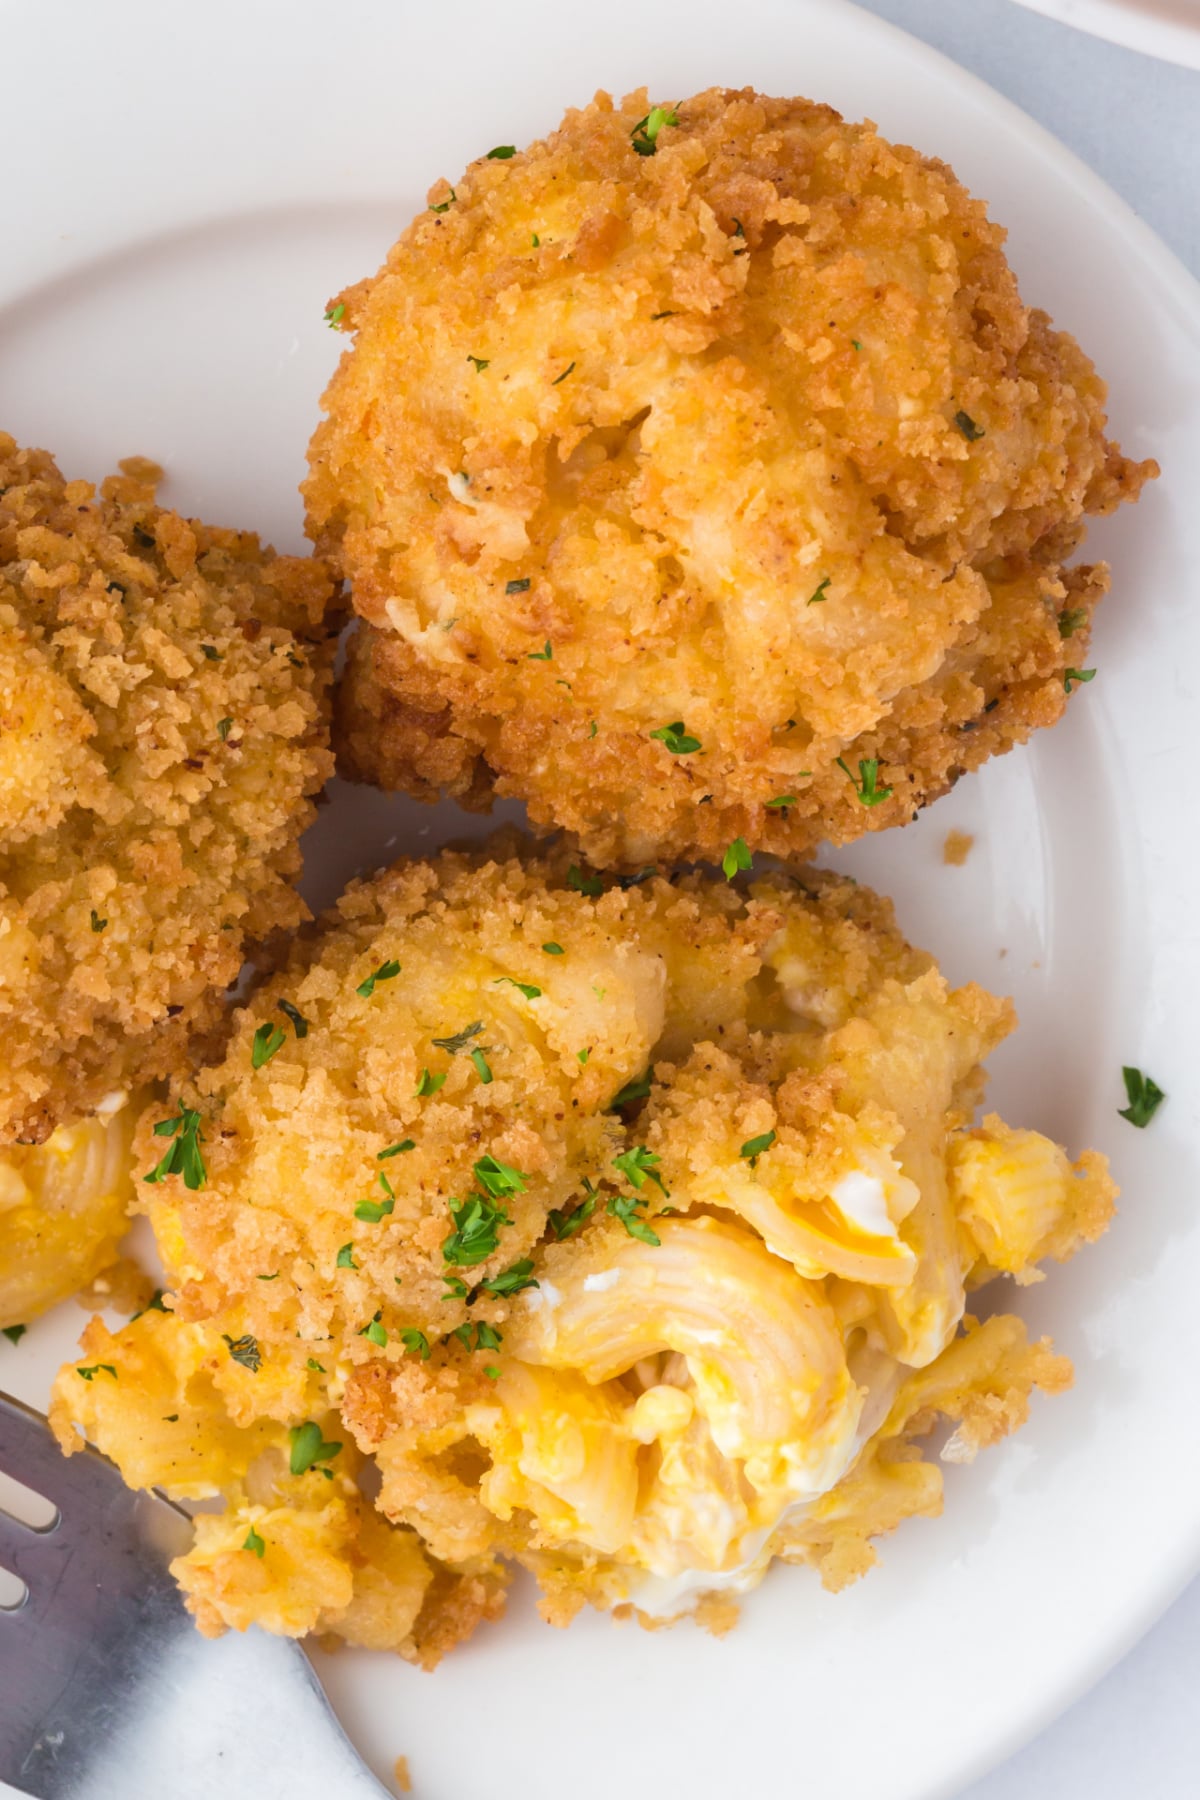
I love mac and cheese, and I really love Fried Mac and Cheese Balls even more! The crunchy breading on the outside is a textural dream, contrasting perfectly with the tender macaroni and gooey cheese inside.

Recipe Essentials
- 🍽️ Course: Appetizer
- ⏱️ Cooking Time: 12 minutes
- 🍴 Servings: 12
- 🧄 Flavor Profile: Ultra-creamy, cheesy macaroni on the inside with a crispy, golden-fried exterior and savory comfort-food richness.
- 🍚 Best Served With: Marinara, ranch, or spicy aioli for dipping, alongside burgers, wings, or as a party appetizer.
- 🧊 Make Ahead?: Yes, assemble and chill or freeze the balls ahead of time, then fry just before serving for the best texture.
Summarize and Save This Content On
Who knew you could make extra cheesy mac and cheese even better by rolling it into balls and deep frying them? This is one of the go-to appetizers that I prepare for parties because there's never any left to take home. I promise that the flavor and texture will always be a hit.
I recommend Southern fried shrimp and crispy fried tomatoes as options for additional fried starters.
Jump to:
Why You'll Love This Recipe
- It's an easy appetizer: These fried macaroni and cheese balls make a super simple yet delicious appetizer. Once chilled, they're ready in about 20 minutes.
- It's a great use of mac and cheese: I like creative recipes, and this one allows you to enjoy macaroni and cheese in a whole new way!
- It's inexpensive to make: This crispy fried snack won't break the bank either. It doesn't cost much to prepare, making it ideal for a tight budget like our mac and cheese with ground beef.
Ingredients
Below are the main ingredients needed for this mac and cheese balls recipe. They're easy to find, too!
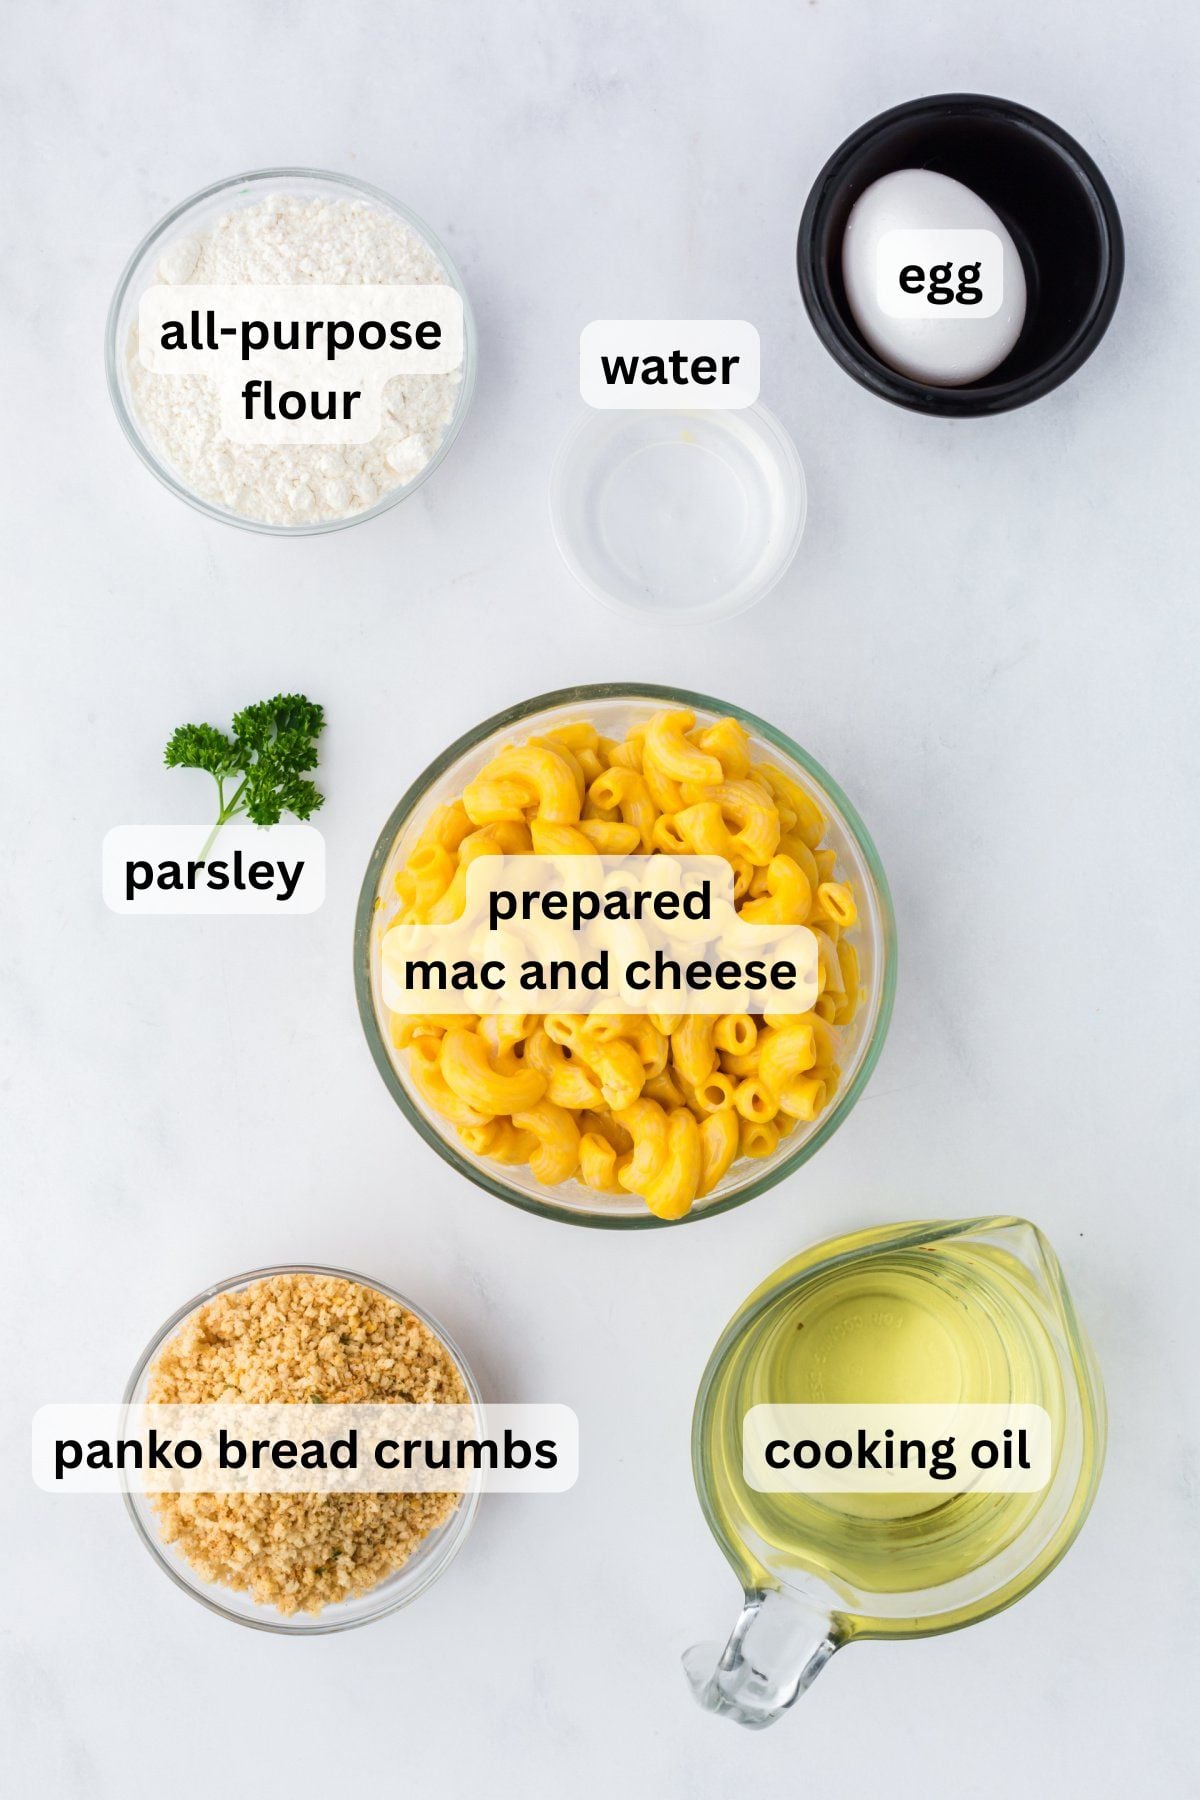
- Mac and cheese: If you use fresh macaroni and cheese for this recipe, don't skip the chilling step to ensure the balls hold together. If you're making it homemade, I recommend cream cheese mac and cheese or skillet mac and cheese with bacon.
- Panko breadcrumbs: This variety offers the best possible crunch. You may use plain or Italian breadcrumbs in a punch, but I adore the texture of panko.
See the recipe card below for exact ingredient amounts, nutritional information, and detailed instructions.
Variations
- Add bacon: Stir about ¼ cup of bacon bits or chopped bacon into the mac and cheese before it cools.
- Make it spicy: Add chopped jalapeno to the macaroni and cheese or some seasoning like ¼ teaspoon of jalapeno powder. A teaspoon of Scotch Bonnet hot sauce also works.
- Add a parmesan crust: Replace ½ cup of breadcrumbs with finely grated parmesan for a cheesier flavor.
How to Make Mac and Cheese Balls
These are the steps you'll need to make these mac and cheese balls. Ensure that you get your oil nice and hot while the mac and cheese balls set up in the refrigerator.
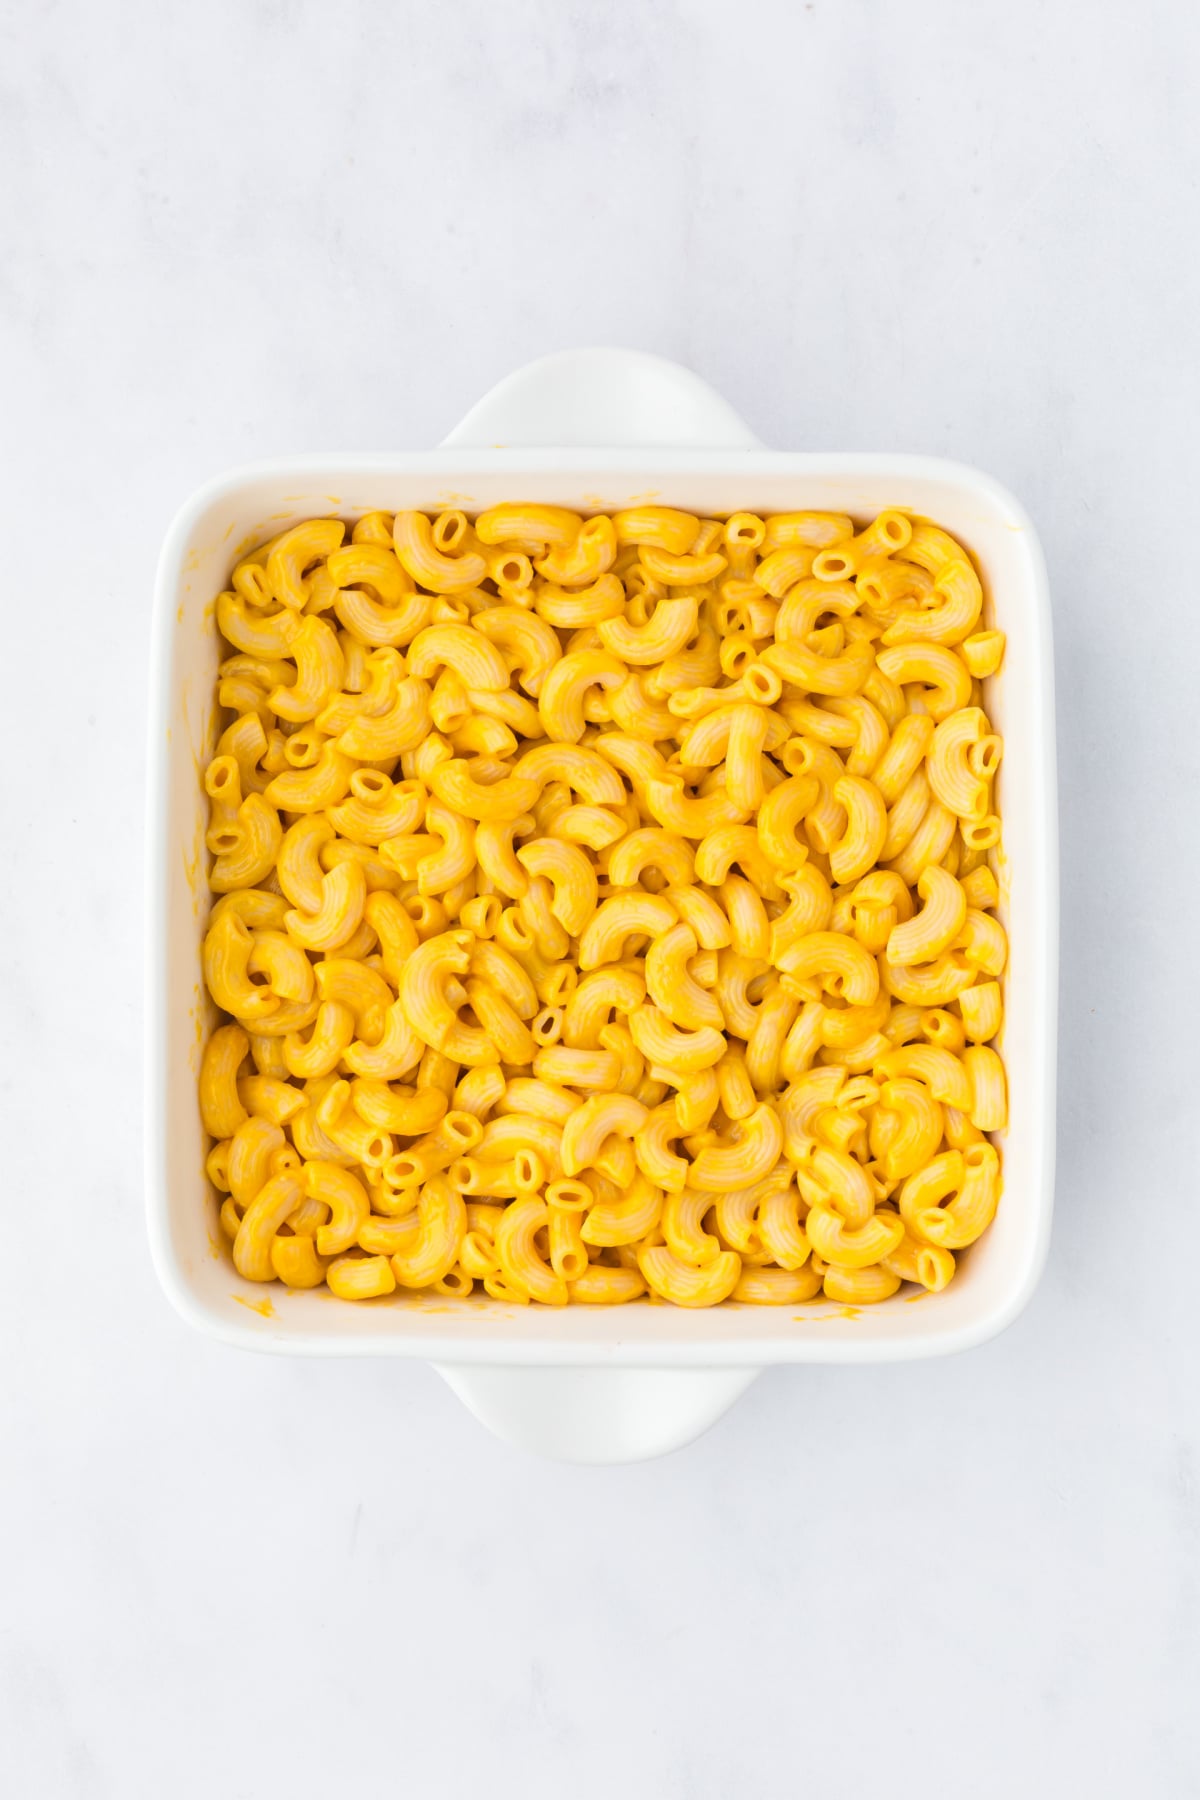
Step 1: Chill the mac and cheese. Start by spreading the mac and cheese into the bottom of an 8x8 baking dish, then stick it in the refrigerator for at least 4 hours.
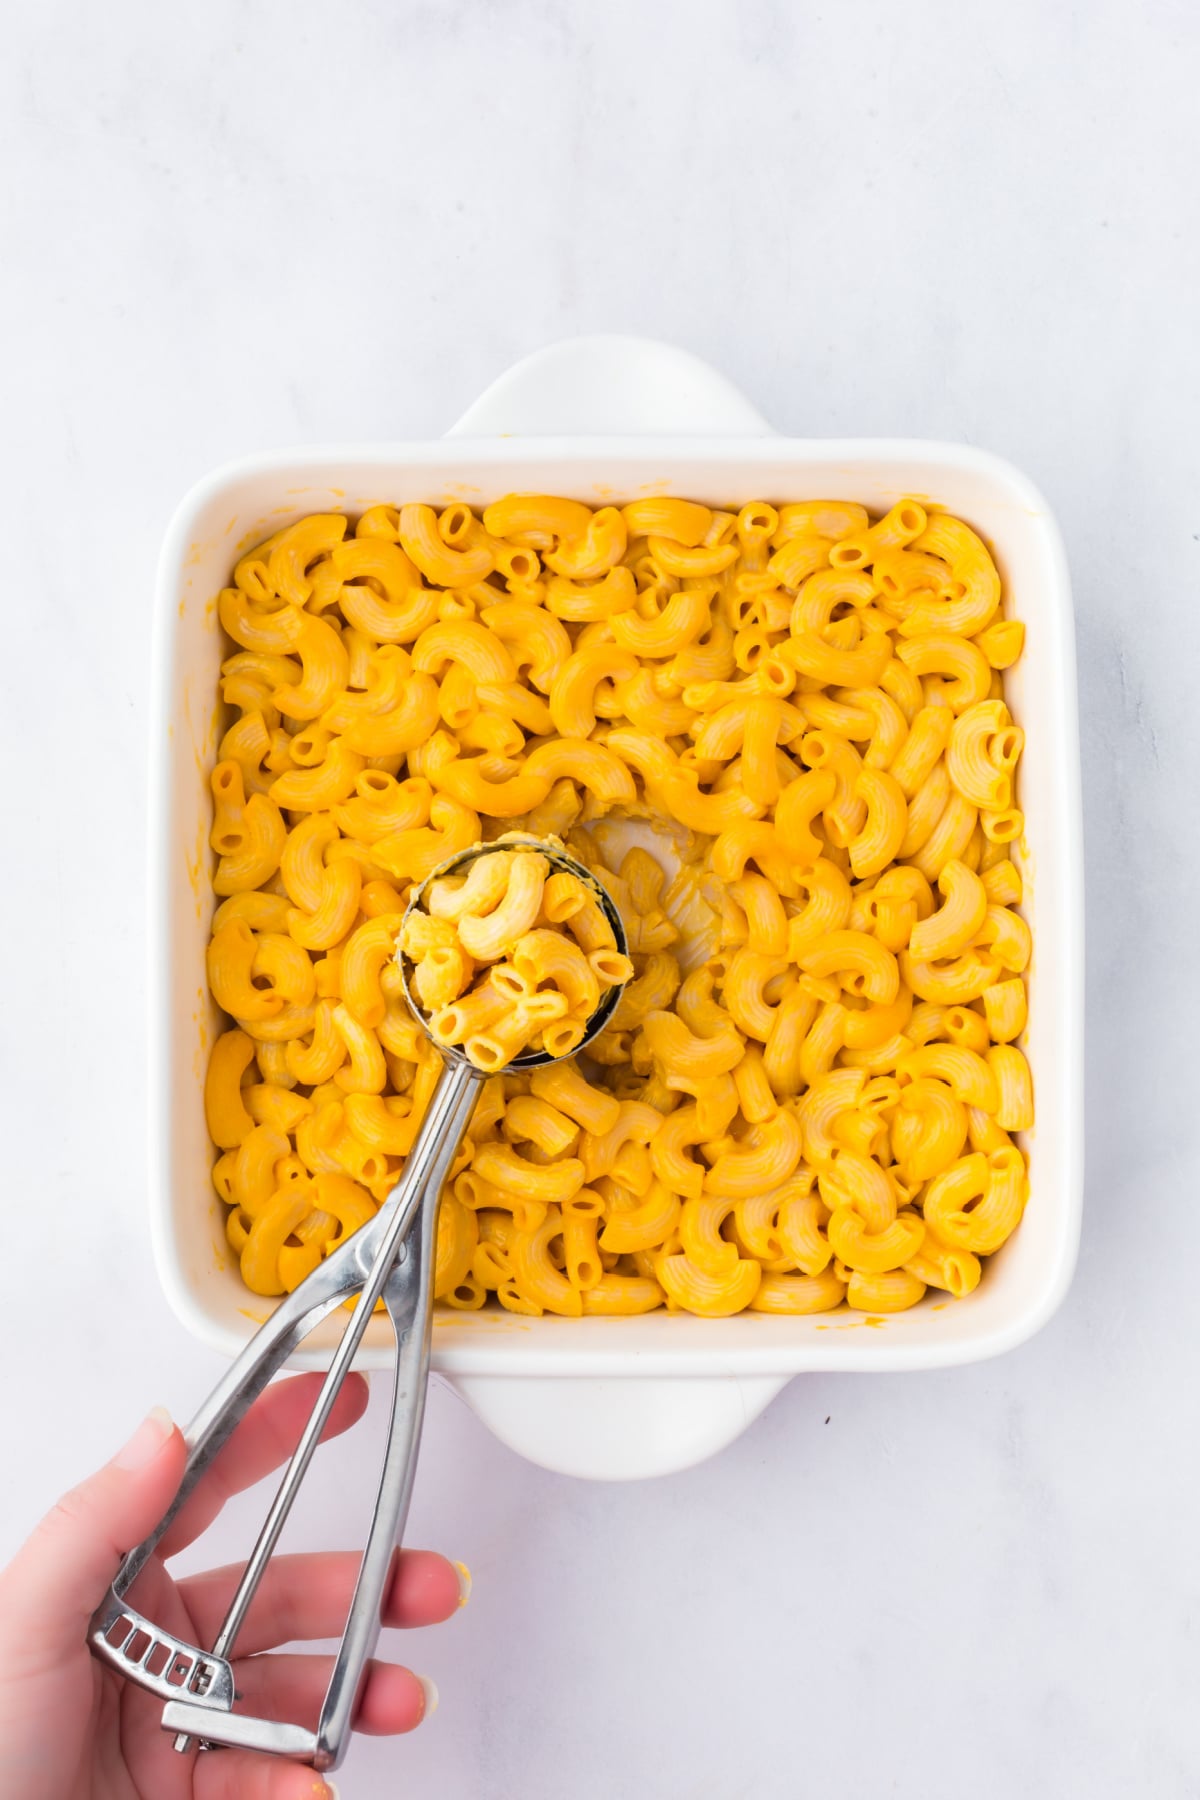
Step 2: Scoop it into balls. Next, scoop the chilled mac and cheese into even balls.
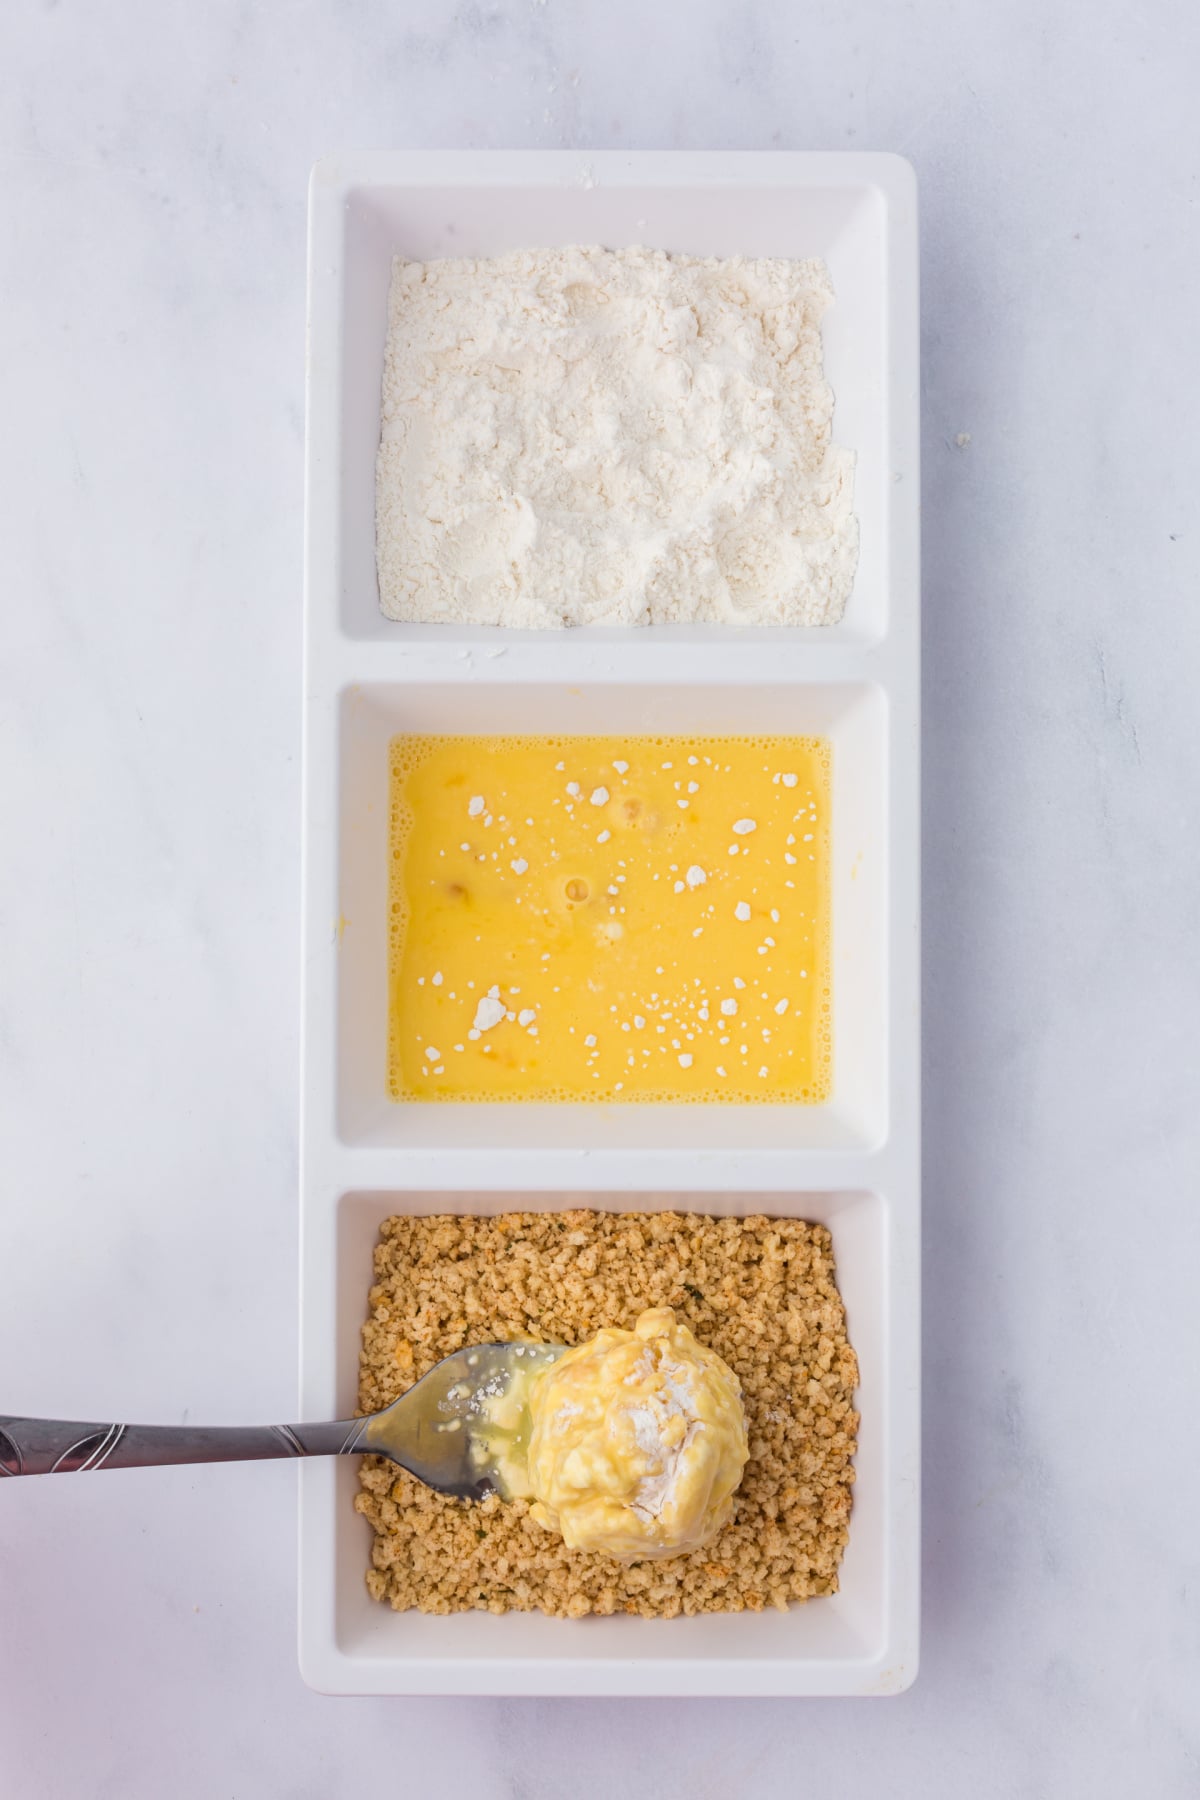
Step 3: Dredge them. Roll each ball in flour, then egg and water, and finally panko.
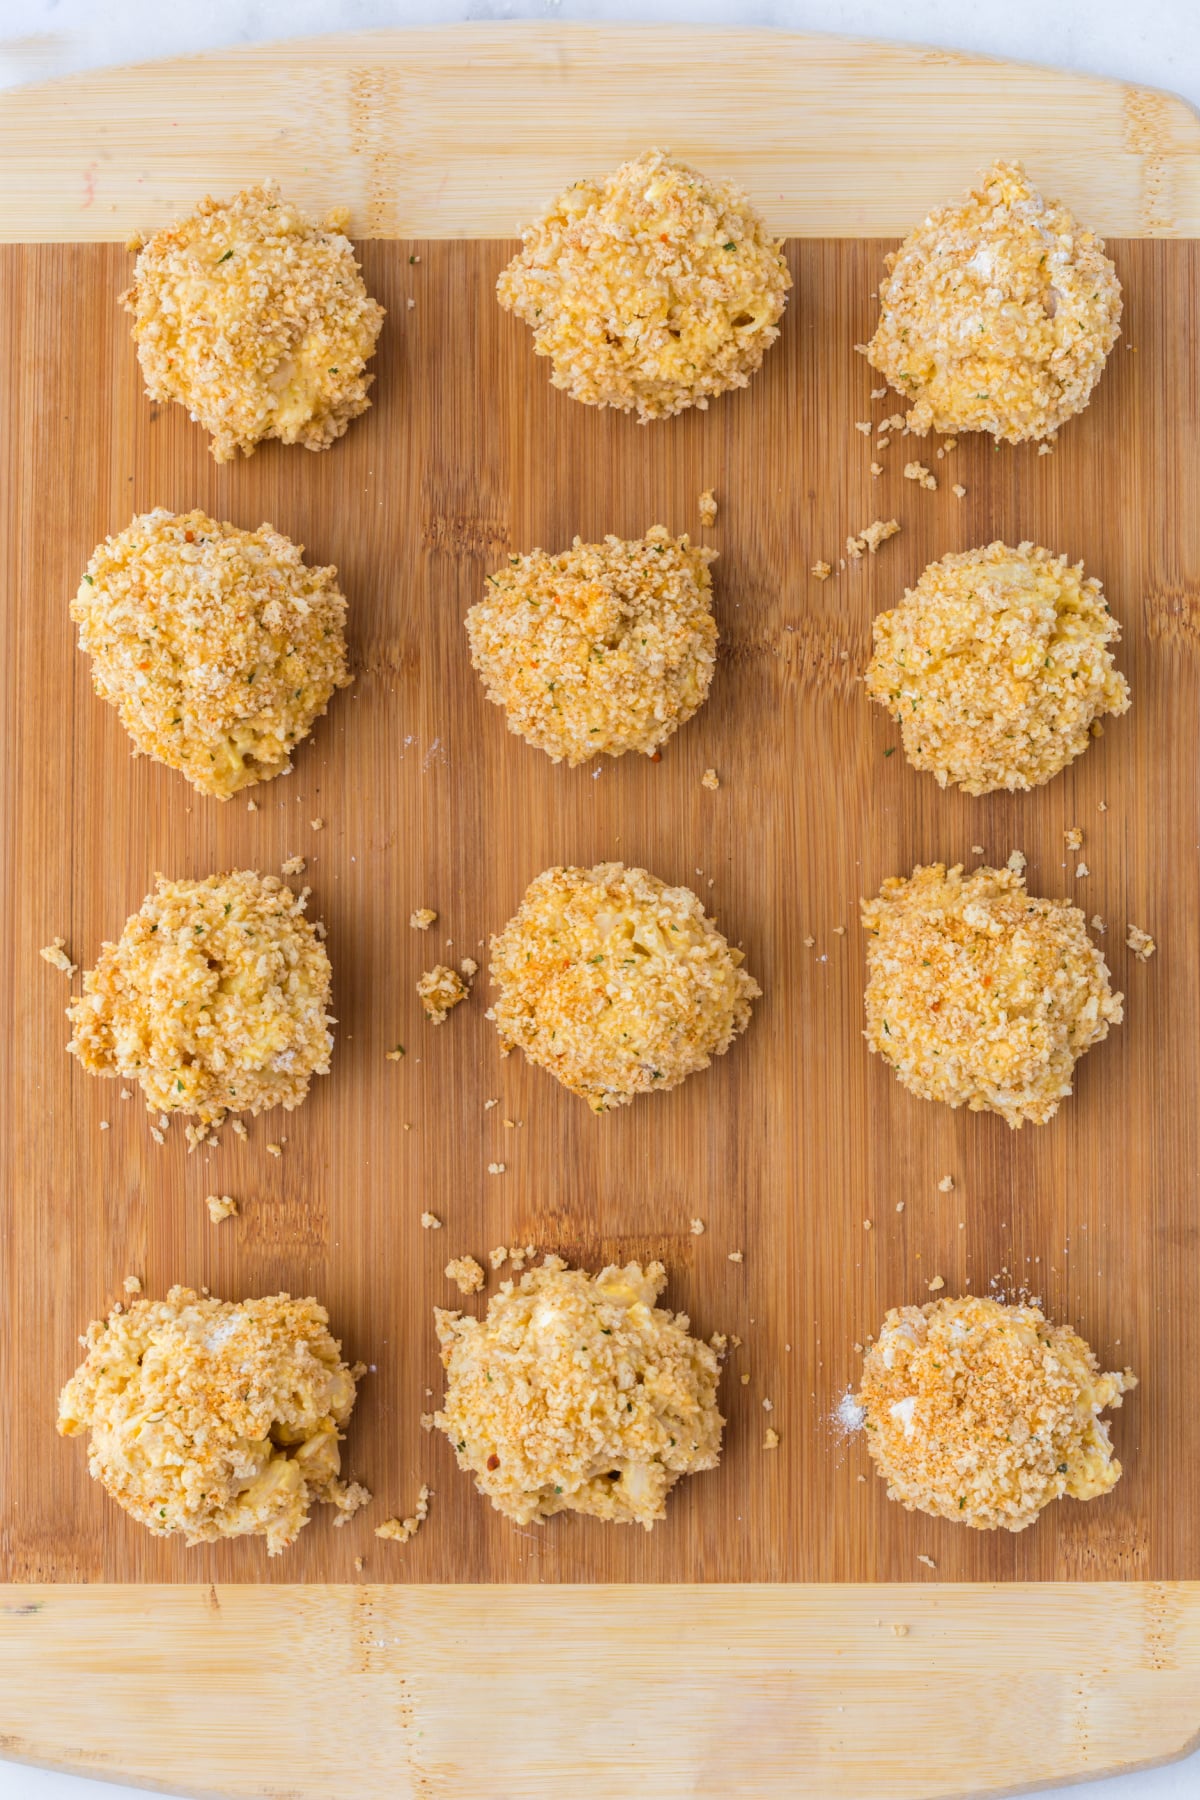
Step 4: Set them in the fridge. Then place them all on a flat, non-stick surface and stick them in the fridge while the oil heats up.
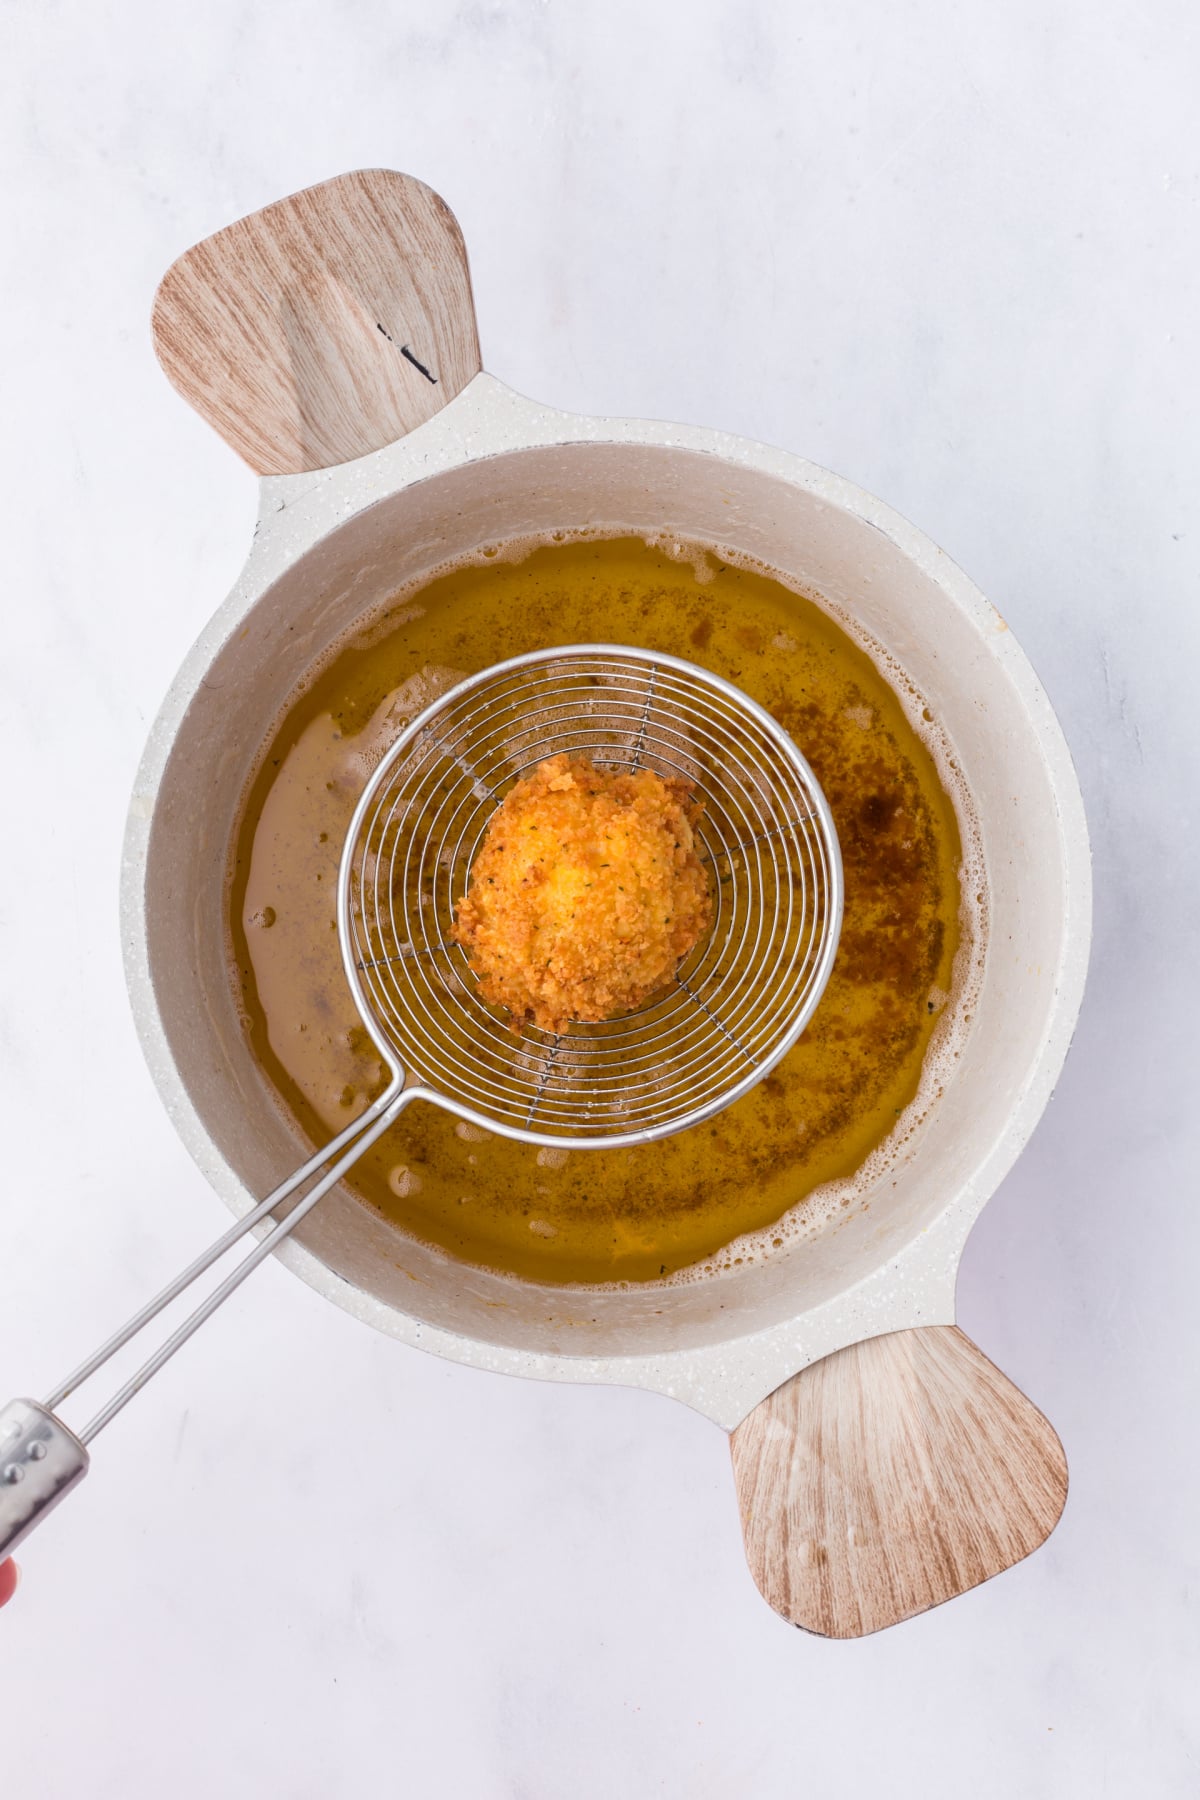
Step 5: Fry them. Now you can add 1-2 mac and cheese balls to the hot oil and cook them for about 3 minutes, turning them often.
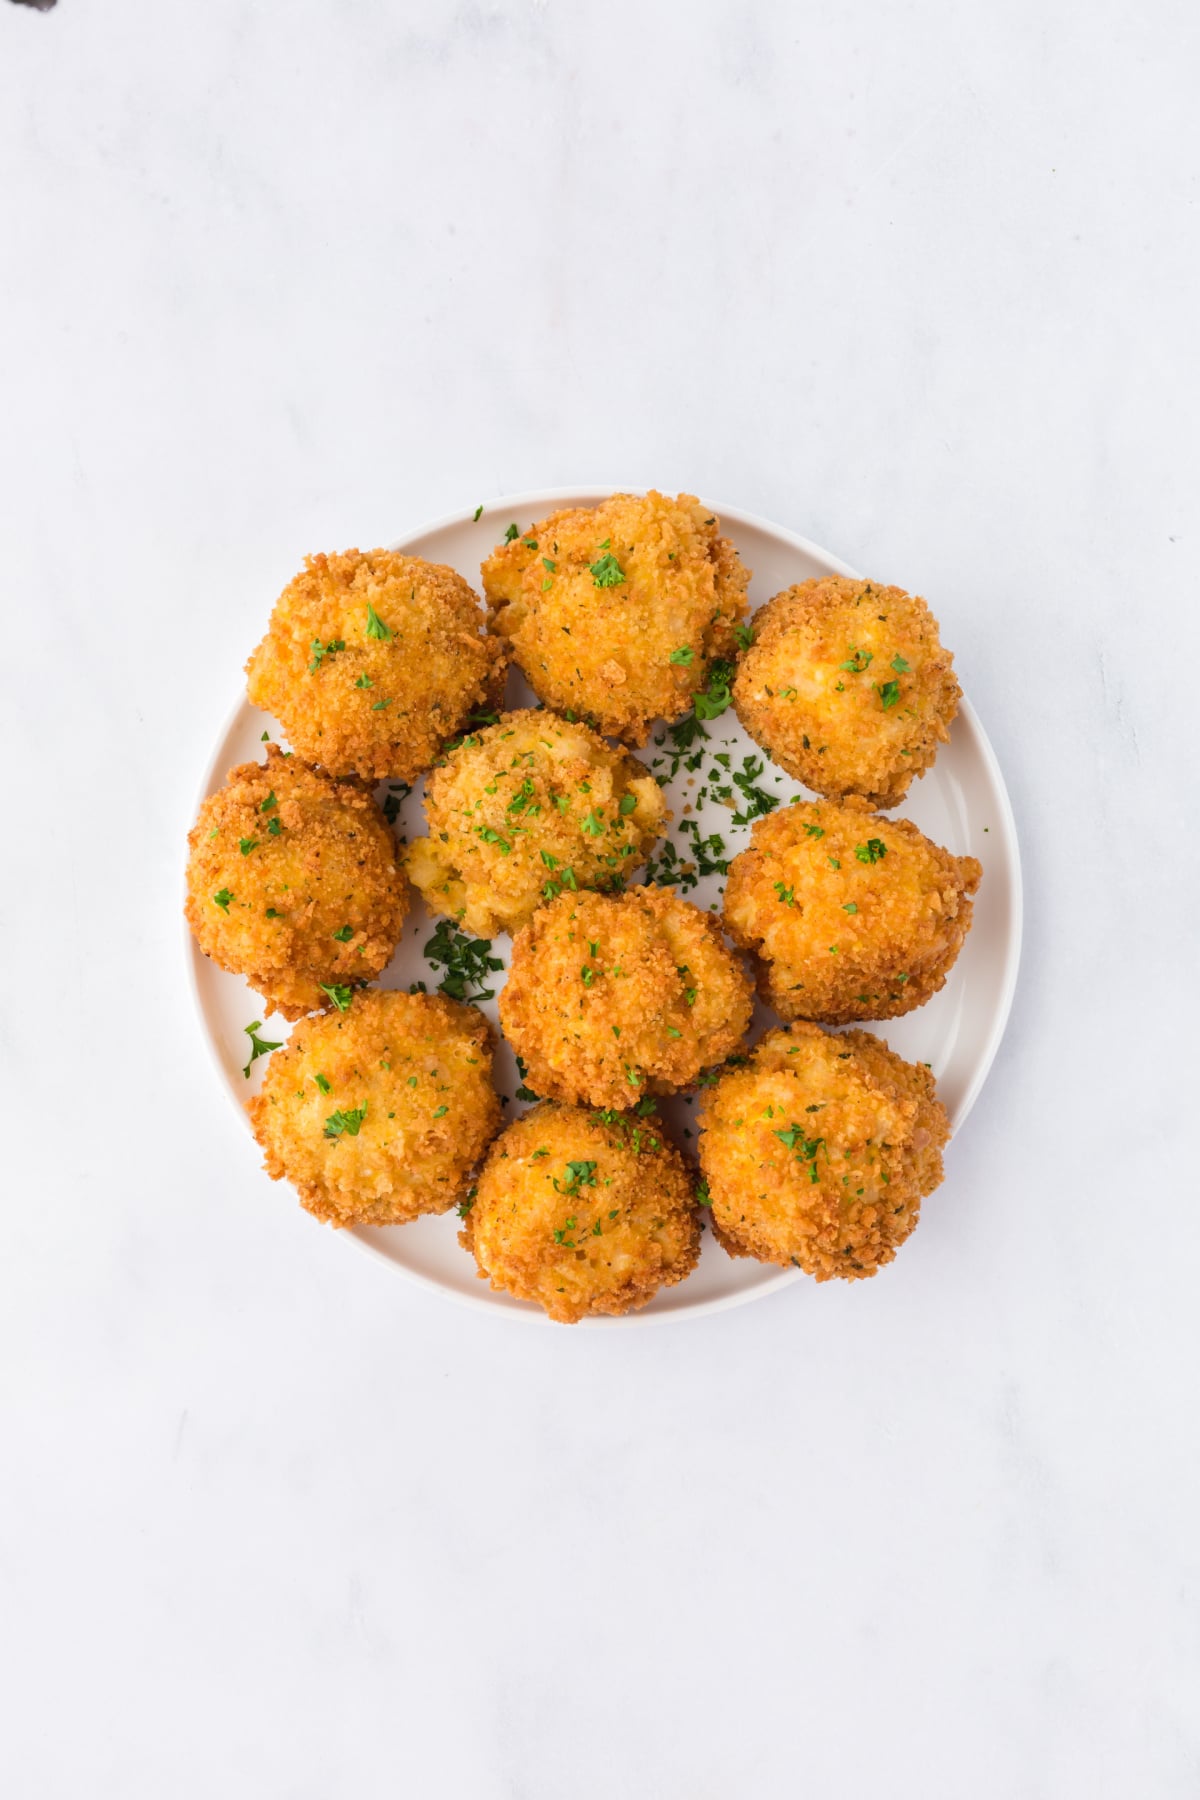
Step 6: Garnish and serve. Once they are all fried golden brown, sprinkle with fresh parsley and enjoy!
Recipe Tips
- Use a cookie scoop: I like to use a 2-inch cookie scoop to help ensure all the mac and cheese balls are the same size and evenly round.
- Only use cold mac and cheese: Do not try to roll the mac and cheese while it's still hot. It will burn you and not hold together. Wait until it has chilled in the refrigerator for at least a few hours.
- Allow the oil to get hot: The oil must be fully hot and ready, or your mac and cheese balls will not cook properly or achieve that lovely golden brown.
These chevre goat cheese balls are just as cheesy and crispy as these fried mac and cheese bites.
Storage Directions
- Storing: Store leftover mac and cheese balls in an airtight container in the refrigerator for up to 4 days or in the freezer for 3-4 months.
- Reheating: These are best reheated in the air fryer or oven. They should take about 3-5 minutes in a 400-degree air fryer, or 6-8 minutes in a 400-degree oven. The microwave will make the breading soggy.
- Make Ahead: This is a great make-ahead recipe because you can make the macaroni and cheese ahead, and you can also form the balls and keep them in the refrigerator for a few hours until you're ready to fry them.
Serving Suggestions
- Some of my favorite dips for these mac and cheese balls include ketchup, hot BBQ sauce, and buttermilk ranch dip.
- Enjoy the best juicy bourbon burger with mac and cheese balls as a side, or put one right on the bun!
- Serve them as an appetizer alongside these air fryer bacon-wrapped onion rings.
- Add leftover mac and cheese balls to a classic pasta salad for a fun lunch twist.
Recipe FAQs
Of course! Any leftover mac and cheese would be great for this recipe. Just use it straight from the fridge!
This happens if the mac and cheese is too warm or if the oil isn't hot enough. Ensure the oil is hot and shimmering before you drop the mac and cheese balls, and that the pasta is adequately chilled.
Sure! Spray the outside of the mac and cheese balls with oil and air-fry them at 400 degrees for about 10 minutes, rotating halfway through.
More Delicious Appetizer Recipes
Do you like appetizer recipes? Here are some recipes you may also like to try.


If you try this recipe and love it please leave a star rating in the recipe card below or even better, drop a review in the comment section. I always appreciate your feedback. Be sure to follow along with me on Facebook, Pinterest, and YouTube for more easy recipes!

Fried Mac and Cheese Balls
Ingredients
- 3½ cups prepared mac and cheese still hot
- 1 cup all-purpose flour
- 2 large eggs
- 2 tablespoons water
- 2 cups Italian panko breadcrumbs
- 4 cups cooking oil or enough to fill your pot at least 2 inches
- parsley garnish
Instructions
- Prepare your mac and cheese.
- Spray an 8x8 casserole dish with nonstick cooking spray and spread your mac and cheese out evenly, making sure to press it down and pack it tight into the dish. Cover tightly and refrigerate overnight or at least 4 hours. This allows the cheese to set and hold the pasta together.
- Make the balls.
- With a 2 - inch cookie scoop or large rounded spoon, scoop the mac and cheese into evenly shaped balls.
- Add the breading. Set up a dredging station with 3 bowls. Fill a bowl with the flour, one with the breadcrumbs, and in the third bowl, beat the eggs with the 2 tablespoons of water. Roll each mac and cheese ball in flour first, egg wash second, and lastly coat in breadcrumbs. Set them aside on a nonstick flat surface and place them in your refrigerator while you heat the oil.
- Heat the oil and cook.
- Fill a large cooking pot or high sided skillet with at least 2 inches of oil, enough to submerge the balls. Heat the oil over
- medium - high heat until ready to fry. You can test this by dropping a small amount of egg wash (a single drop) and seeing how it reacts to the oil. If it sizzles, it's ready.
- Fry the balls.
- Carefully add each mac and cheese ball to the heated oil one at a time. You can work in batches of 2 or 3, but no more than that, because each ball you add to the oil will lower the oil temperature a bit. Turn the balls as the cook for about 3 minutes to ensure an even golden- brown crisp coating.
- Remove them from the heat.
- Using a heat -safe slotted spoon or cooking spider, remove the balls from the oil and set them aside to cool slightly. Sprinkle with chopped parsley to garnish.
- Serve.
Notes
- Use leftover macaroni and cheese instead of making it fresh to reduce waste and time!
- Ensure the mac and cheese is cold, and the oil is hot enough to prevent the balls from falling apart as they cook.
- I recommend using a cookie scoop to get evenly shaped and sized mac and cheese balls.
Leave a Reply