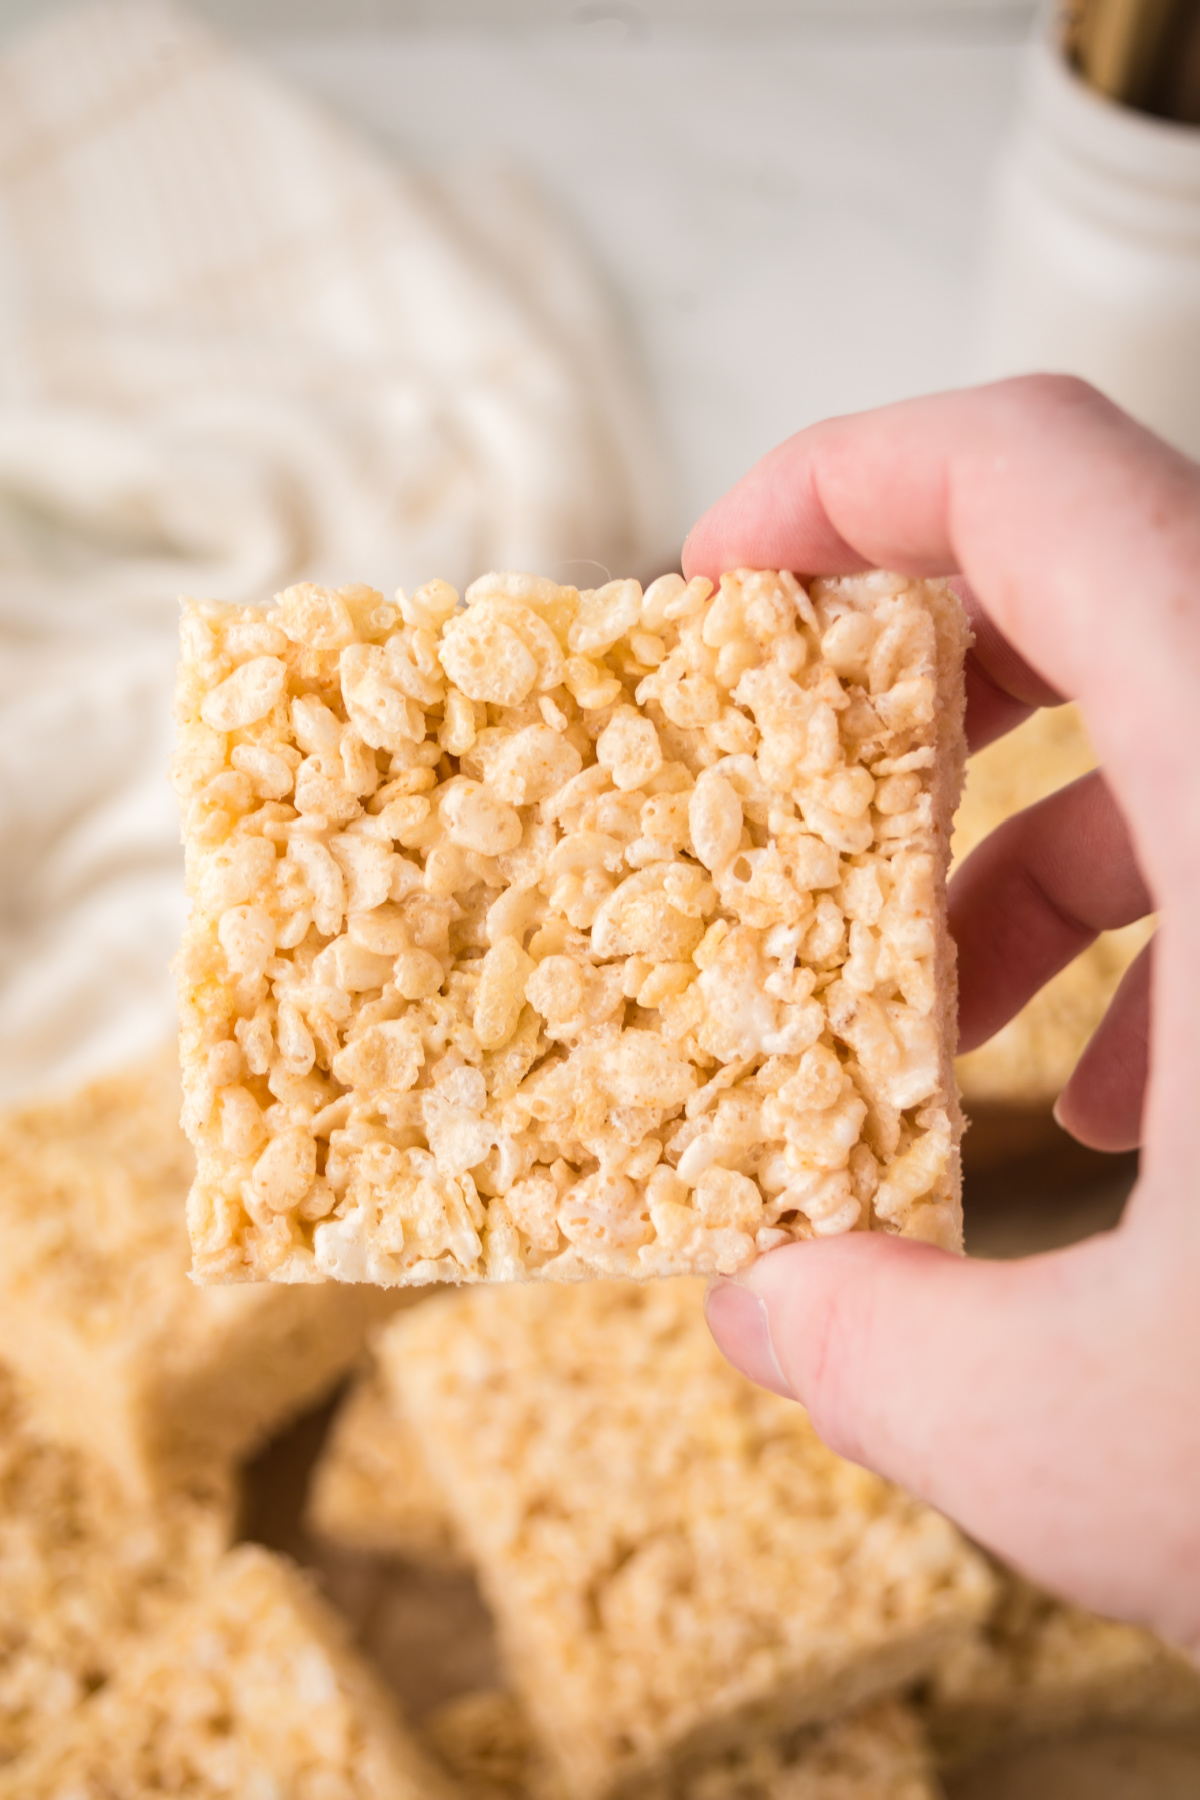
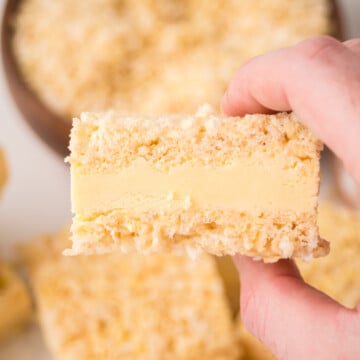
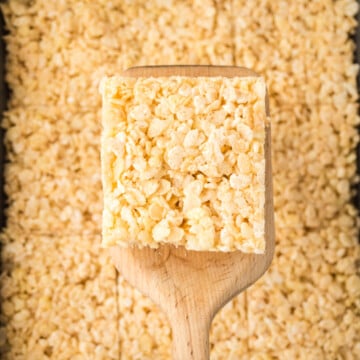
These Browned Butter Rice Krispie Treats take the classic childhood favorite and turn it into a rich, nutty, bakery-style dessert that tastes completely irresistible. The deep amber brown butter adds caramel-like flavor while gooey marshmallows keep every bite soft and chewy. If you think you've had good Rice Krispie treats before, just wait until you try these.
Browned Butter Rice Krispie Treats RECIPE ESSENTIALS
🍽️ Course: Dessert, Snack
⏱️ Cooking Time: 15 minutes + 1 hour cooling
🍴 Servings: 12 squares
🧄 Flavor Profile: Buttery, nutty, sweet with a hint of salt
🍚 Best Served With: Coffee, milk, or vanilla ice cream
🧊 Make Ahead?: Yes, up to 2 days in advance
Summarize and Save This Content On
There's something magical about browning butter. The moment it turns that deep golden amber and fills your kitchen with a toasted, almost caramel aroma, you know something incredible is happening. These Rice Krispie treats with browned butter are soft, chewy, slightly salty, and packed with rich flavor that makes them feel homemade in the very best way.
This browned butter rice krispie treats recipe was inspired by my peanut butter Oreo Rice Krispie treats on this site, and pairs perfectly with our Rice Krispie treat cereal cake.
Jump to:
- Browned Butter Rice Krispie Treats RECIPE ESSENTIALS
- Why You Will Love This Recipe
- Ingredients
- Variations
- Hoe to Make Browned Butter Rice Krispie Treats
- Expert Tips
- Storage Directions
- Serving Suggestions
- Browned Butter Rice Krispie Treats Recipe FAQs
- More Rice Krispie Recipes
- Rice Krispie Treats with Browned Butter
Why You Will Love This Recipe
- Big gourmet flavor: Browned butter adds rich nutty caramel flavor while the marshmallow-to-cereal ratio keeps them perfectly soft and chewy.
- Quick and easy: Made with simple pantry staples in just 15 minutes of active cooking time.
- Fun and customizable: Easy to adapt with chocolate, peanut butter, seasonal mix-ins, and flavors both kids and adults love.
Ingredients
You only need a handful of basic ingredients for these brown butter Rice Krispies - most of which you probably already have in your kitchen.
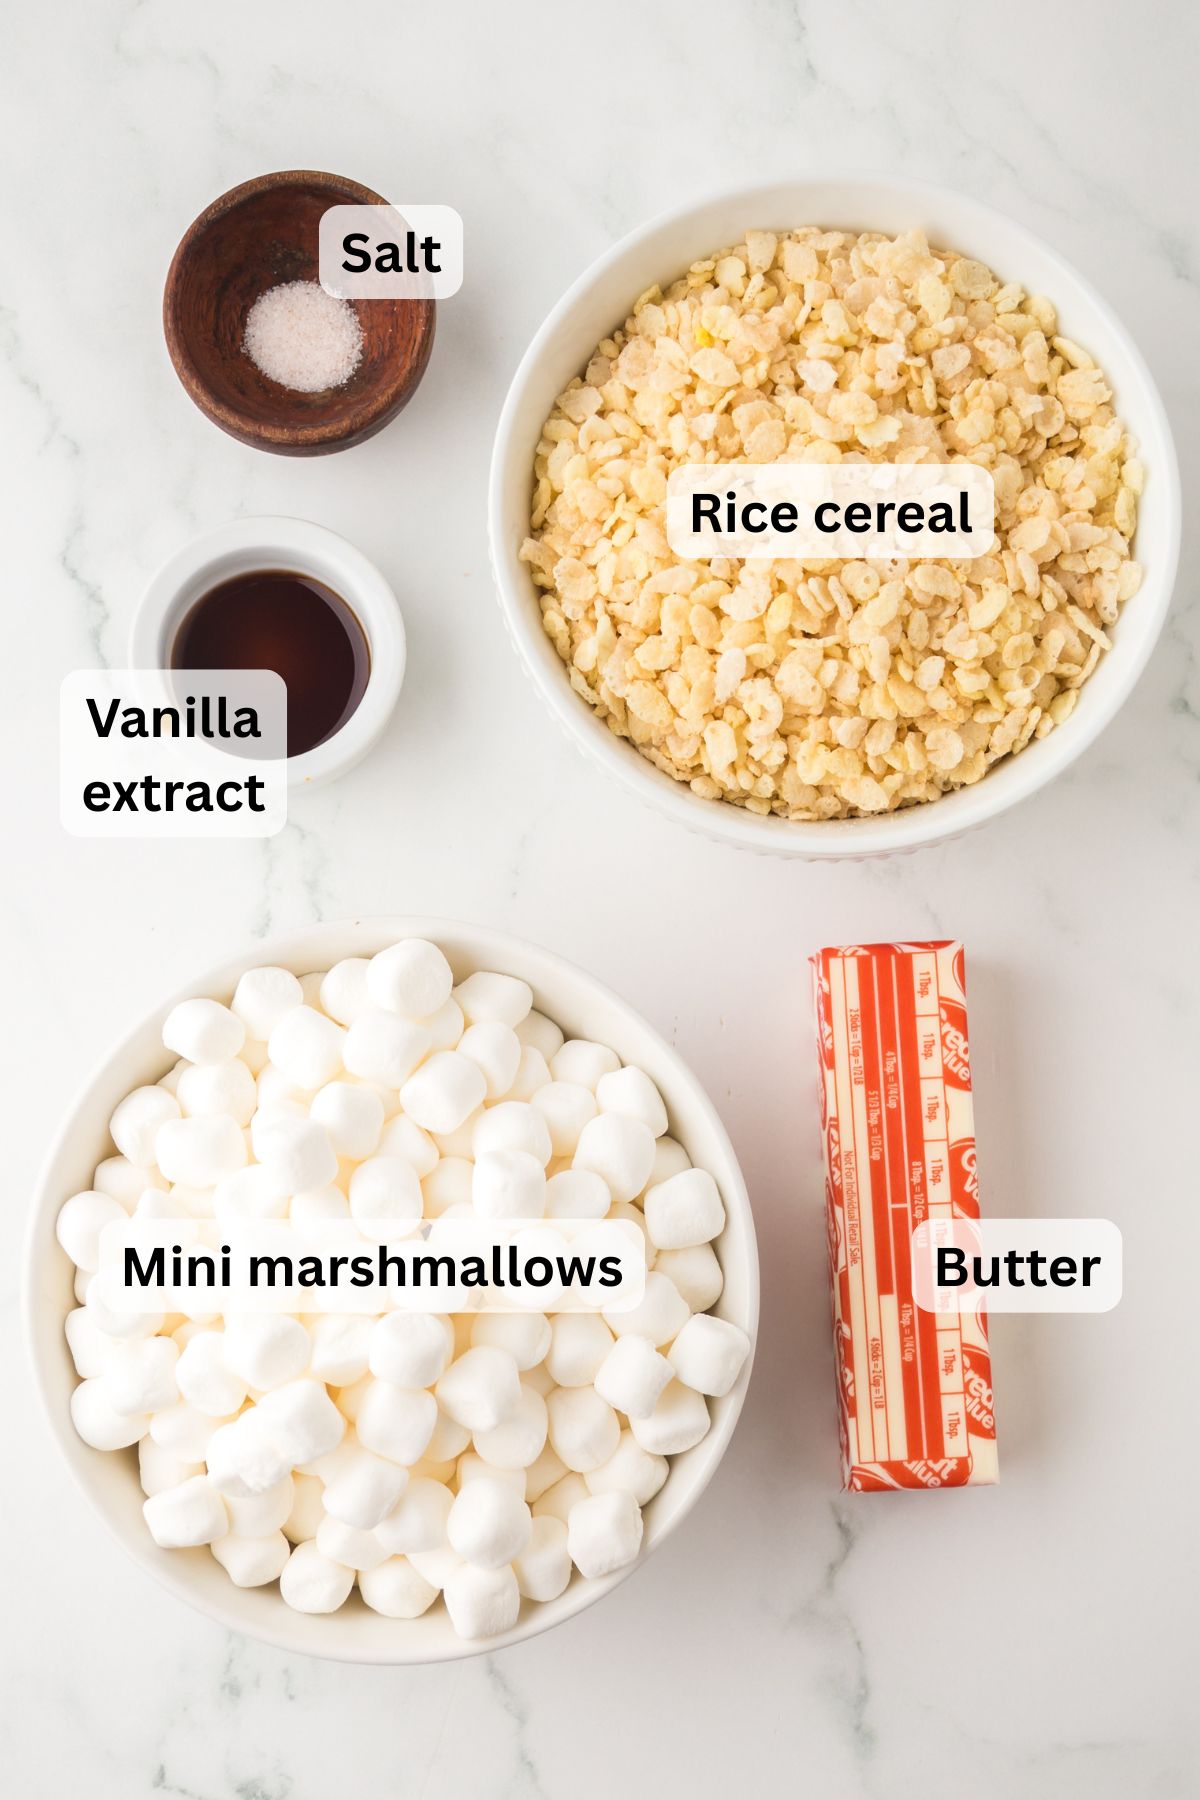
- Salted Butter: The star of the recipe. Browning it creates rich, nutty depth.
- Mini Marshmallows: Melt smoothly and create that gooey texture.
- Salt: Balances sweetness and enhances the brown butter flavor.
- Vanilla Extract: Rounds out and softens the caramel notes.
- Rice Krispies Cereal: Provides the classic crispy crunch and structure.
See the recipe card below for the exact quantities of each ingredient.
Variations
- Chocolate lovers: Add melted chocolate drizzle, dark chocolate swirls, chocolate ganache, crushed sandwich cookies, Reese's cups, butterscotch chips, or mini M&Ms.
- Rich flavor upgrades: Add caramel and flaky sea salt, espresso powder, cinnamon sugar, toasted coconut, or marshmallow fluff layers.
- Nutty twists: Stir in creamy or crunchy peanut butter, chopped pecans, walnuts, salted almonds, or peanut butter cookies for extra crunch and flavor.
Hoe to Make Browned Butter Rice Krispie Treats
These Rice Krispie treats brown butter come together in just a few simple steps. Don't let browning the butter intimidate you - it's easy and adds incredibly rich flavor that takes these treats to the next level.
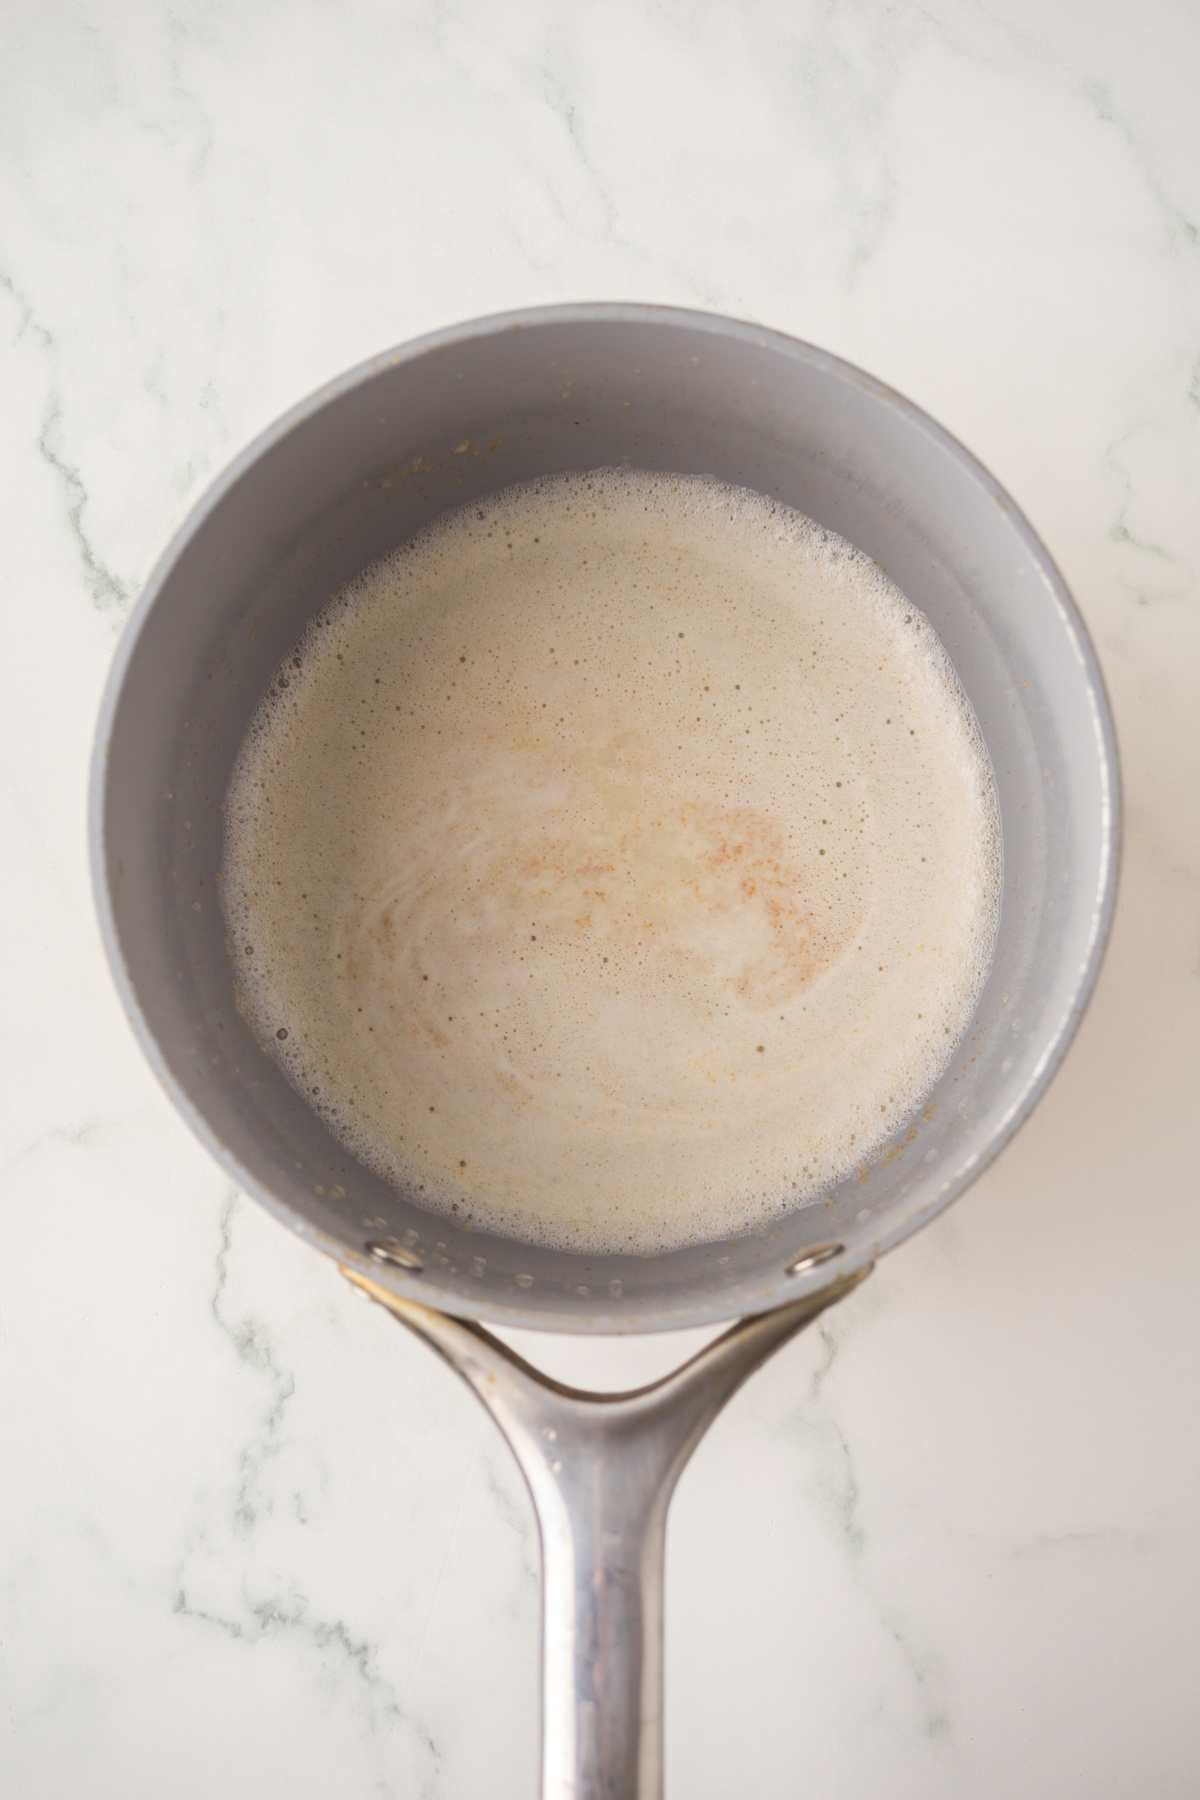
Step 1: Making brown butter. Melt your butter in a pot over medium heat. Once the butter is melted completely, continue stirring frequently until it turns a deep amber color.
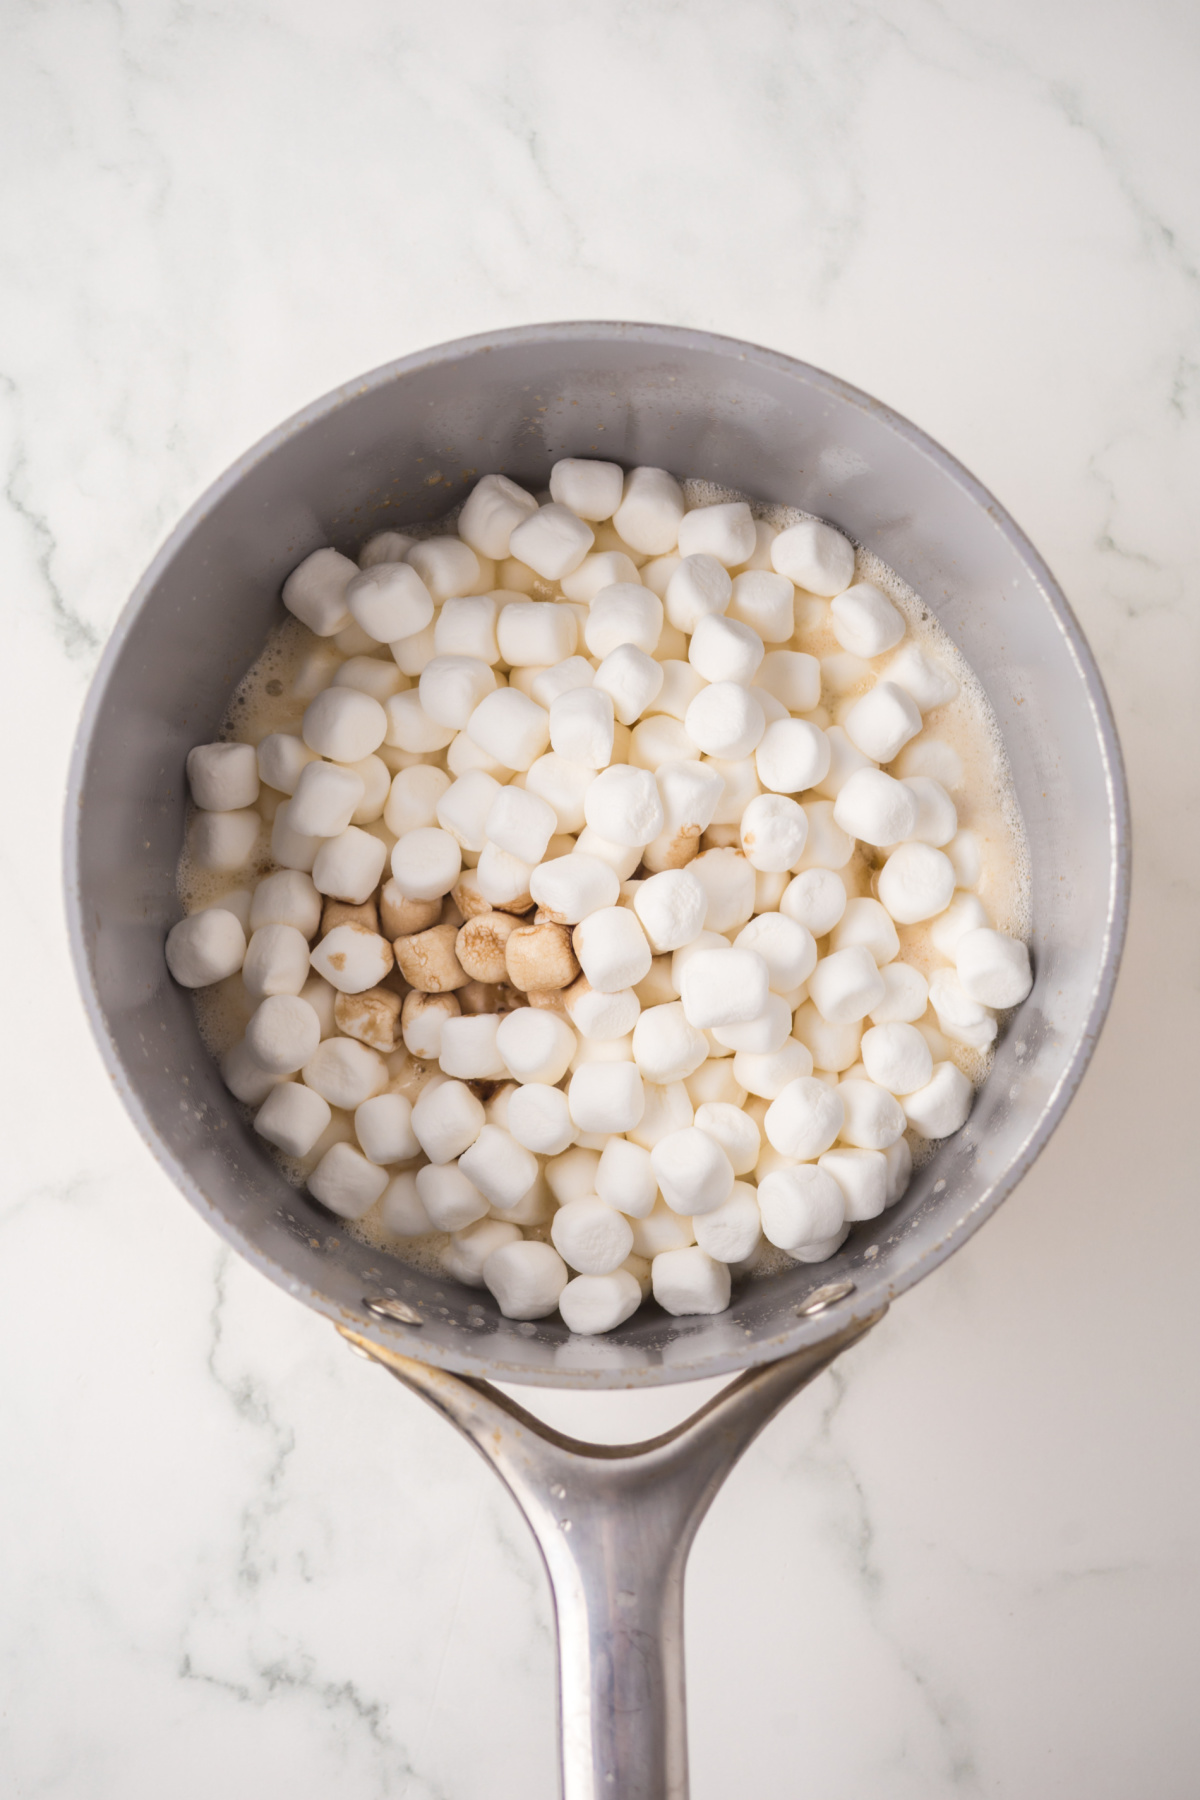
Step 2: Create marshmallow mixture. Immediately add the marshmallows, vanilla, and salt. Stir.
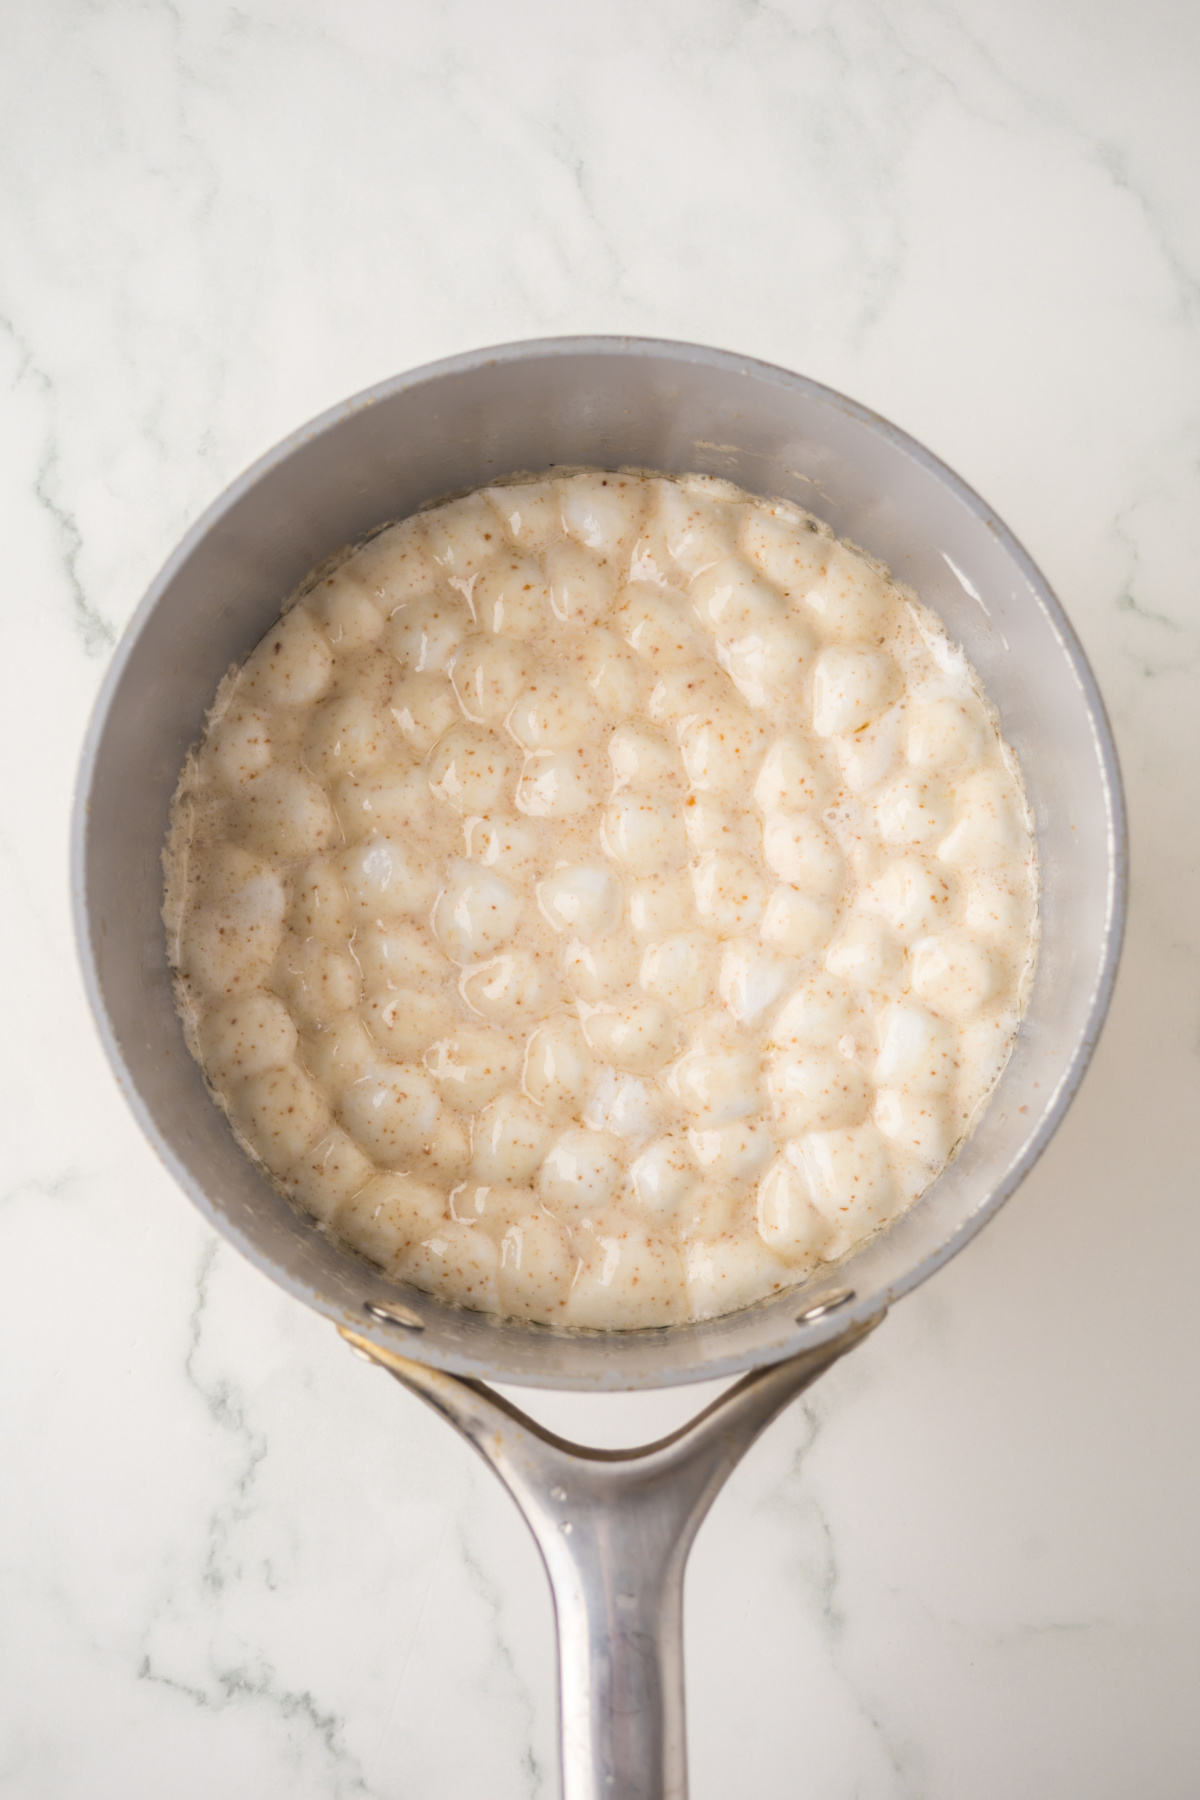
Step 3: Melting marshmallows. Keep stirring until the marshmallows finish melting. Fold in the rice cereal and make sure it is evenly coated in the melted marshmallow mixture.
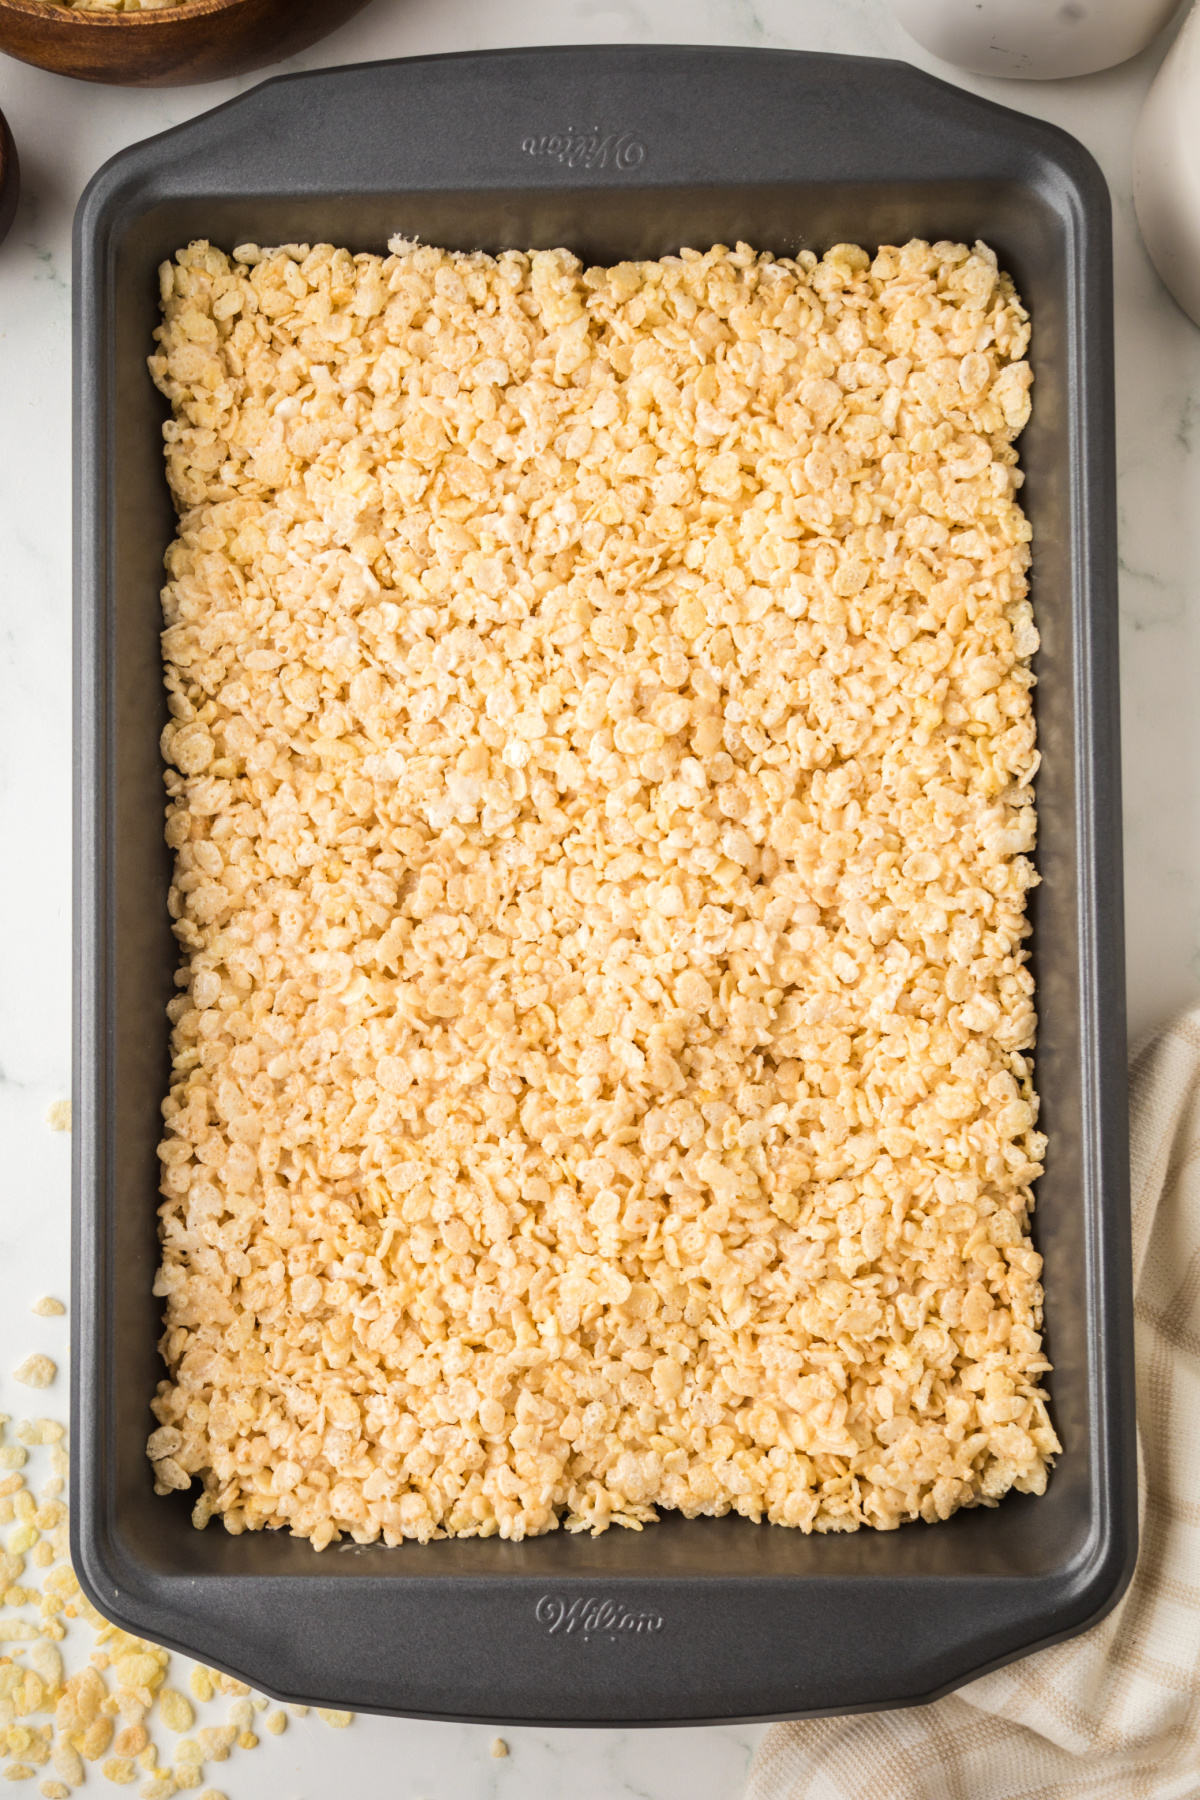
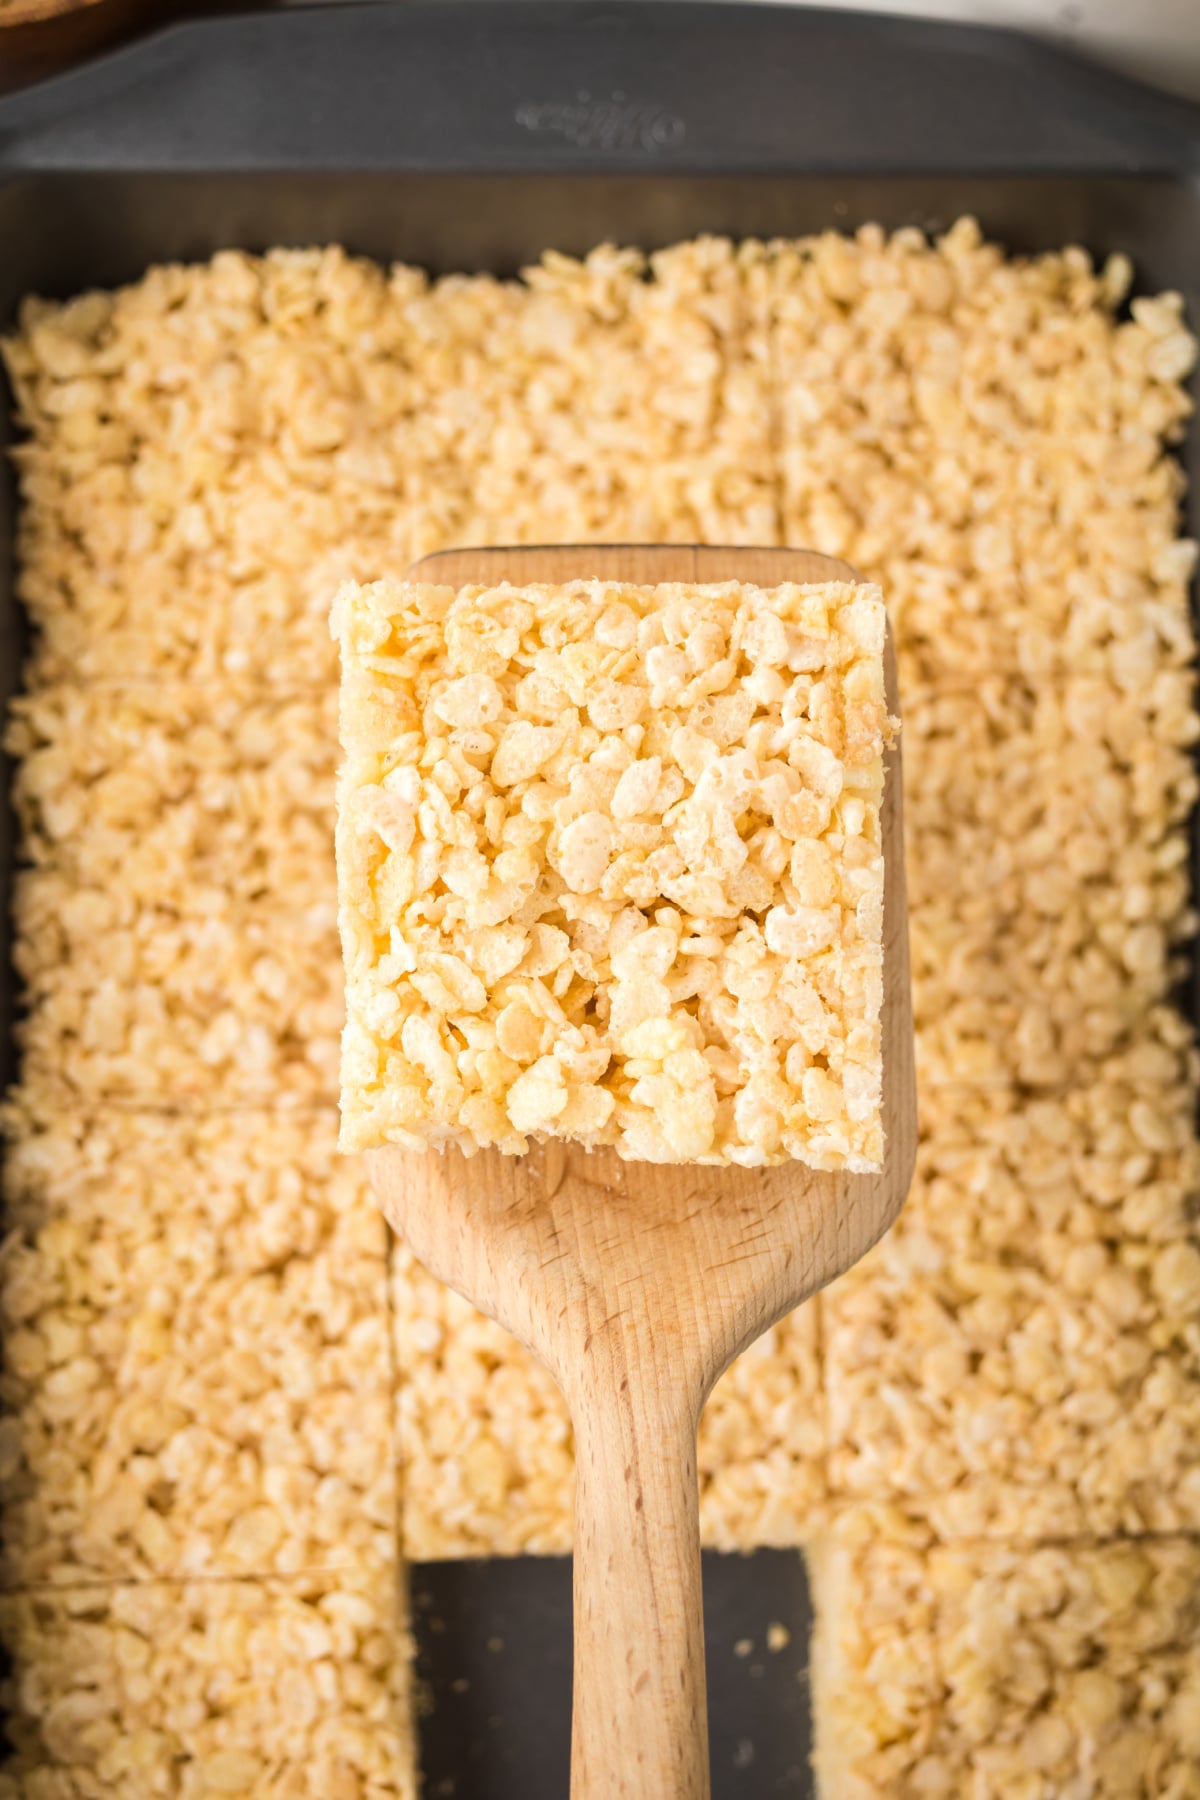
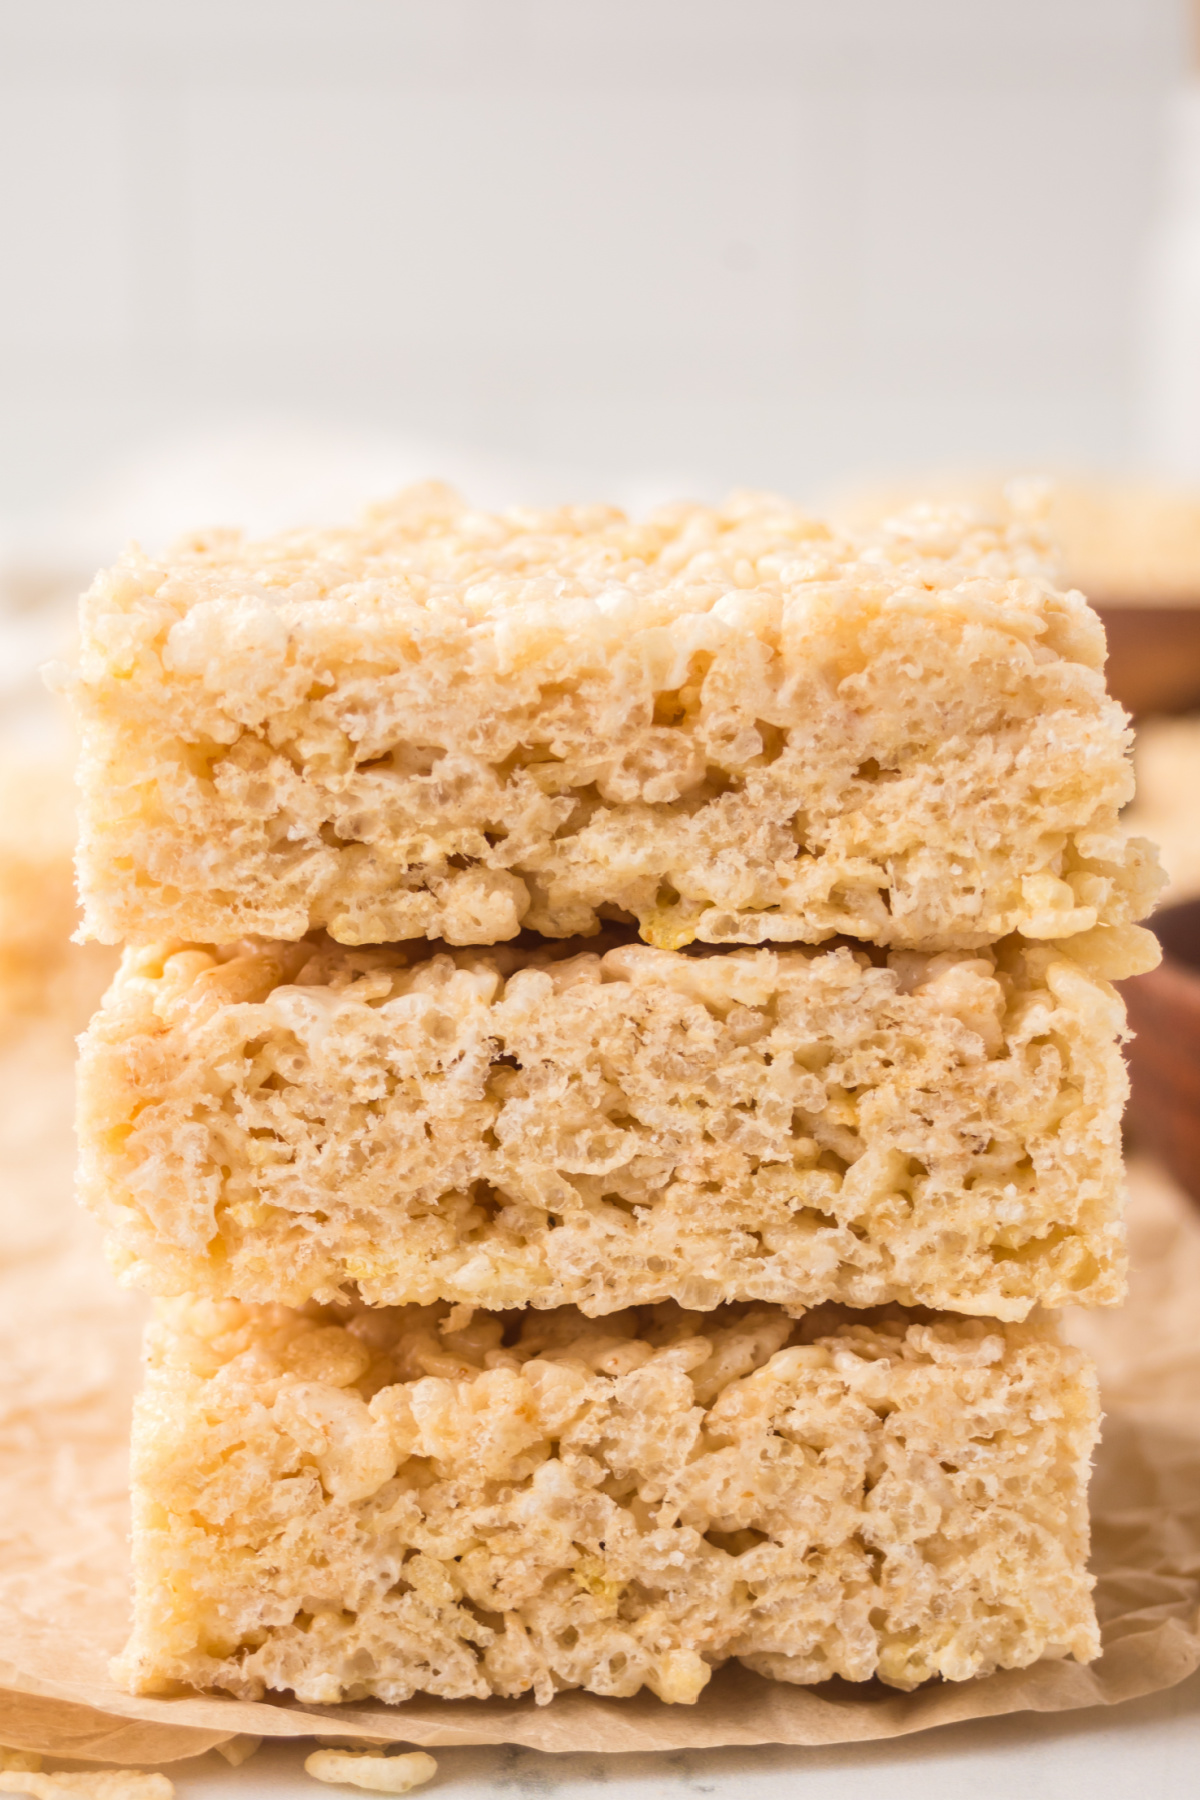
Step 4: Press into pan and set. Spread your rice krispie mixture into a 9x13 inch baking pan and let the bars cool on the counter for an hour. Slice and serve.
Expert Tips
- Best texture tips: Use fresh mini marshmallows for the smoothest gooey texture, or measure large marshmallows by weight and allow extra melting time. Press the mixture gently so the bars stay soft and chewy instead of dense.
- Perfect the brown butter: Stir the butter frequently while browning to prevent burnt bits on the bottom of the pan. Once it foams and turns a deep amber color, briefly remove it from the heat if needed to avoid burning. Add a pinch of extra salt and vanilla extract to balance and enhance the rich nutty flavor.
- Easy prep tricks: Grease your spatula to prevent sticking, use a larger pan or two 9x13 pans if doubling the recipe, and store the treats covered at room temperature or in the refrigerator for up to 5 days.
If you love recipes like this brown butter Rice Krispie treats, you may also enjoy butterscotch Rice Krispie treats.
Storage Directions
Storage: Treats stay softest when stored in an airtight container at room temperature for up to 5 days. You can also refrigerate them, though refrigeration may dry them out slightly, or freeze individually wrapped treats for up to 2 months.
Reheat: Microwave for 5-8 seconds to soften if chilled.
Make Ahead: Prepare 1-2 days ahead and store covered until ready to serve.
Serving Suggestions
- Classic dessert pairing: Serve slightly warm with a scoop of vanilla ice cream for the ultimate gooey dessert experience.
- Dress them up: Drizzle with melted chocolate, caramel sauce, or a sprinkle of flaky sea salt for a bakery-style presentation.
- Great for parties: Cut into mini squares or bite-size cubes for dessert trays, holiday platters, potlucks, and party tables.
- Easy grab-and-go treat: Wrap individually for lunchboxes, bake sales, road trips, picnics, or after-school snacks.
Browned Butter Rice Krispie Treats Recipe FAQs
Brown butter is cooked longer until the milk solids toast and turn amber, creating a deep, nutty, almost caramel-like flavor.
Stir constantly and watch for a deep amber color. If it darkens too quickly or smells burnt, remove it from heat immediately.
They may have been overcooked or packed too tightly into the pan. Use fresh marshmallows and press gently.
Absolutely. Folding in extra mini marshmallows at the end creates gooey pockets throughout the bars.
Overheating the marshmallows or pressing the mixture too firmly into the pan can create hard treats.
More Rice Krispie Recipes
Do you love gooey marshmallow desserts? Here are some Rice Krispie-inspired treats you may also like to try.


If you try this recipe and love it please leave a star rating in the recipe card below or even better, drop a review in the comment section. I always appreciate your feedback. Be sure to follow along with me on Facebook, Pinterest, and YouTube for more easy recipes!
Rice Krispie Treats with Browned Butter
Equipment
Ingredients
- ½ cup salted butter or unsalted with a pinch of salt
- 3 cups mini marshmallows
- ½ teaspoon salt
- 1 teaspoon vanilla extract
- 6 cups Rice Krispies or rice cereal
Instructions
- Measure the marshmallows, vanilla extract, and salt ahead of time, then set them aside so they're ready to add immediately after removing the browned butter from the heat.
- Melt your butter in a pot over medium heat.
- As the butter cooks, it will foam and bubble vigorously. Continue stirring frequently and watch for golden brown specks to form at the bottom and the butter to develop a rich, nutty aroma. Once it reaches a deep amber color, remove it from the heat immediately to prevent burning.
- Immediately add the marshmallows, vanilla, and salt. Stir until the marshmallows finish melting.
- Fold in the rice cereal and make sure it is evenly coated in the melted marshmallow mixture.
- Spread your rice krispie mixture into a 9x13 inch baking pan and let the bars cool on the counter for an hour.
- Slice and serve.
Notes
- Best texture tips: Use fresh mini marshmallows for the smoothest gooey texture, or measure large marshmallows by weight and allow extra melting time. Press the mixture gently so the bars stay soft and chewy instead of dense.
- Perfect the brown butter: Stir the butter frequently while browning to prevent burnt bits on the bottom of the pan. Once it foams and turns a deep amber color, briefly remove it from the heat if needed to avoid burning. Add a pinch of extra salt and vanilla extract to balance and enhance the rich nutty flavor.
- Easy prep tricks: Grease your spatula to prevent sticking, use a larger pan or two 9x13 pans if doubling the recipe, and store the treats covered at room temperature or in the refrigerator for up to 5 days.


Leave a Reply