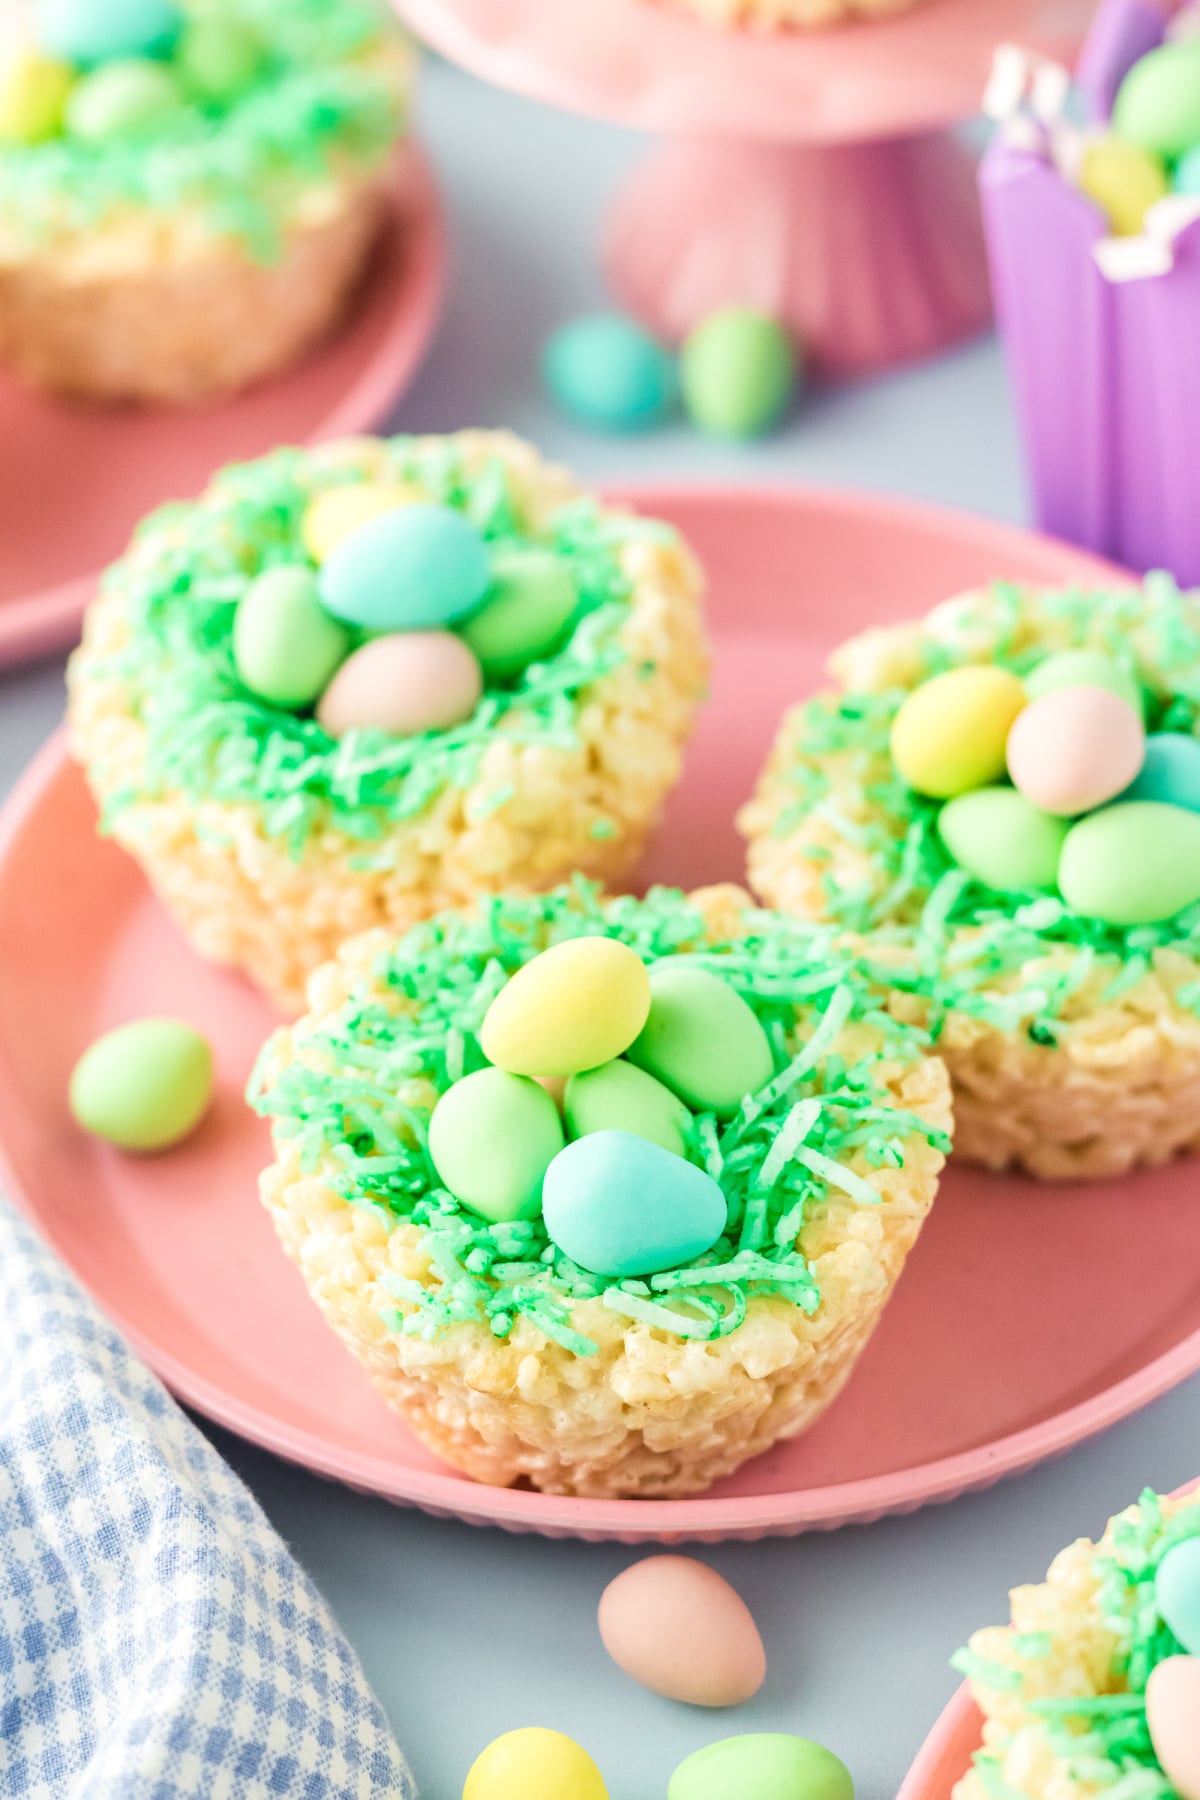
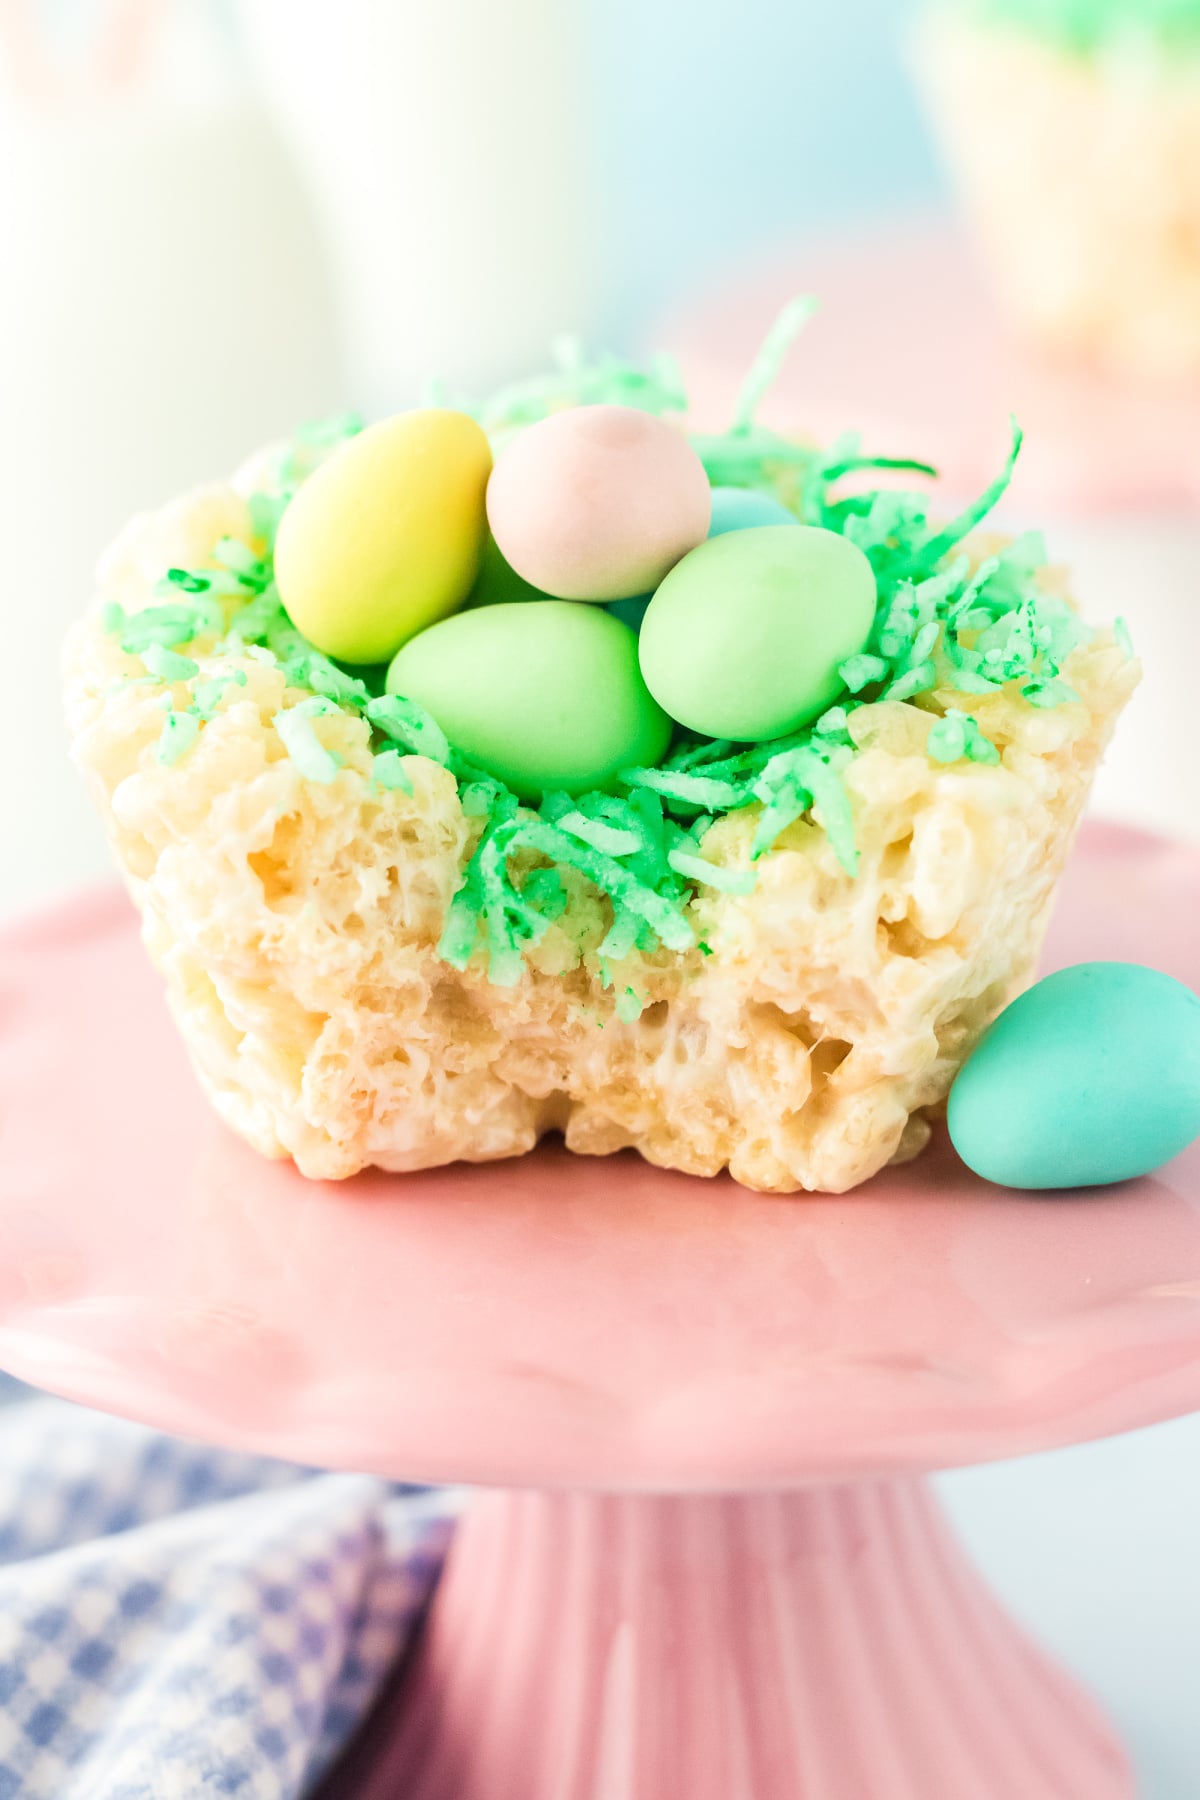
These Rice Krispie Easter Nests are the cutest little spring treat - gooey marshmallow cereal nests topped with fluffy green "grass" and candy eggs. They're no-bake, kid-approved, and come together so fast you'll be making a second batch before the first one sets. If you need an Easter dessert that's adorable AND delicious, this is it.

Recipe Essentials
- 🍽️ Course: Dessert
- ⏱️ Cooking Time: 5 minutes in the microwave + cooling
- 🍴 Servings: 12 nests
- 🧄 Flavor Profile: Sweet, buttery, vanilla-marshmallow, coconutty, crunchy-chewy with crispy cereal crunch.
- 🍚 Best Served With: Other Easter desserts or chocolate treats.
- 🧊 Make Ahead?: Yes, make 1-2 days ahead and store airtight at room temperature.
Summarize and Save This Content On
There's something extra magical about taking a classic Rice Krispie treat and turning it into a festive little bird's nest. This is one of those recipes that feels like a holiday tradition the moment you make it. These nests are a guaranteed hit with kids, and honestly… adults can't resist them either.
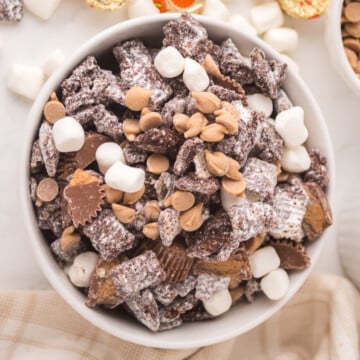
This was inspired by my Rice Krispies Easter eggs on this site, and pairs well with this amazing easy swirled Easter fudge and these M&M Easter cookies.
Jump to:
Why You Will Love This Recipe
- No-bake and ready fast: The perfect treat for busy Easter that doesn't need the stove or oven.
- Easy and inexpensive: Only a handful of simple, pantry-style ingredients required.
- Make-ahead and freezer friendly: So easy to store you won't believe it.
Ingredients
.You only need basic ingredients for these Rice Krispie Easter Nests - most are already in your kitchen. The only "special" part is the candy eggs, and you can use your favorite candy to fill the baskets instead if you prefer.
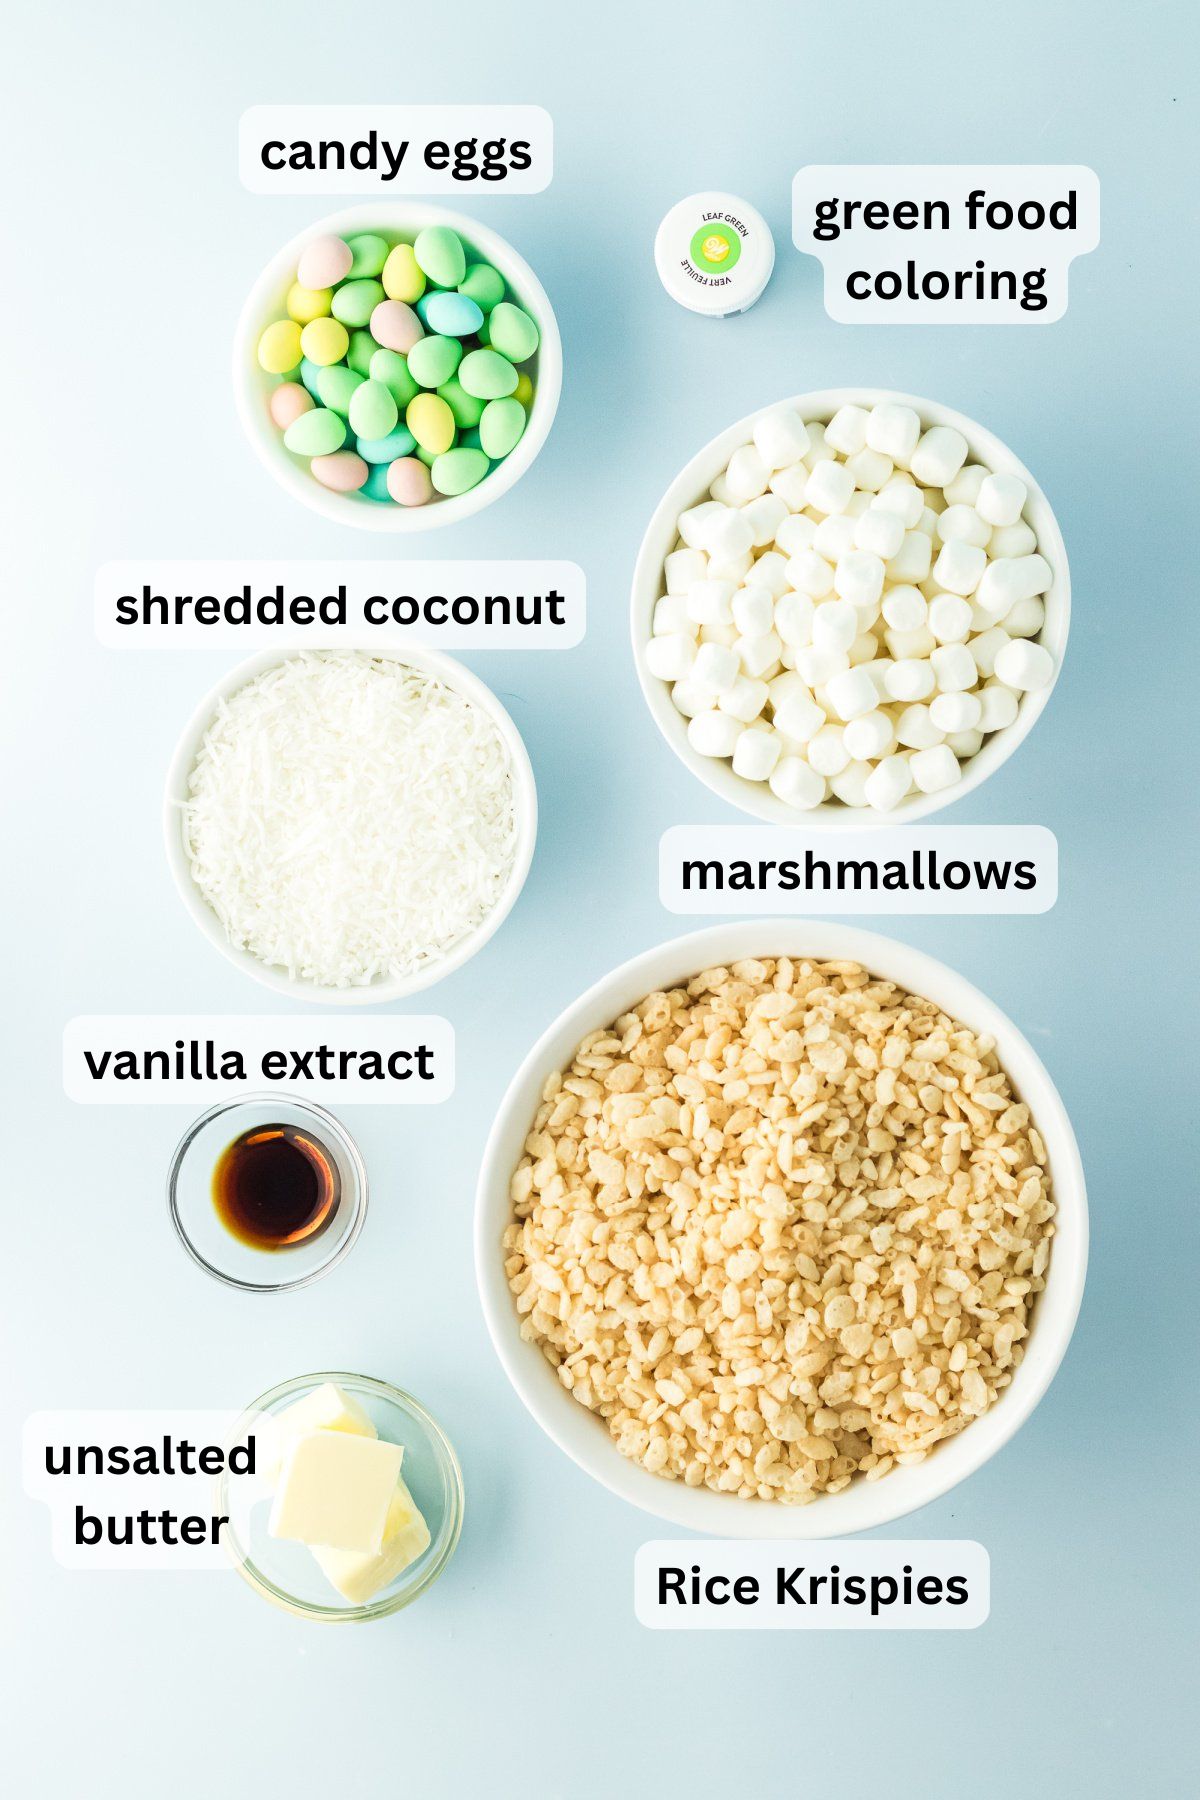
- Marshmallows: I prefer mini marshmallows over regular ones because they melt faster and help to bind the nests.
- Unsalted Butter: The butter adds richness and moisture to prevent the treats from drying out.
- Rice Krispie Cereal: Use fresh cereal for the best crunch, as older cereal tends to soften.
- Food Coloring: Liquid food coloring is ideal but if necessary use gel with a little water or lemon juice added so coconut gets covered.
- Sweetened Shredded Coconut: Adds flavor and a grassy look.
See the recipe card below for the exact quantities of each ingredient.
Variations
- Candy Swap: Use jelly beans, micro eggs, malted eggs, jelly beans, chocolate eggs, pastel M&Ms, chocolate-covered almonds or gummy chicks.
- Chocolate Drizzle: Drizzle melted chocolate over the nests before adding the eggs for more flavor.
- No Coconut: Skip the coconut grass and use green sprinkles instead.
- Extra Festive: Add pastel sprinkles to the mixture or top the nests with edible glitter.
How to Make Rice Krispie Nests
These easter rice krispie nests are super simple - it's basically melt, mix, press, and top. First, lightly spray a muffin tin with non-stick cooking spray and set aside.
In a small mixing bowl, add the green food colouring to the shredded coconut. Stir to coat the coconut evenly, then set it aside to dry while you make the nests.
Place the marshmallows, butter, and vanilla extract in a large microwave-safe bowl. Microwave on high for 1 minute, then stir well. If needed, microwave in 15-second increments until the mixture is fully melted and smooth.
Add the Rice Krispie cereal and stir until every piece is fully coated in the marshmallow mixture.
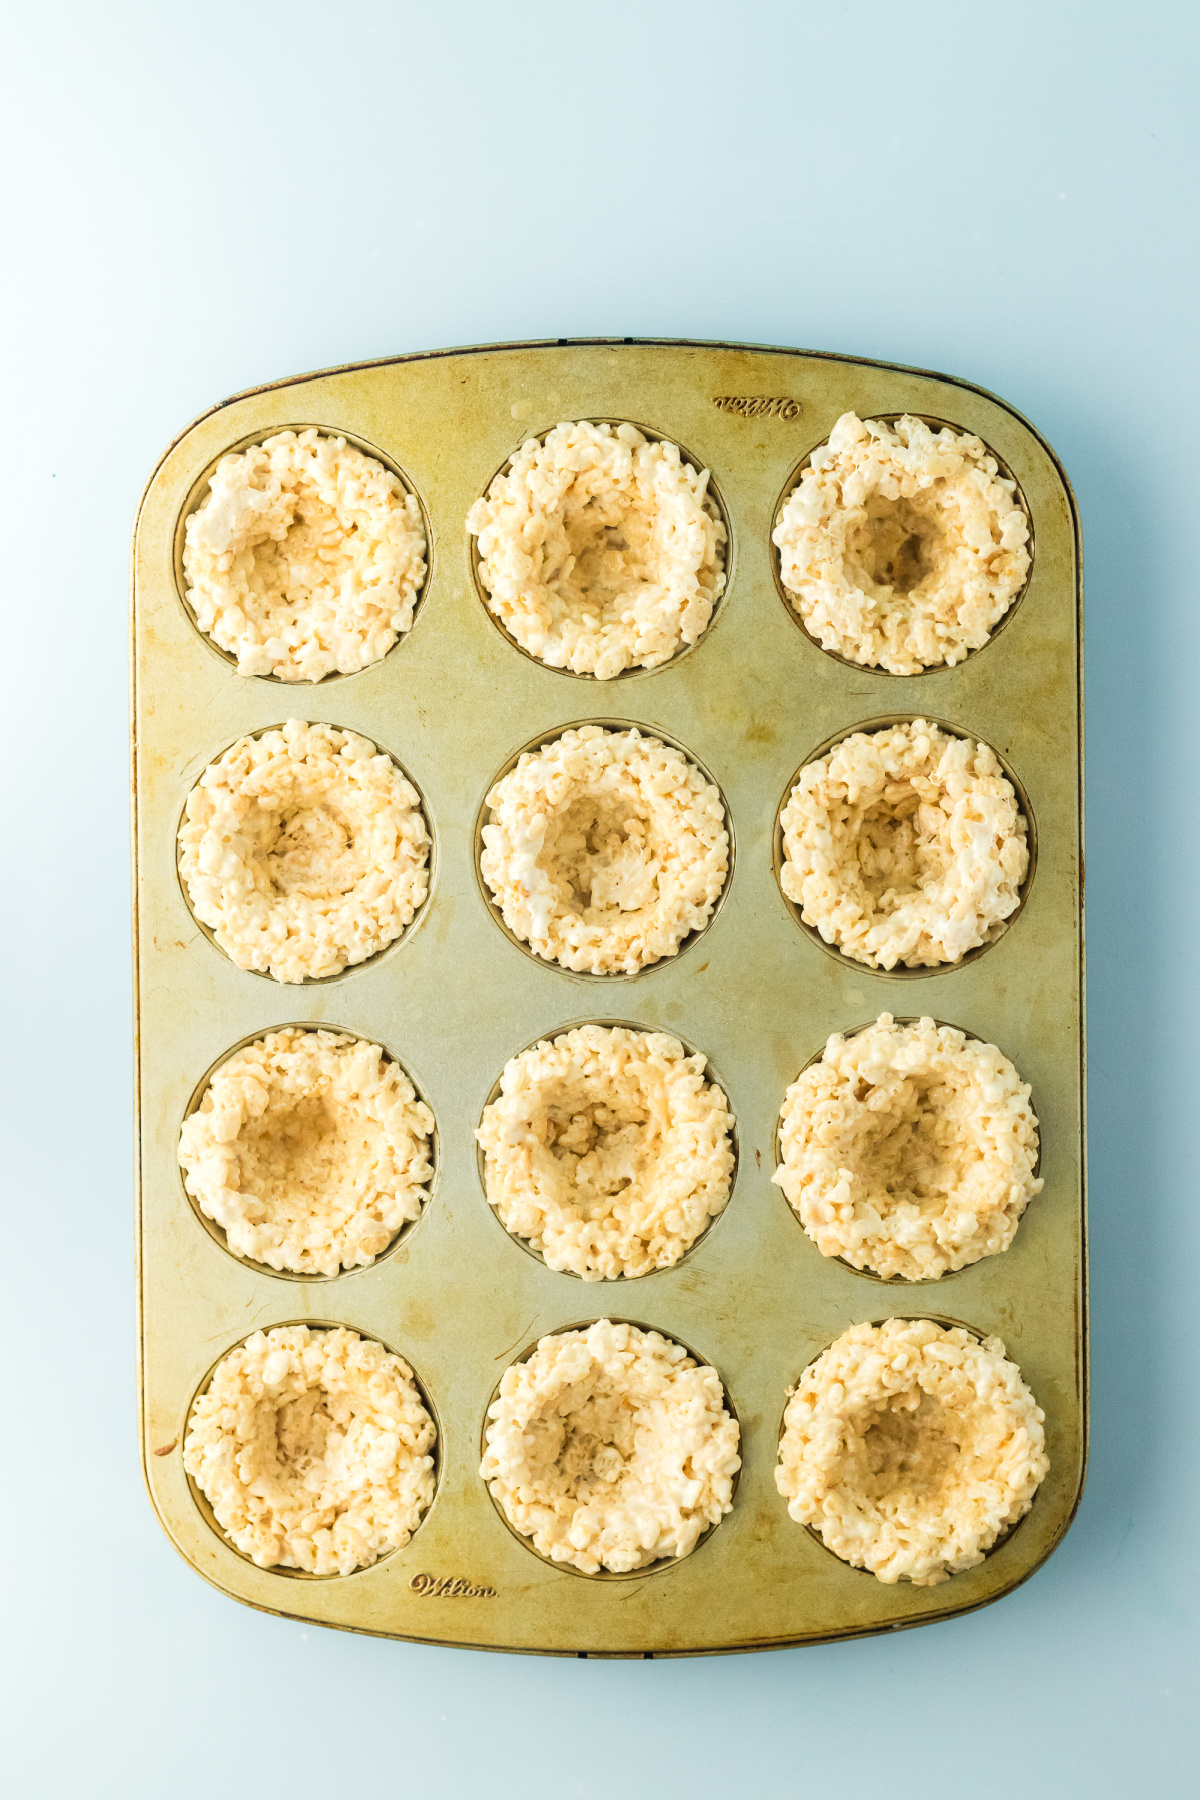
Spoon about ½-3/4 cup of the mixture into each muffin cup. Spray your hands lightly with cooking spray and press the mixture into the bottom and up the sides to form a nest with a well in the center.
Let the treats stand at room temperature for about 20 minutes so they can set.
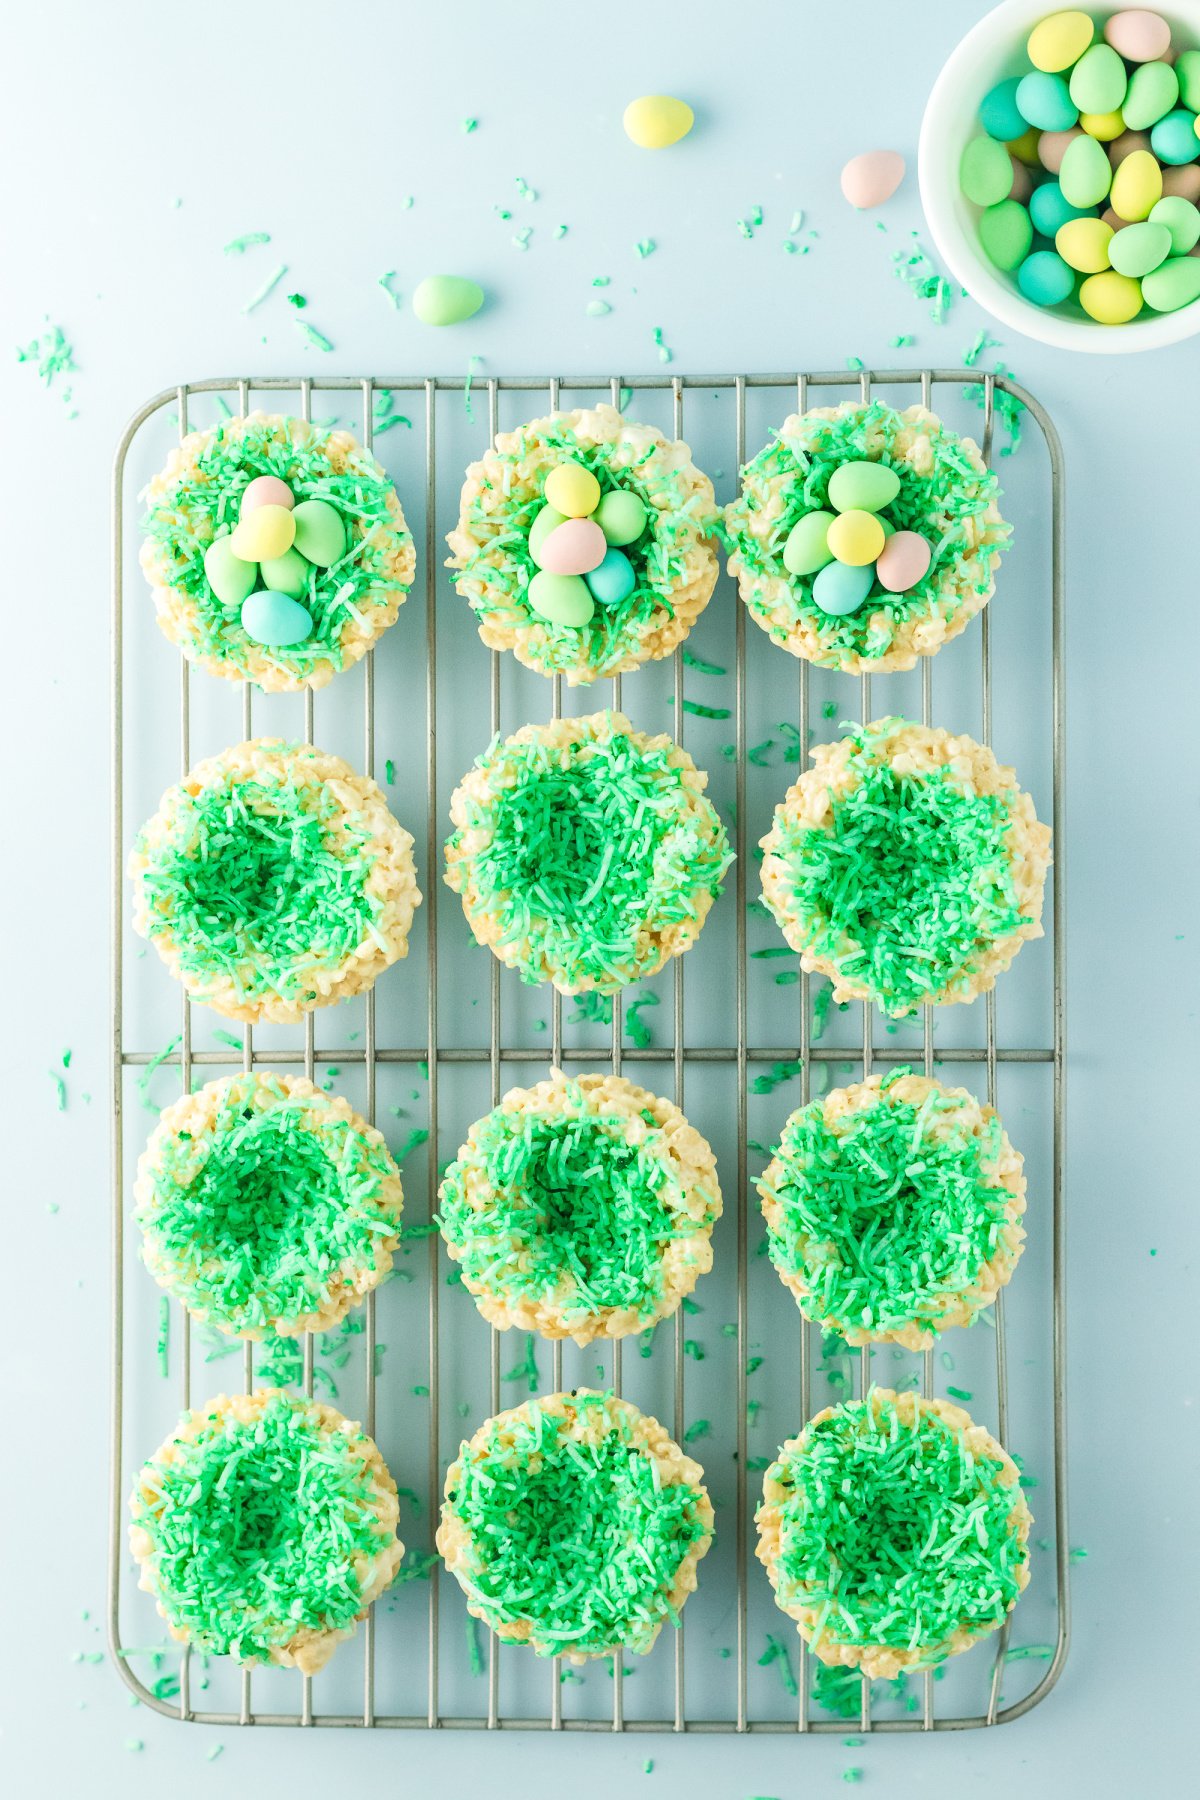
Once cooled, gently remove each nest from the pan. Sprinkle the tops with the green coconut "grass" and add 3-4 candy eggs to each nest. Enjoy immediately!
Recipe Tips
- Liquid food colouring works best: Gel colouring is thicker, so if that's all you have, mix it with 1 teaspoon of water or lemon juice before coating the coconut.
- Start with less green: The coconut color deepens as it sits, so begin with ½ teaspoon and add more only if needed.
- Spray hands before shaping: A light mist of cooking spray keeps the mixture from sticking and makes shaping easier.
- Don't pack too tightly: Press firmly enough to hold shape, but not so hard that the nests become tough to chew.
- Decorate right before serving: Candy eggs look best when added after the nests have cooled and set.
If you love recipes like this, you may also enjoy these bird nest butterscotch haystacks and these Cadbury egg cookie bars too.
Serving Suggestions
- To create a board or a platter full of Easter desserts, make sure to include our Easter Cookie Cups and Mini Easter Cheesecakes.
- These nests are the perfect finish to some of our favorite Easter dinners like Dr. Pepper Glazed Ham or Bourbon Glazed Ham.
- Don't forget you can always add a scoop of ice cream to the top of your nests like our Strawberry Crunch Ice Cream or Fruity Pebbles Ice Cream.
Recipe FAQs
Yes. Gel is thicker, so mix it with 1 teaspoon of water or lemon juice first, then stir into the coconut. It may take a bit longer for the coconut to dry, but it will still work.
Lightly spray your hands with non-stick cooking spray (or rub a little butter on your hands) before pressing the mixture into the muffin tin. It makes shaping the nests quick and easy.
You can freeze these nests in a single layer, in an airtight container, for up to 3 months. Thaw at room temperature when ready to serve for the best texture.
Too much butter or marshmallow can prevent the treats from setting properly, so make sure to measure ingredients properly. Also, remove marshmallows from heat as soon as they're fully melted. Overheated marshmallows can also cause your nests not to set properly.
Too much cereal or not enough marshmallow and butter can cause your nests to be dry and crumbly. Make sure to measure correctly. Also pressing nests too hard into the muffin pan can cause the nests to become dense and dry. Try to shape gently.
This Cadbury creme egg fudge is one you want to check out if Easter recipes like this appeal to you.
More Easter Recipes
Do you love cute Easter treats? Here are a few more recipes you may also like to try.


If you try this recipe and love it please leave a star rating in the recipe card below or even better, drop a review in the comment section. I always appreciate your feedback. Be sure to follow along with me on Facebook, Pinterest, and YouTube for more easy recipes!

Rice Krispie Birds Nests
Equipment
- Muffin Tin
- large microwave-safe mixing bowl
Ingredients
- 1 cup sweetened shredded coconut 3.5oz, 100g
- ½ teaspoon green food colouring
- 3 tablespoons unsalted butter
- 1 bag (10 oz) mini marshmallows or 285g
- 1 teaspoon vanilla extract
- 6 cups rice krispie cereal 168g, 6.4oz
- ½ - 1 cup mini eggs jelly beans or chocolate eggs for garnish
Instructions
- Lightly spray a muffin tin with non-stick cooking spray. Set aside for a few minutes.
- In a small mixing bowl, add the green food colouring to the shredded coconut. Stir to coat the coconut. Set the coconut aside to dry while we make the nests.
- Place the marshmallows, butter and vanilla extract in a large, microwave-safe mixing bowl. Microwave on high for 1 minute. Stir the bowl. If the marshmallows have not fully melted, continue to melt in 15 second increments until fully melted.
- Add the Rice Krispie cereal and stir to fully coat the cereal.
- Transfer approximately ½-3/4 cup of the Rice Krispie treat to each cavity of the greased muffin tin. Grease your hands a little with the cooking spray and press the mixture into the bottom and up the sides of each muffin cup. You want a little well in the middle of each cup.
- Let the treats stand to set for 20 minutes at room temperature.
- Once the treats have cooled, remove each nest from the pan. Sprinkle the top with the green coconut and place 3-4 candy eggs in each one. Enjoy immediately!
Notes
- Liquid food colouring works better for this recipe than gel. Gel is a little too thick for coating the coconut. If you only have gel food colouring, mix it with a teaspoon of water or lemon juice before coating the coconut to help distribute the colour evenly but it may take longer for the coconut to dry.
- The green food colouring will darken as it stands. Start with a ½ teaspoon of colour to start, you can always add more if you want.
- I used chocolate mini eggs for this recipe but any candy will work.
- These make a fun gift for kids. Place nests in a paper baking cup and surround with cellophane and a ribbon.
- These nests are best fresh, but stay nice and chewy in an airtight container for up to 3 days before becoming stale.

Leave a Reply