
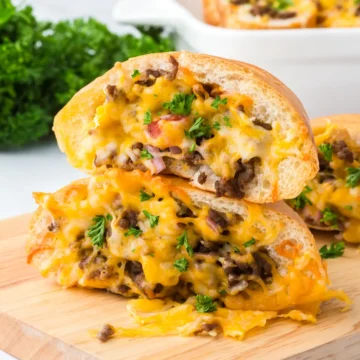
These Cheeseburger Rolls turn classic cheeseburger ingredients into hearty, cheesy handheld dinners. Juicy ground beef, crunchy pickles, tomatoes, and burger condiments fill hollowed-out store-bought ciabatta or Kaiser rolls, with melted Colby Jack in every bite. There's no dough to make, and they bake together in one dish for a fun, less-messy meal.
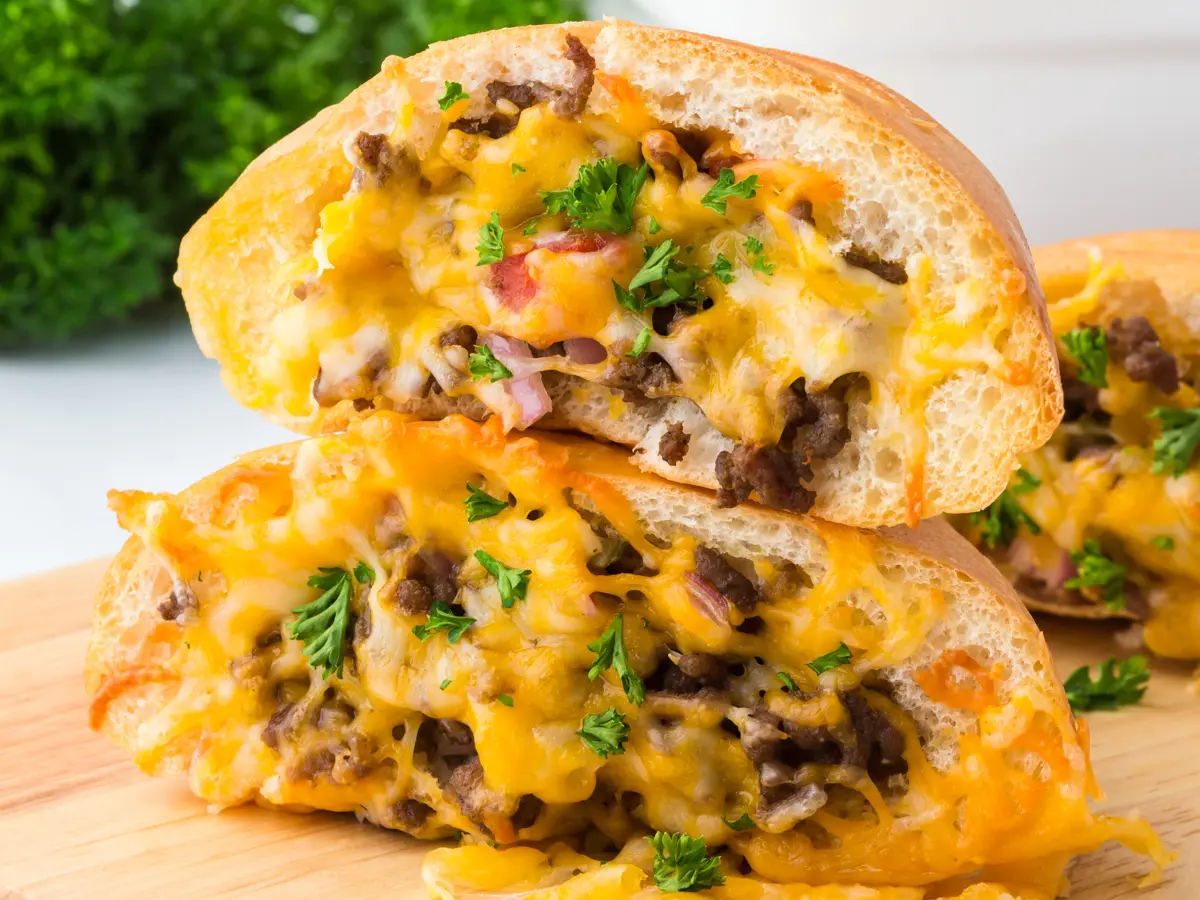
Cheeseburger Rolls at a Glance
- 🧄 Flavor & Texture: Savory, tangy cheeseburger filling with creamy melted cheese and a lightly chewy roll.
- 🛒 Main Ingredients: Ground beef, uncut rolls, Colby Jack, tomatoes, red onion, pickles, ketchup, and mustard.
- ⏱️ Total Time: About 40 minutes.
- 🍴 Servings: 8 stuffed ciabatta rolls (or 4 large Kaiser rolls).
- 🥗 Dietary Info: Contains wheat, milk, and potentially egg or sesame, depending on the rolls and condiments.
- 🍚 Best Served With: Fries, a crisp salad, or crunchy vegetables.
- 🧊 Make Ahead?: Yes. Prepare the beef filling up to 3 days ahead and assemble just before baking.
- ❤️ Why You Will Love It: All the flavors of a cheeseburger in a portable, less-messy roll.
Summarize and Save This Content On
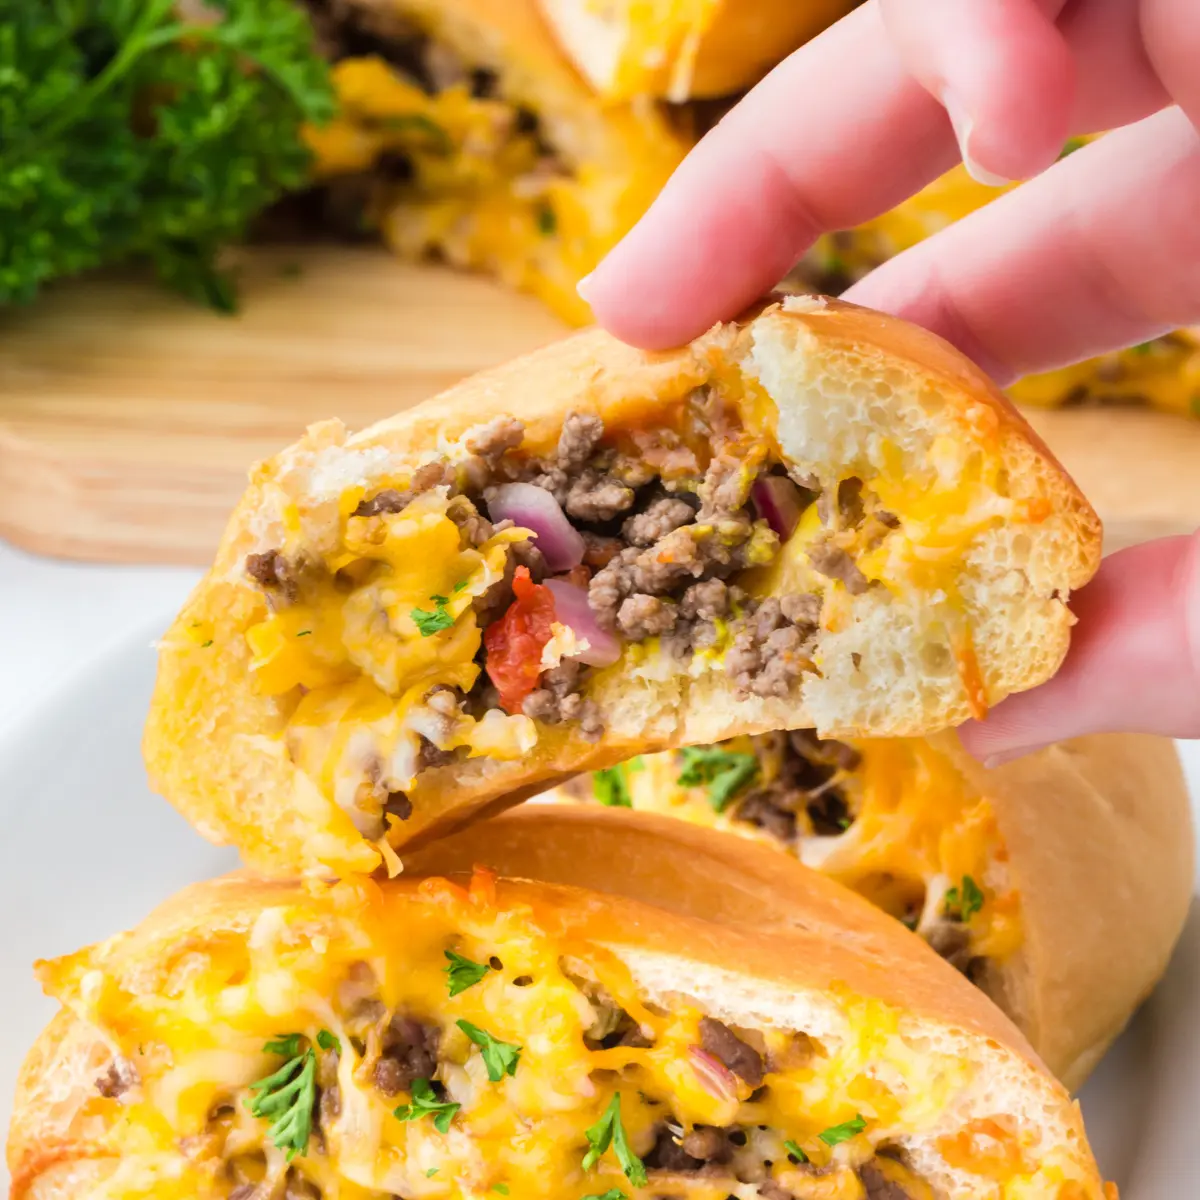
Unlike a regular cheeseburger, the filling in these stuffed cheeseburger rolls stays tucked inside each roll instead of sliding out. For an easy burger-night meal, serve them with our Grandma's coleslaw for a cool, crunchy contrast.
My grandson absolutely loves these cheeseburger rolls, and he gets just as excited about our hamburger pinwheels. Both turn the flavors of a cheeseburger into a fun, easy-to-hold dinner that makes family mealtime a little more special.
Jump to:
Why You Will Love This Recipe
- Easy Family Dinner: One skillet and one baking dish make eight satisfying portions.
- Customizable: Swap the cheese, change the seasonings, or add your favorite burger toppings.
- Less Mess: The hollowed-out pockets hold the filling in place, making these especially fun for kids.
How We Tested Cheeseburger Rolls
- Rolls and Pockets: Ciabatta, Kaiser, and other crusty rolls held their shape best. Leaving ¼-½ inch of bread around the bottom and sides gave the pockets strength without sacrificing filling space.
- Moisture Protection: A whole slice of cheese under the filling worked better than shredded cheese alone or condiments directly on bread. A 2-3-minute pre-toast helped a little more, but was optional.
- Tomatoes and Onion: Well-drained canned tomatoes were convenient, while drained fresh tomatoes tasted brighter. Raw red onion stayed crunchy, whereas cooked onion tasted milder.
- Cheese and Condiments: Colby Jack and American gave the most classic cheeseburger effect. Two cups of shredded cheese made a generous topping, and layering the ketchup and mustard kept their distinct flavors.
- Baking: Uncovered at 350°F for 15 minutes worked best. Ten minutes could leave the center cool, while longer baking or covering the dish compromised the bread's texture. The snug 8×8-inch arrangement kept the rolls upright.
Ingredients
You only need familiar cheeseburger staples and sturdy, uncut rolls. Choose ingredients that are well-drained so the filling stays flavorful without excess liquid.
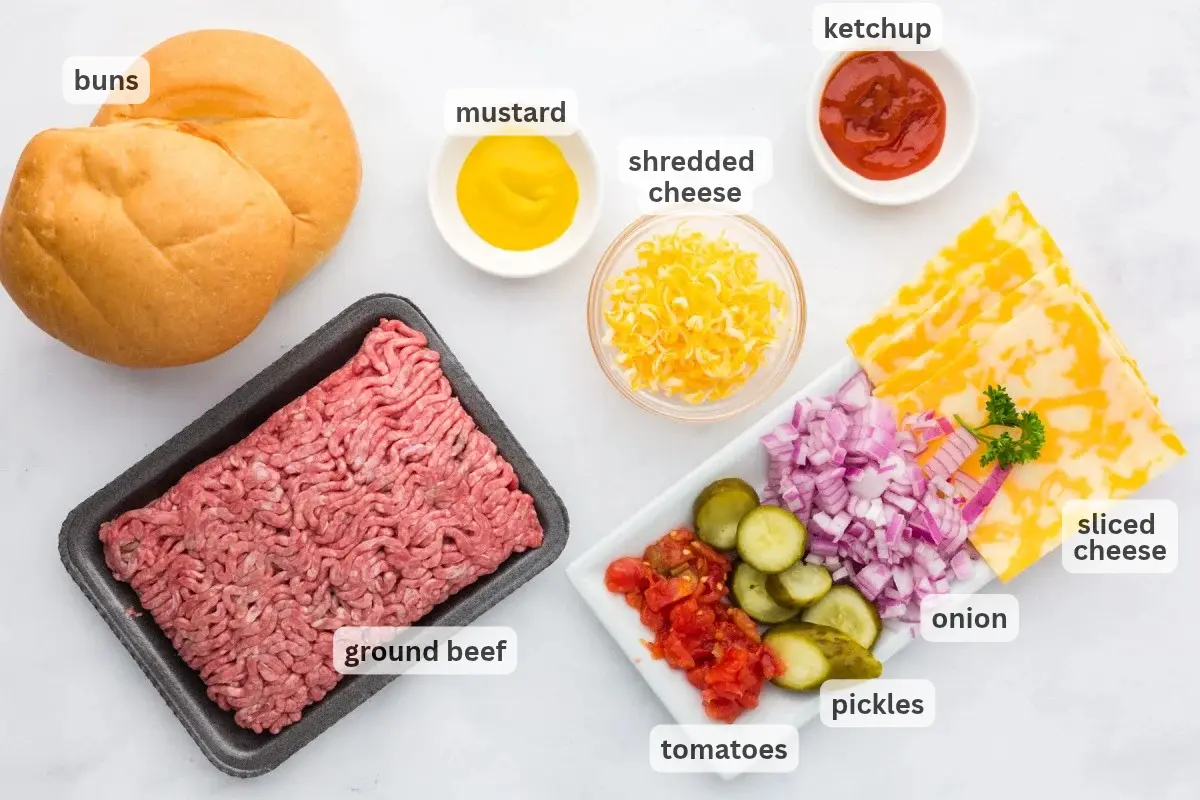
- Ground Beef: 80/20 gives the filling a rich, juicy burger flavor; season with salt and pepper.
- Uncut Ciabatta, Kaiser, or Crusty Rolls: Sturdy rolls are easiest to hollow out without tearing. Roll size changes how many fit in the pan, so see the roll and pan FAQ below.
- Colby Jack Cheese: Slices line the pockets, while shredded cheese melts over the filling.
- Canned Tomatoes, Red Onion, and Dill Pickle: Bring freshness, crunch, and tang. Drain the tomatoes thoroughly.
- Ketchup and Mustard: Add classic cheeseburger flavor inside each roll.
- Parsley: Optional garnish for a fresh finish.
Exact measurements and the printable instructions are in the recipe card below.
Variations
- Cheese Swaps: Try sharp cheddar for more bite or pepper Jack for mild heat.
- Different Proteins: Use a beef-and-pork blend for richness, or ground turkey or chicken with extra seasoning; cook poultry to 165°F.
- Loaded Burger: Add cooked bacon or sautéed mushrooms to the filling, or finish with lettuce or avocado after baking.
- Spicy or Smoky: Stir in jalapeños or green chiles, add smoked paprika, or replace some ketchup with BBQ sauce.
How To Make Cheeseburger Rolls
These four steps take you from a quick skillet filling to golden, cheese-topped rolls. Keep the rolls intact as you scoop so they can hold all the toppings.
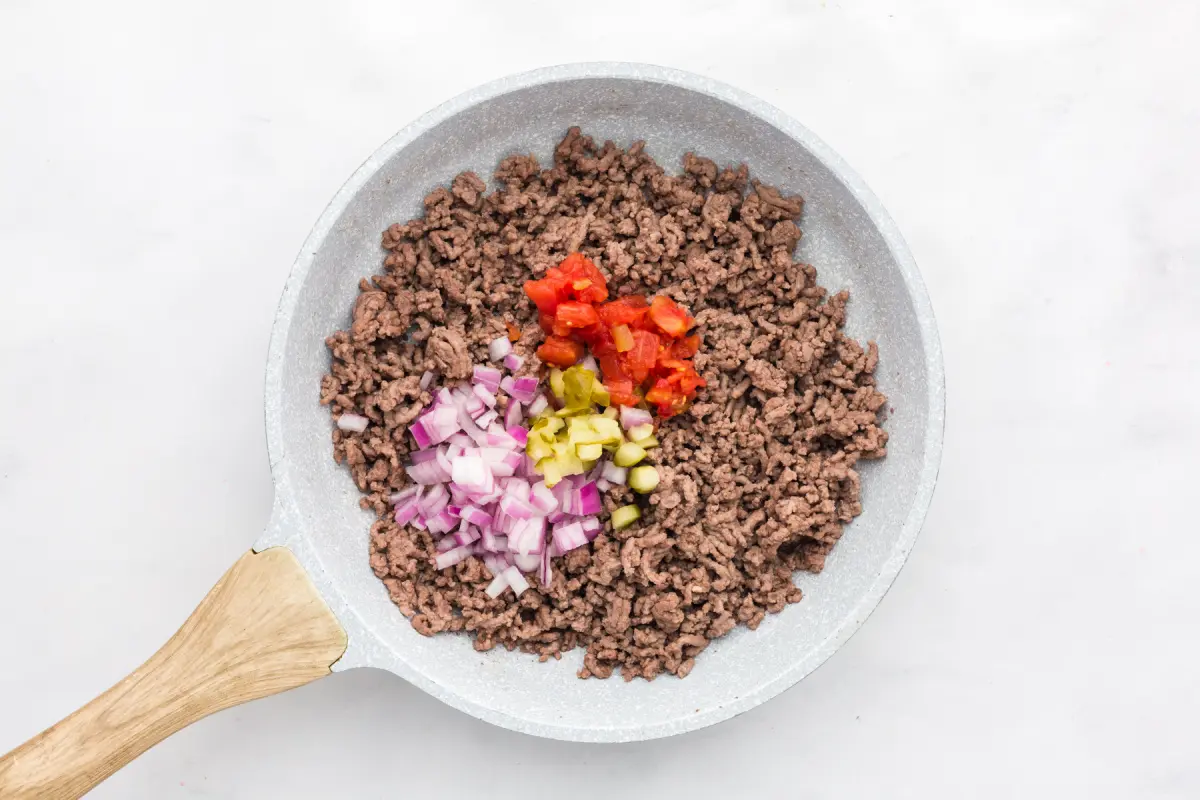
Step 1: Brown the Beef and Add the Vegetables. Preheat the oven to 350°F. In a large nonstick skillet over medium-high heat, cook the ground beef for 8-10 minutes, breaking it into crumbles until fully cooked (160°F). Season with salt and pepper, then drain excess grease. Stir in the drained tomatoes, red onion, and pickle until combined. Remove from the heat.
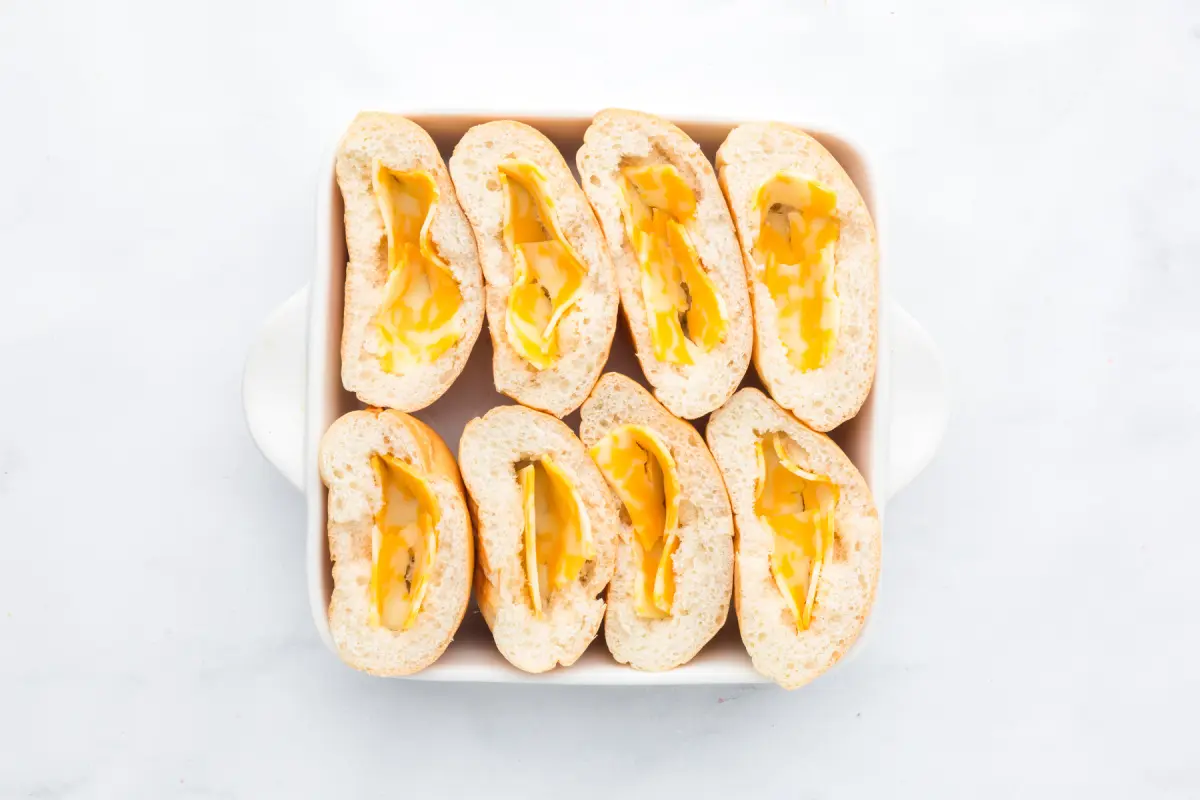
Step 2: Prepare the Rolls. Cut an opening in the top of each uncut roll large enough to fit a cheese slice. Carefully scoop out the centers, leaving ¼-½ inch of bread along the bottoms and sides. If desired, lightly toast at 350°F for 2-3 minutes to firm the bread. Arrange the rolls upright and snug in an 8×8-inch baking dish (eight thin ciabatta rolls fit in two rows of four), then line each pocket with a slice of Colby Jack cheese.
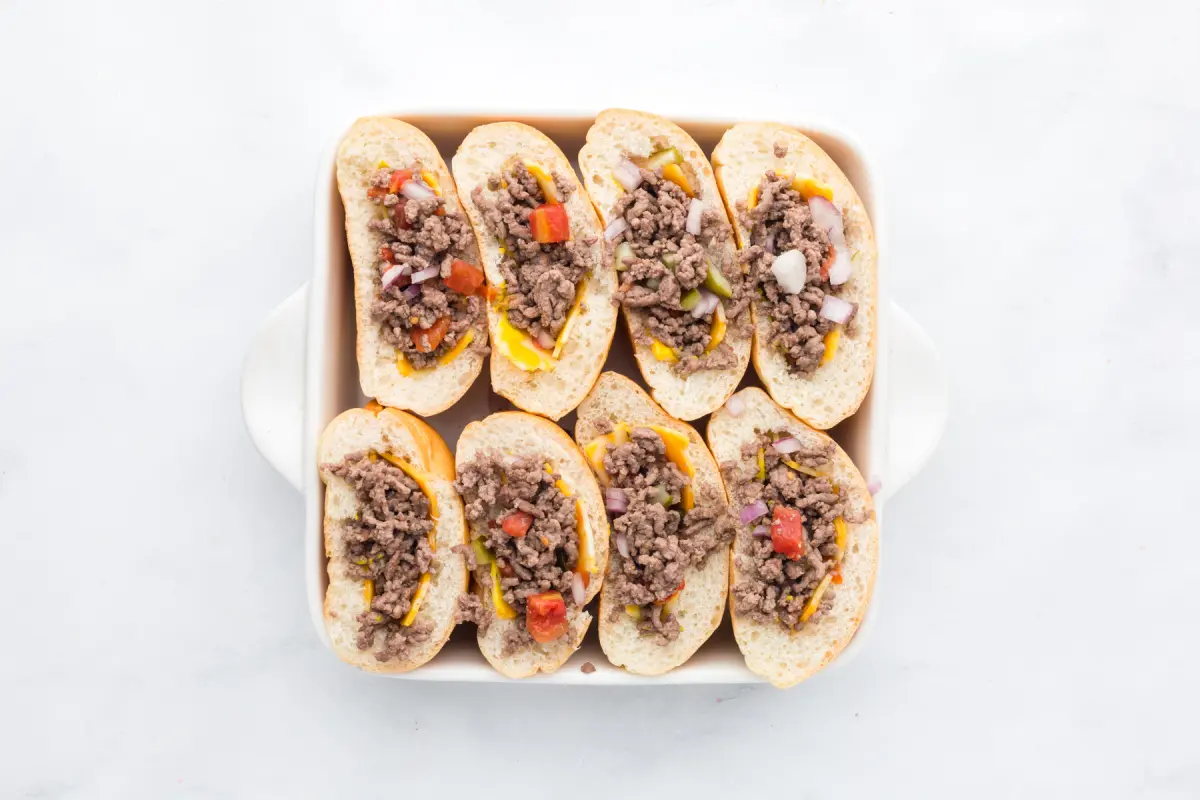
Step 3: Fill the Rolls. Divide the ketchup and mustard evenly among the rolls, spooning them over the cheese slices. Fill each pocket evenly with the beef mixture, without overfilling so the rolls don't tip or spill, then top with shredded Colby Jack cheese.
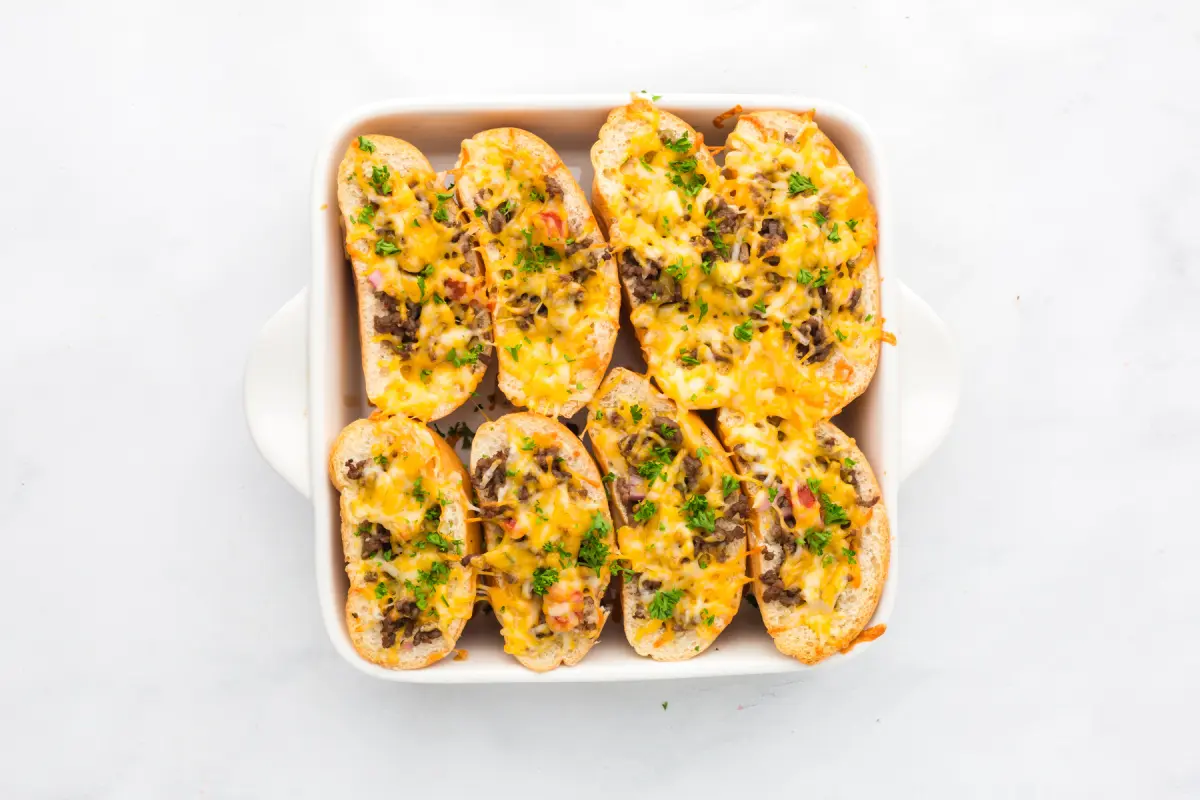
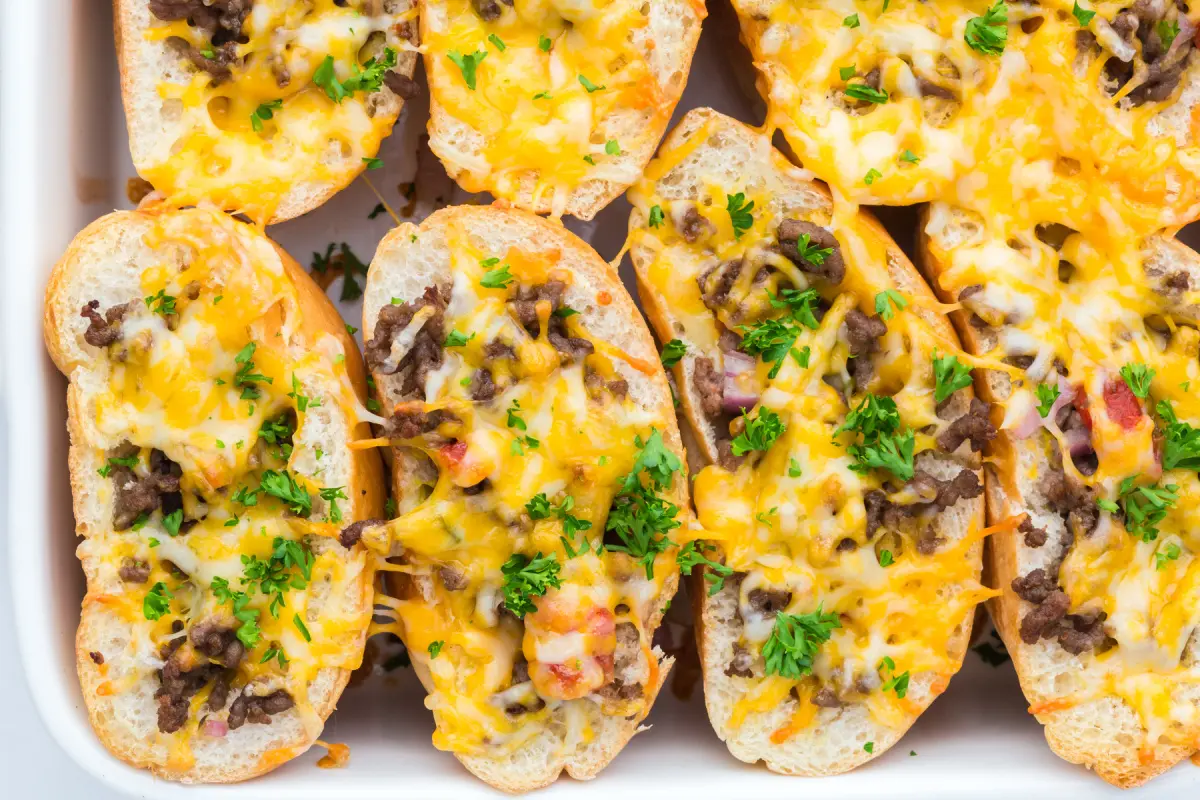
Step 4: Bake and Serve. Bake uncovered for about 15 minutes, until heated through and the cheese is melted. Garnish with parsley, if desired, and serve warm.
Storage Directions
Refrigerator: Cool the cooked beef filling promptly and refrigerate in an airtight container for up to 3 days. Keep unfilled rolls separate; assembled rolls become soggy faster.
Freezer: Freeze the cooled beef filling in a freezer-safe container for up to 3 months for best quality. Thaw overnight in the refrigerator.
Reheat: Heat the filling to 165°F, then assemble and bake at 350°F until the cheese melts. An air fryer can crisp the bread; microwaving is quicker but softens it.
Cheeseburger Rolls Recipe FAQs
No. Unlike versions made with yeast dough or frozen roll dough, this recipe hollows out store-bought uncut rolls and fills them, so there's no dough to make or proof.
Thin ciabatta rolls work well, and eight fit snugly in an 8×8-inch baking dish. Kaiser rolls are much larger, so only about four fit in the same dish, with about ¼ pound of beef in each pocket. For more large rolls, use a bigger pan that fits them and double the beef and the other ingredients. Soft store-bought hamburger buns are more likely to tear or collapse, so choose sturdy uncut rolls when possible.
Excess moisture is the usual cause. Drain the beef and tomatoes well, line each pocket with a slice of cheese before adding the filling, bake uncovered, and serve soon after baking so moisture doesn't soak into the bread.
No. A 2-3-minute pre-toast helped a little by firming the bread, but it's optional.
Bake uncovered at 350°F for about 15 minutes, until the filling is heated through and the cheese is melted. In our testing, 10 minutes could leave the center cool, while longer baking or covering the dish hurt the texture of the bread.
Serving Suggestions
- Steak Fries: Serve with our crispy easy air fryer steak fries for a classic burger-night meal.
- Onion Rings: Add our air fryer bacon wrapped onion rings for a fun, crispy side.
- Fresh Salad: Try our broccoli crunch salad for a cool, crunchy contrast.
More Cheeseburger and Slider Recipes
For more creative ways to enjoy beef, cheese, and classic sandwich flavors, explore the recipes below or browse all of our beef recipes.


If you try this recipe and love it please leave a star rating in the recipe card below or even better, drop a review in the comment section. I always appreciate your feedback. Be sure to follow along with me on Facebook, Pinterest, and YouTube for more easy recipes!
Cheeseburger Rolls
Equipment
- 8 x 8 inch cake pan or pan to fit
Ingredients
- 1 pound ground beef 80/20
- ¼ cup diced tomatoes well-drained
- ½ red onion diced
- 1 dill pickle diced
- 8 burger buns uncut, preferably ciabatta, Kaiser or crusty rolls
- 8 slices Colby Jack cheese
- 4 tablespoons ketchup
- 4 tablespoons mustard
- 2 cups Colby Jack cheese shredded
- salt to taste
- black pepper to taste
- fresh parsley chopped, optional
Instructions
- Brown the Beef and Add the Vegetables. Preheat the oven to 350°F. In a large nonstick skillet over medium-high heat, cook the ground beef for 8-10 minutes, breaking it into crumbles until fully cooked. Season with salt and pepper, then drain excess grease. Stir in the drained tomatoes, red onion, and pickle until combined. Remove from the heat.
- Prepare the Buns. Cut an opening in the top of each uncut bun large enough to fit a cheese slice. Carefully scoop out the centers, leaving ¼-½ inch of bread along the bottoms and sides. If desired, lightly toast at 350°F for 2-3 minutes to firm the bread. Arrange the buns upright in two snug rows of four in an 8×8-inch baking dish, then line each pocket with a slice of Colby Jack cheese.
- Fill the Buns. Divide the ketchup and mustard evenly among the buns, spooning them over the cheese slices. Fill each pocket evenly with the beef mixture, then top with shredded Colby Jack cheese.
- Bake and Serve. Bake uncovered for about 15 minutes, until heated through and the cheese is melted. Garnish with parsley, if desired, and serve warm.
Notes
- Best Buns: Ciabatta, Kaiser or crusty rolls hold their shape better than softer burger buns. Leave ¼-½ inch of bread around the pockets to prevent tearing.
- Prevent Sogginess: Line each pocket with sliced cheese before adding the condiments and beef. This was the most effective moisture barrier we tested.
- Optional Toasting: Lightly toasting the hollowed-out buns for 2-3 minutes at 350°F slightly improves their firmness but isn't essential.
- Drain Thoroughly: Remove excess grease from the beef and liquid from the tomatoes to prevent soggy bread.
- Cheese Substitutions: American, cheddar, or pepper Jack work well in place of Colby Jack.
- Baking: Bake uncovered at 350°F for 15 minutes. Longer baking can dry out or soften the bread excessively.
- Storage: Refrigerate the cooked beef filling separately from the buns for up to 3 days. Freeze the filling for up to 3 months.
- Make Ahead: Prepare the filling up to 3 days ahead, but assemble the buns shortly before baking.
- Reheating: Reheat the filling to 165°F, assemble the buns, and bake at 350°F until hot and the cheese melts.

Leave a Reply