Few kitchen letdowns are more annoying than a beautifully breaded cutlet that turns soft the moment it hits the plate. The good news is that crisp cutlets are less about luck and more about technique. From prepping the meat properly to choosing the right pan, these simple habits help lock in crunch while keeping the inside juicy.
Start With Thin, Even Cutlets

Crisp breading begins before the crumbs ever touch the meat. If your cutlets are uneven, the thin ends dry out while the thick center struggles to cook through, and that often leads to overbrowning or a rushed, soggy finish.
Slice chicken breasts horizontally into cutlets, then gently pound the thicker parts until each piece is about ¼-1/3 inch thick. That uniform shape helps the meat cook at the same pace, so the coating can turn deeply golden without the center lagging behind.
Even thickness also helps the breading cling better. A flat, smooth surface gives flour, egg, and crumbs a much better chance of forming a crisp shell that fries evenly.
Build a Proper Breading Layer
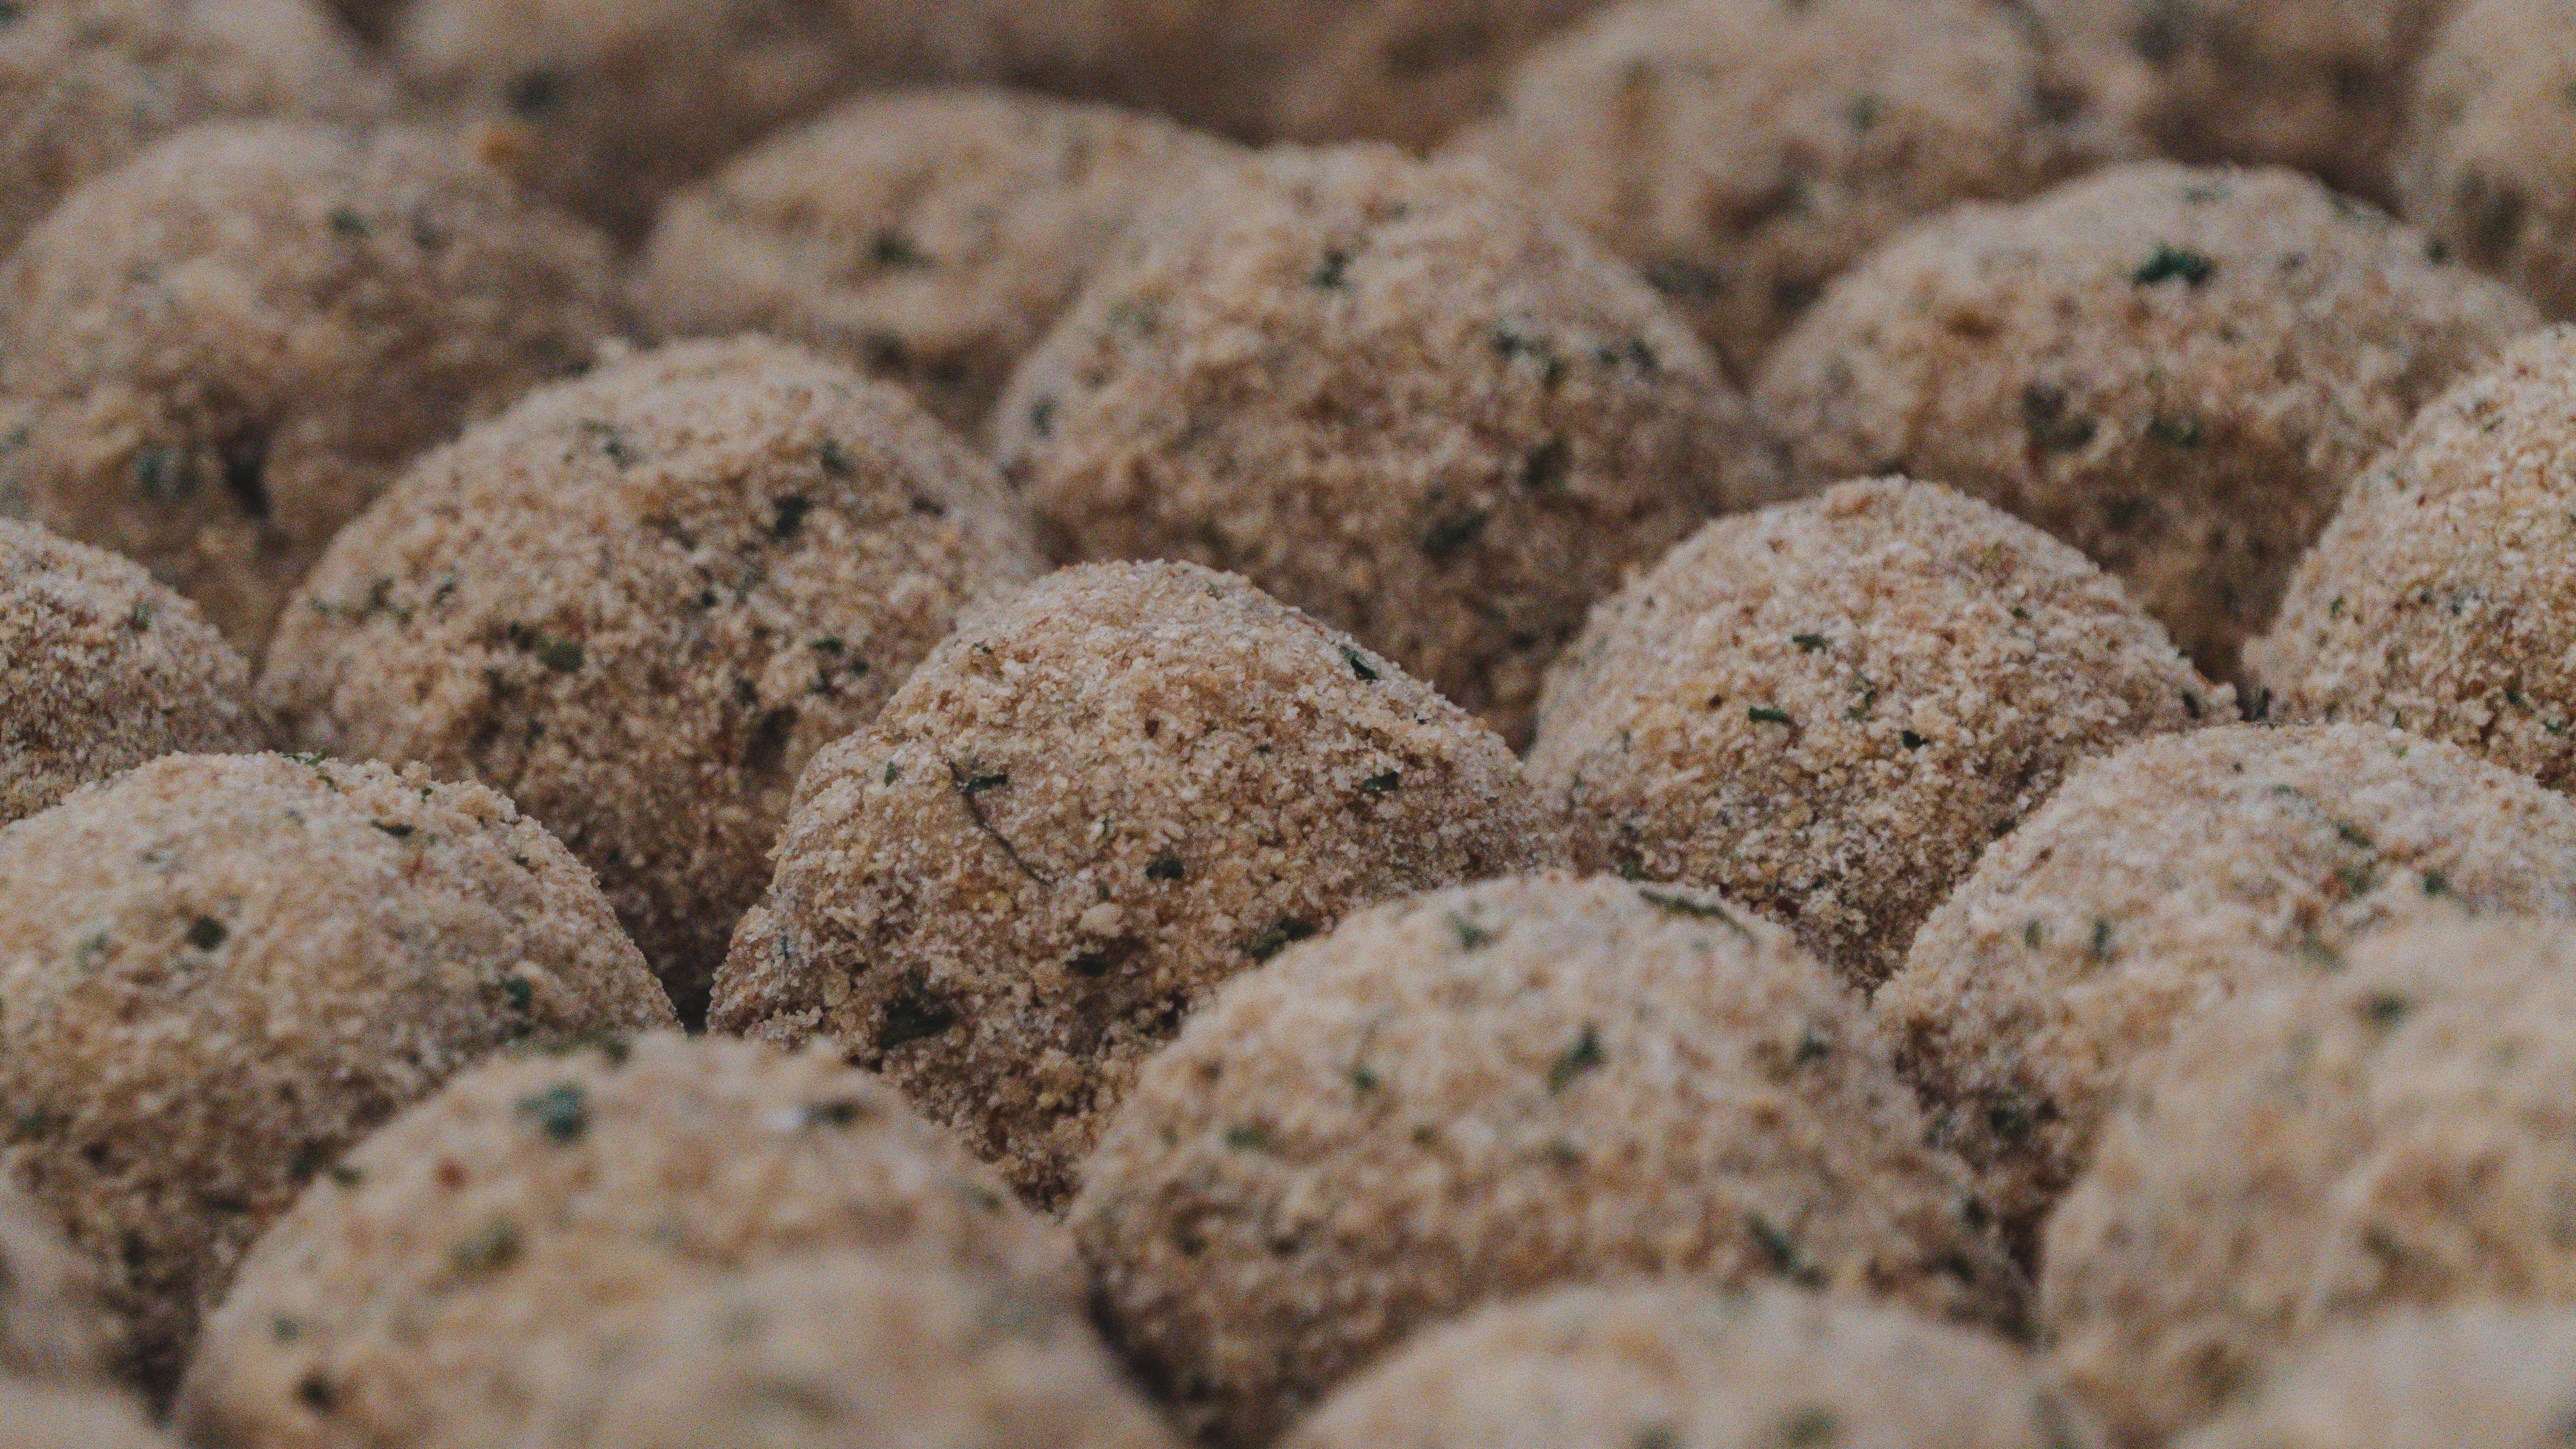
A crisp cutlet depends on a coating that is structured, not heavy. The classic sequence matters for a reason: flour first, then egg, then breadcrumbs. Each layer has a job, and skipping one usually leads to breading that falls off or fries unevenly.
The flour dries the surface and helps the egg cling. The egg acts like glue. The crumbs create the crunch. Shake off excess flour and let extra egg drip away, because too much of either creates gummy spots that soften quickly in the pan.
If you want an even crisper finish, panko is a strong choice, and mixing breadcrumbs with grated Parmesan can add extra texture. The key is a light, even coating rather than a thick, pasty one.
Let the Coating Set Before Frying

If your breading has a habit of sliding off in the pan, give it time to settle. A short rest after breading helps the coating adhere more firmly, which means better crunch and fewer bald spots once the cutlets start cooking.
According to cooks who make cutlets often, refrigerating breaded pieces for at least 30 minutes can make a real difference. The coating firms up, the flour hydrates slightly, and everything bonds more tightly to the meat.
This step is especially helpful if you are cooking in batches or prepping ahead. Just do not leave uncooked breaded cutlets around too long at room temperature, where the coating can begin to absorb moisture and turn soggy.
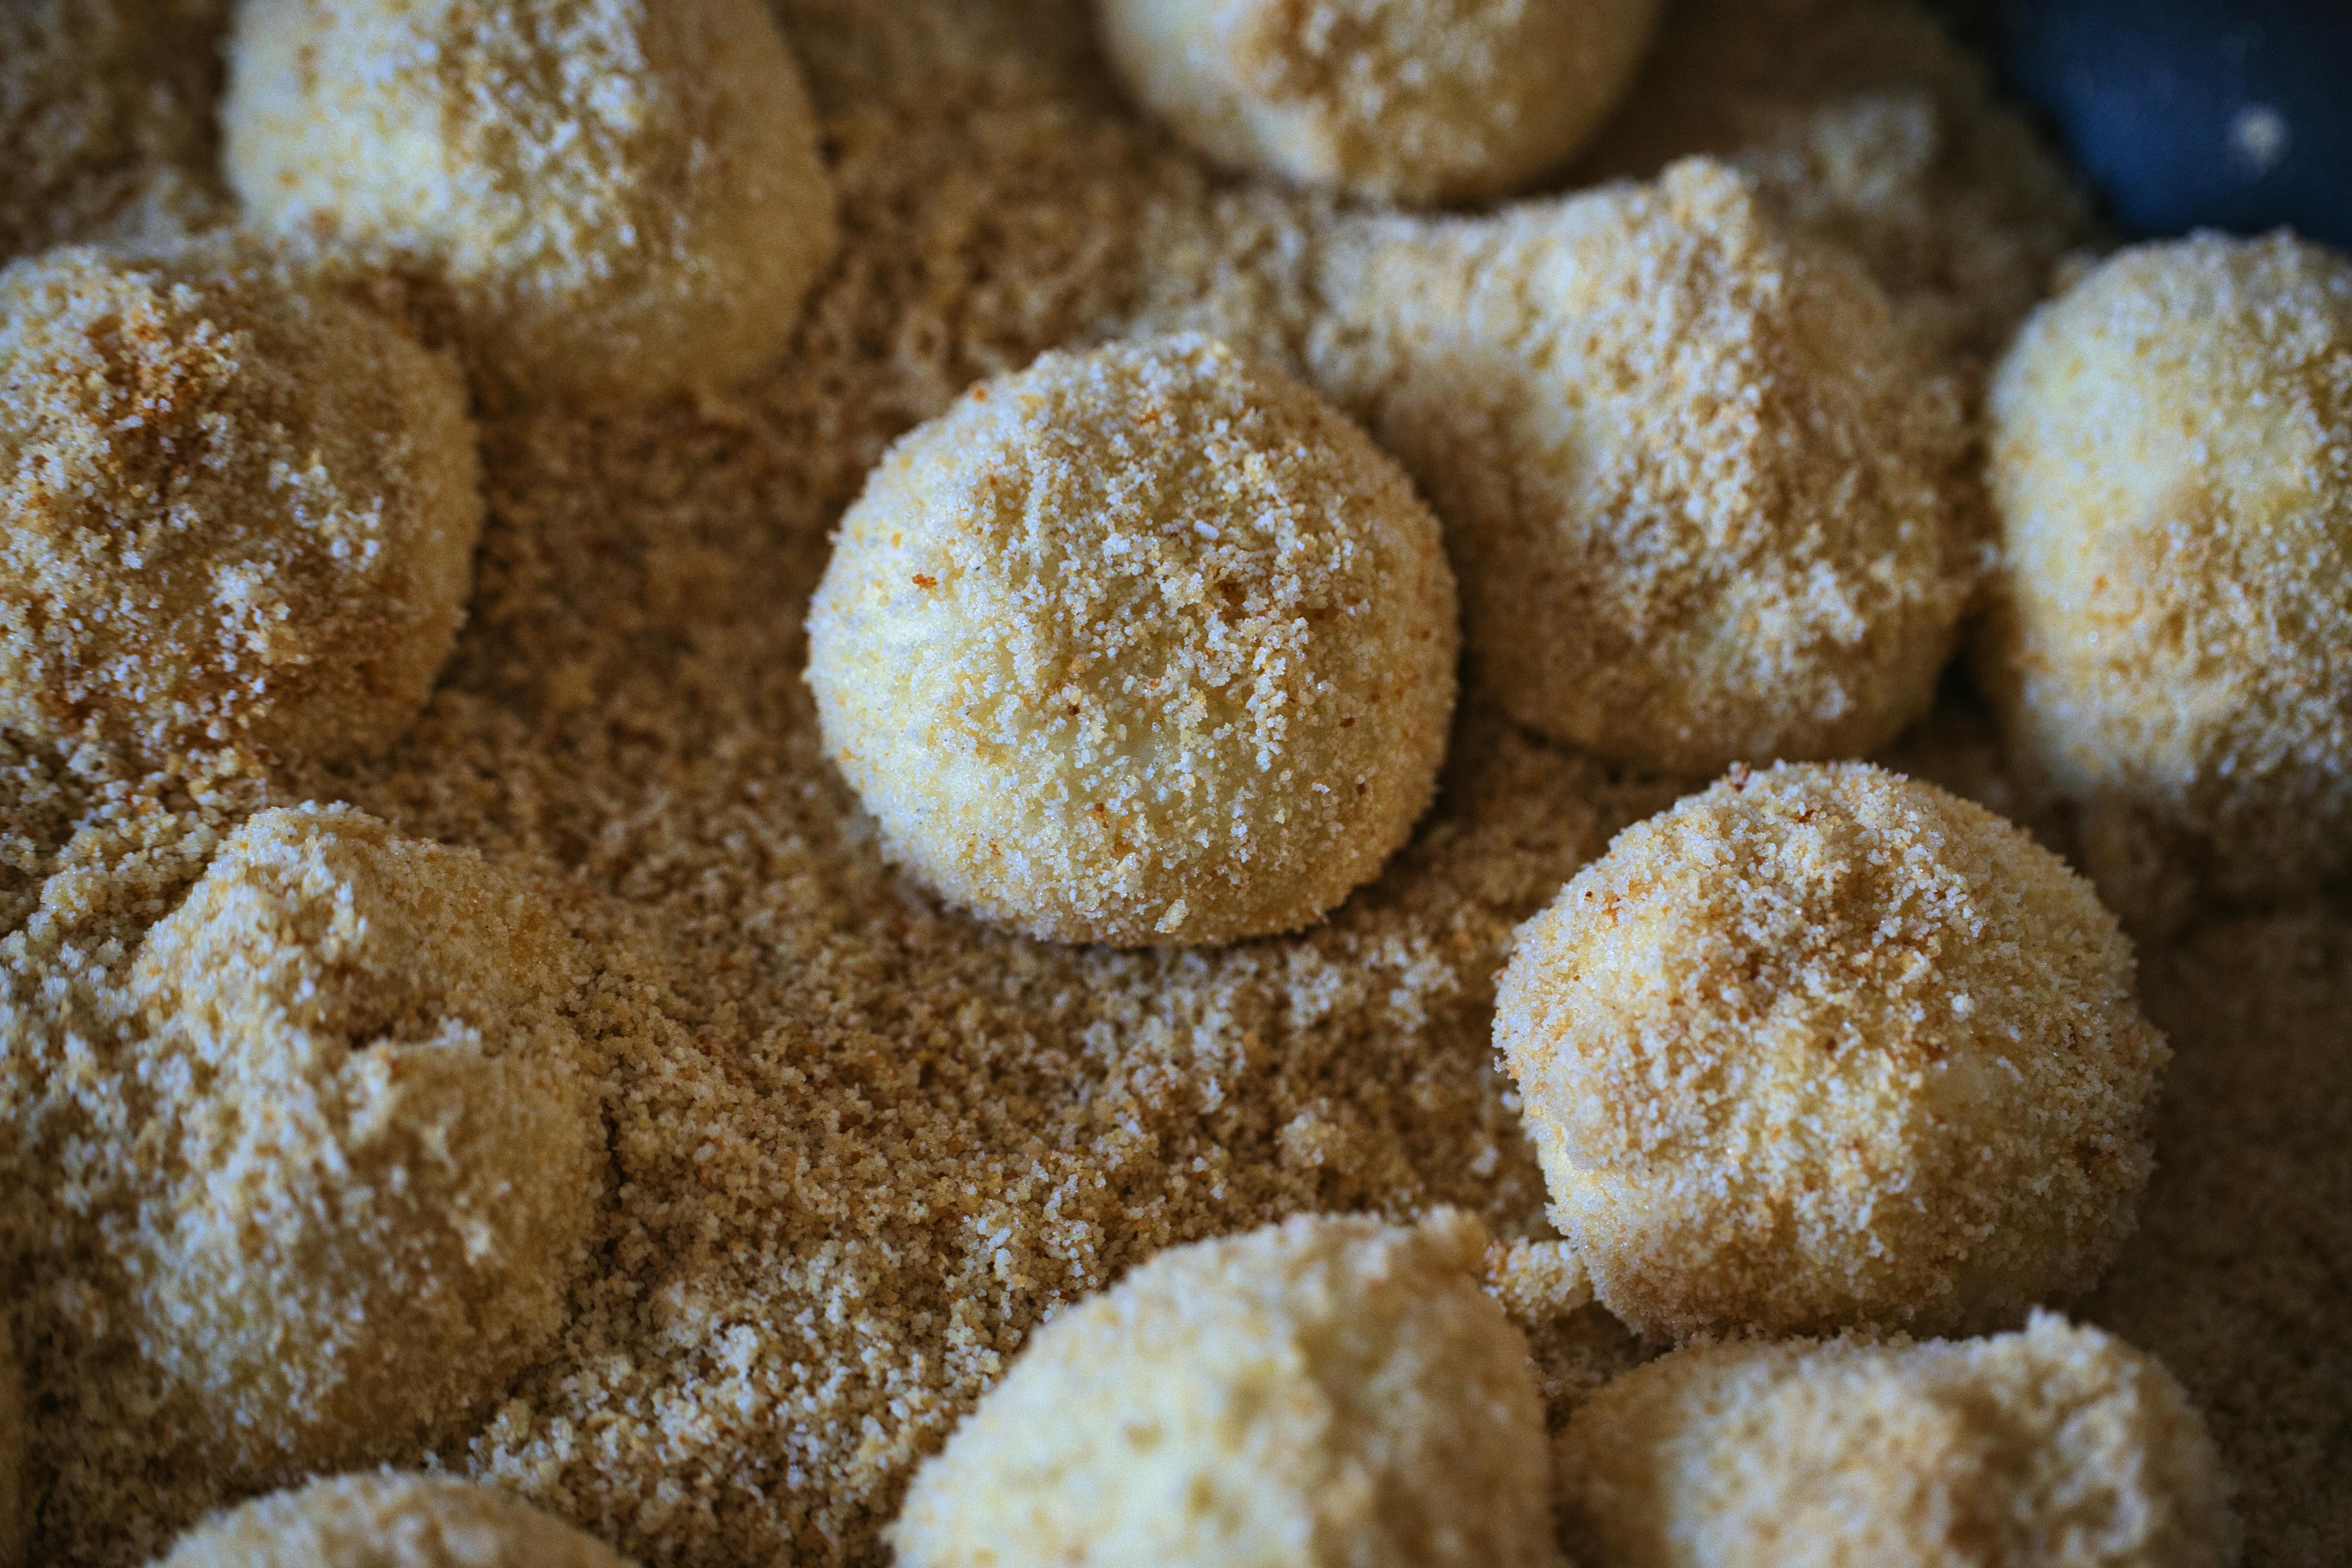
Use the Right Crumbs for Maximum Crunch
Not all breadcrumbs crisp up the same way. Fine, regular breadcrumbs create a neat, classic coating, but panko tends to produce a lighter, airier crunch because the flakes are larger and less dense.
If your goal is a cutlet that stays crisp a little longer, panko is often the better choice. It creates more texture and more tiny ridges, which brown beautifully in hot oil. That extra surface area gives you the kind of crust that sounds crisp when you cut into it.
You can also boost flavor without sacrificing texture by mixing in grated Parmesan. Just avoid overly wet additions, which can weigh down the coating and interfere with browning.
Heat the Oil Fully Before the Cutlets Go In
A cutlet dropped into lukewarm oil will soak before it sizzles, and that is the fastest route to a greasy, soft crust. Properly heated oil starts sealing the coating immediately, which helps the crumbs crisp rather than absorb fat.
The pan should be fully heated before the first cutlet goes in. When the oil is ready, the breading should bubble briskly on contact, not sit there quietly. This quick reaction is what creates a golden exterior instead of a heavy one.
High-smoke-point oils work best, and clarified butter is another good option for flavor. Regular butter burns too fast, which can leave you with dark patches before the coating has had a chance to crisp properly.
Do Not Skimp on the Oil

Crispy cutlets need enough oil to fry efficiently. A thin slick on the bottom of the pan rarely gives the coating the contact it needs, so some sections steam while others brown unevenly.
For the best texture, the oil should come up at least ⅓ of the cutlet's thickness, and ideally closer to ½-2/3. That gives the crust more consistent exposure to heat and helps it cook into an evenly crisp shell.
It may feel like a lot, but more oil usually means better browning and less sticking. When the breading is in good contact with hot fat, it forms a cleaner, sturdier crust that stays crunchy longer after cooking.
Avoid Crowding the Pan
A crowded pan lowers the temperature of the oil fast, and that changes everything. Instead of frying, the cutlets start steaming each other, which softens the coating and makes it harder to get an evenly golden crust.
Cook in batches so each piece has some breathing room. That space helps hot oil circulate around the cutlets and keeps moisture from building up between them. It also gives you more control when it is time to flip.
This is one of those quiet kitchen habits that pays off every time. Fewer cutlets in the pan may take a little longer, but the payoff is a lighter, crisper finish with much less risk of sogginess.
Flip Only When the Crust Has Set

One of the easiest ways to lose your breading is to turn the cutlets too soon. If the first side has not browned and firmed up yet, the coating can stick to the pan or peel away during the flip.
Let the underside become deeply golden before moving it. When the crust is ready, the cutlet usually releases more easily on its own. That is your sign that the coating has set and is sturdy enough to handle turning.
If the cutlets are browning too fast before cooking through, lower the heat slightly or finish them briefly in the oven. That is far better than hovering at low heat from the start, which often softens the crust.