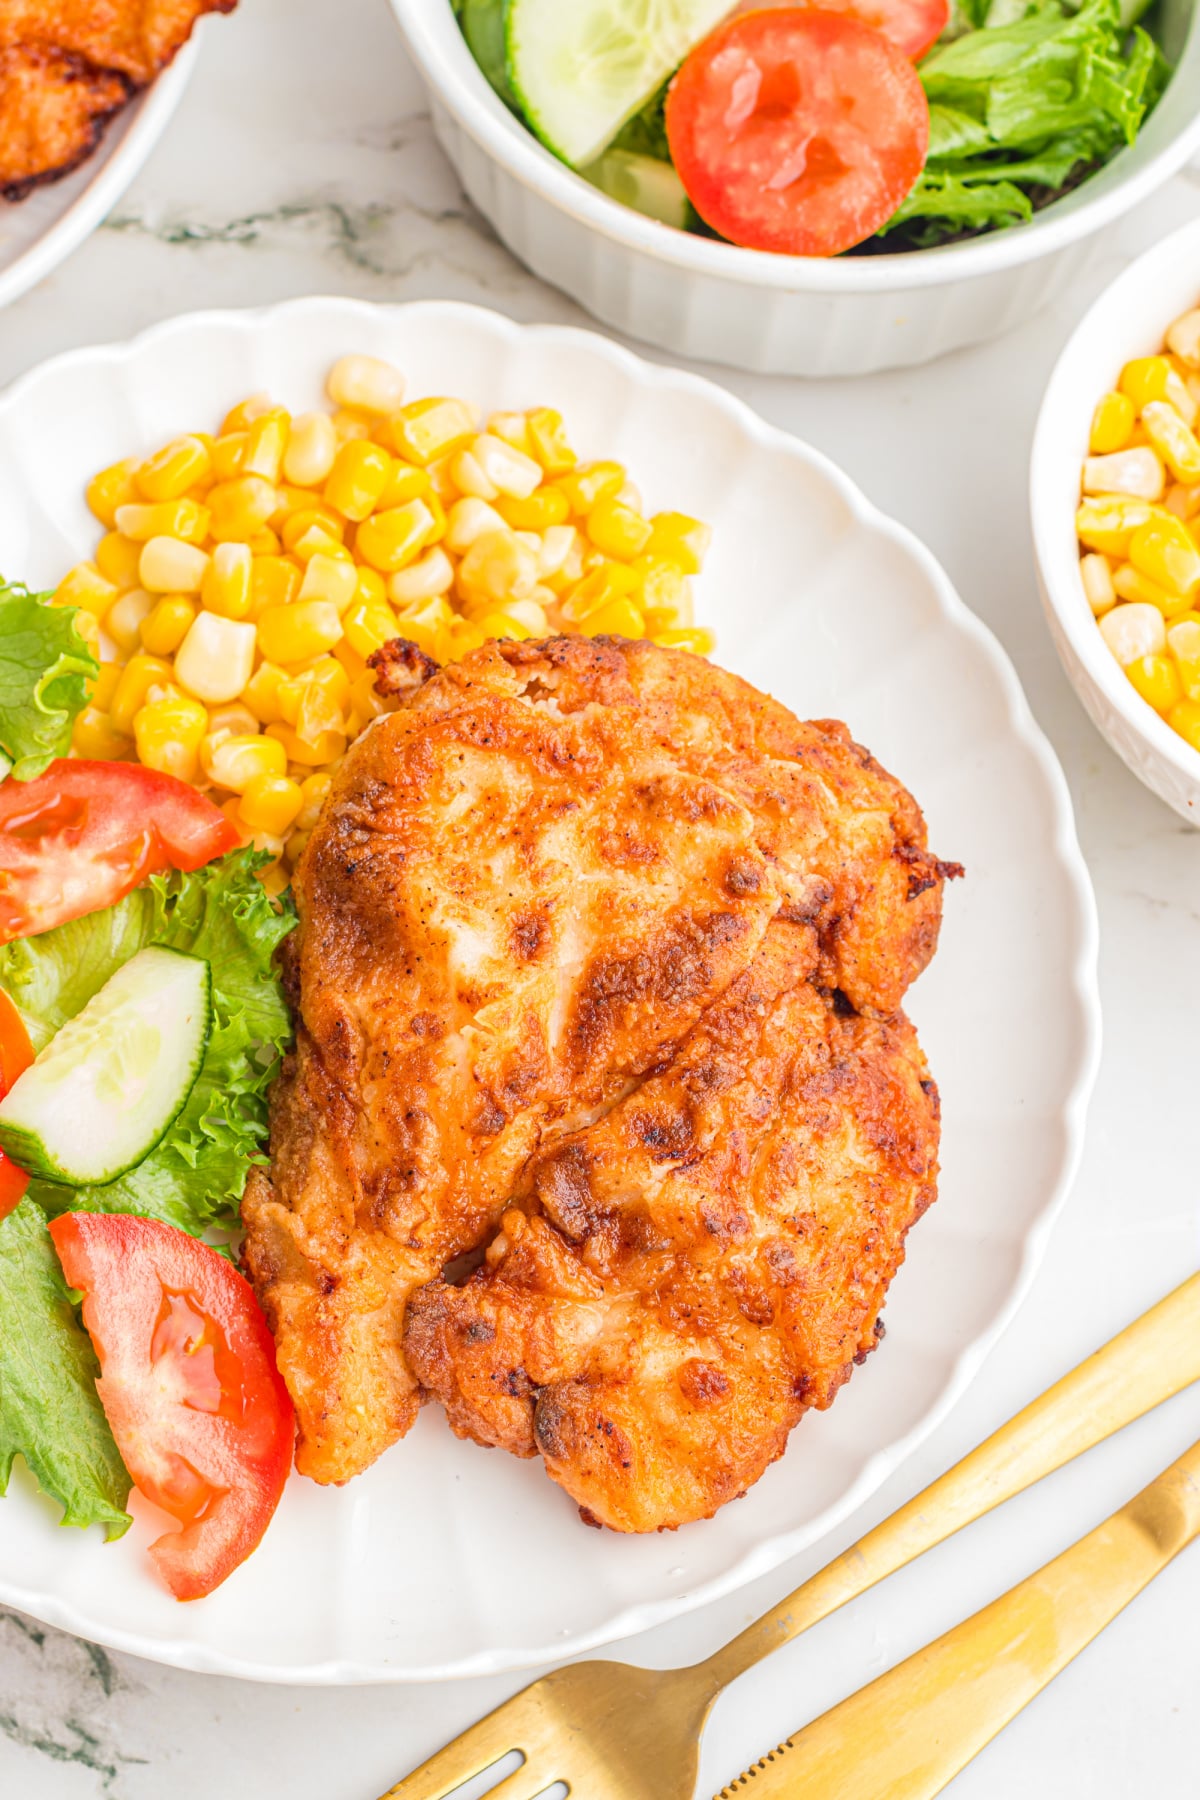
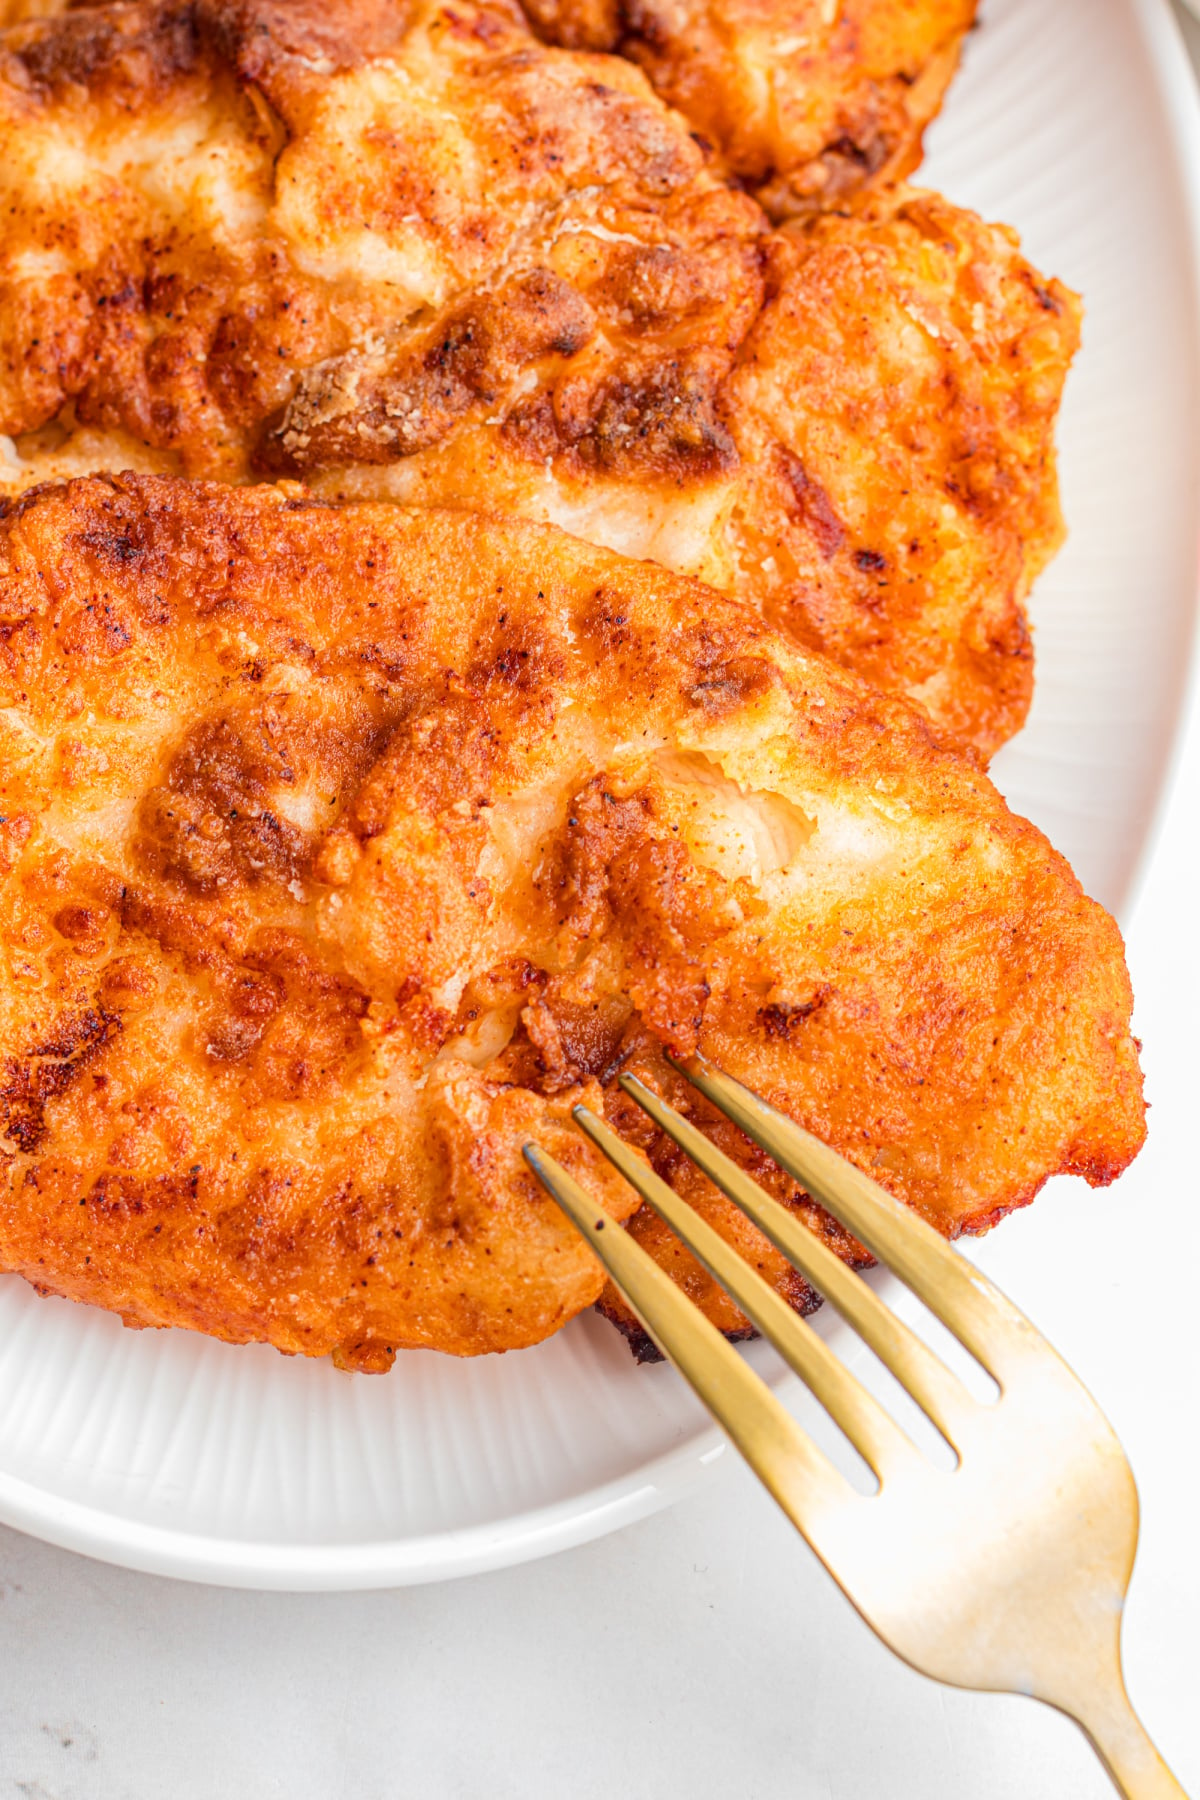
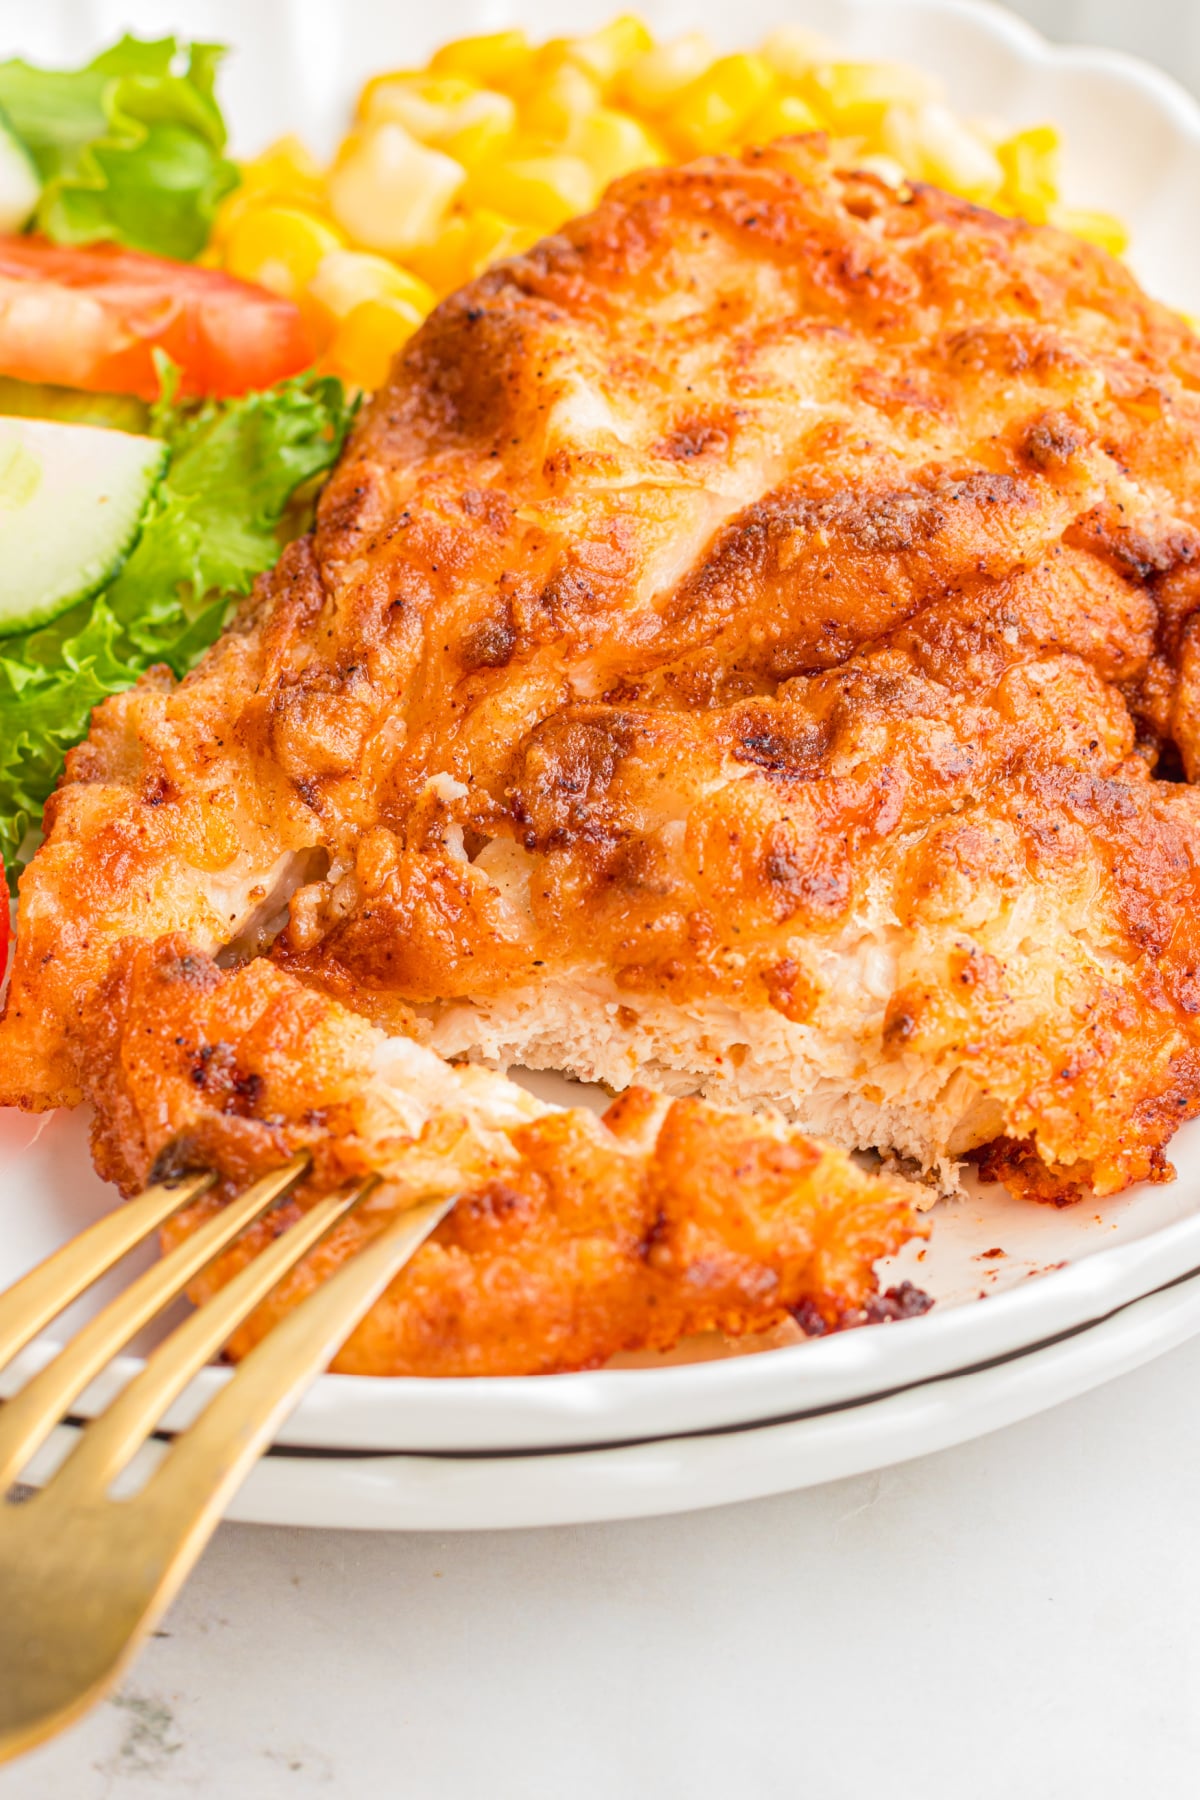
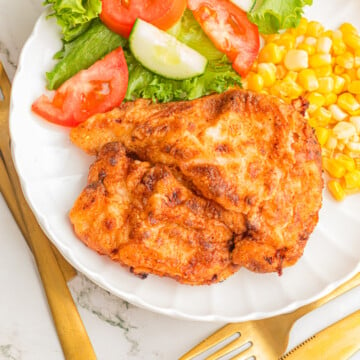
This Fried Chicken Breast recipe is guaranteed to be crispy on the outside and juicy in the middle, all in just 30 minutes. The buttermilk and cornstarch are the secret to locking in moisture, keeping the chicken tender inside while creating a perfectly crunchy crust. My version also fixes the common problem of bland chicken breast by packing every bite with flavor.
Fried Chicken Breast Recipe Essentials
- 🍽️ Course: Main Course
- ⏱️ Cooking Time: About 30 minutes total
- 🍴 Servings: 4
- 🧄 Flavor Profile: Crispy, savory, garlicky, and lightly smoky with juicy, tender chicken inside.
- 🍚 Best Served With: Mashed potatoes, coleslaw, potato salad, biscuits, or your favorite dipping sauces.
- 🧊 Make Ahead?: Yes, chicken can marinate in buttermilk up to 2 hours ahead
Summarize and Save This Content On
I first made this breaded chicken breast recipe when I was craving fried chicken but only had chicken breasts in the fridge. After discovering the buttermilk-and-cornstarch technique, I finally got chicken that stayed crispy on the outside and tender on the inside every single time. Now, it's part of our weekly dinner rotation because it pairs perfectly with just about any side dish.
This is one of the best pan-fried chicken breast recipes, and if you are looking for more pan-fried proteins, I recommend skillet catfish and pan-fried pork chops.
Why You'll Love This Recipe
- You don't need a deep fryer: This is a shallow-fry chicken recipe, so no deep fryer or lots of oil is required. It's a much easier way to get the same crispy result.
- The buttermilk soak keeps chicken juicy: I think that this is the most important part of this fried chicken breast recipe. The acidity tenderizes the chicken perfectly, keeping it juicy and helping the dredge stick for a crunchy exterior.
- It's perfect for meal prep: You can make delicious fried boneless chicken breast in advance and enjoy it as an easy dinner another night or lunch throughout the week.
Ingredients
The main ingredients for this fried chicken recipe are listed below. They are most important for achieving flavorful, perfectly cooked fried breaded chicken breast.
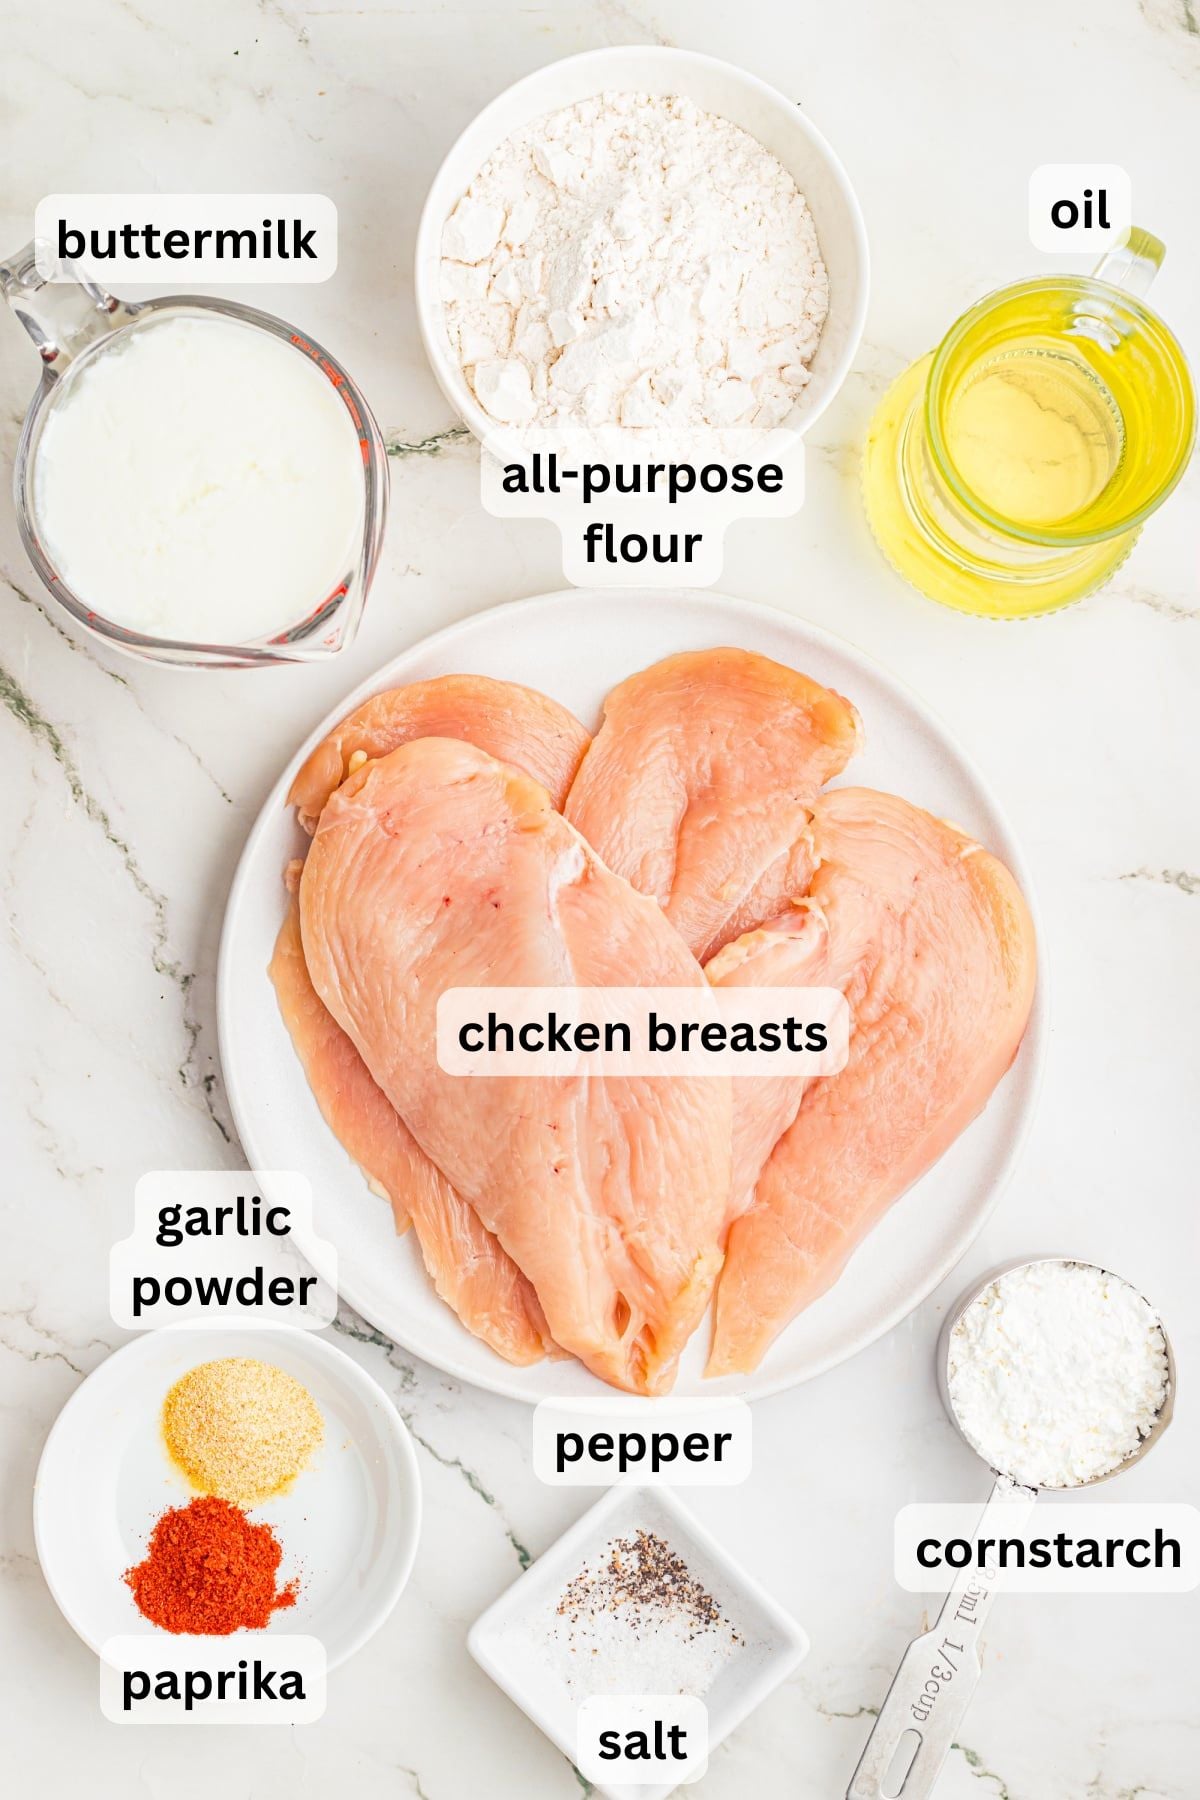
- Chicken breasts: I use boneless chicken breasts because they cook more evenly when pan-fried compared to bone-in. I also slice them in half to make them thinner, so they remain juicy and golden.
- Buttermilk: This is an important ingredient in ensuring moist, tender chicken. It's one of the best tenderizers when frying! I use it in this raspberry buttermilk cake to keep the cake tender and moist, too.
- Cornstarch: A combination of cornstarch and flour keeps the crust light and crispy. It works well with the buttermilk to get the most craveable result possible.
See the recipe card below for exact ingredient amounts, nutritional information, and detailed instructions.
Variations
- Use chicken thighs: Try this recipe using boneless skinless chicken thighs instead of chicken breasts. They will take 1-2 additional minutes per side to cook.
- Double-dredge them: Dip the chicken back into the buttermilk mixture, then into the dry mixture to create a thicker crust for extra crunch.
- Make it gluten-free: Swap the flour for your favorite gluten-free flour blend, but keep the cornstarch. The texture will differ slightly.
How to Make Fried Chicken Breast
Here are the steps needed to prepare and fry your chicken breasts. Once you are ready to dredge and cook the chicken, heat ½ inch of oil in a large skillet over medium heat until it reaches 350°F.
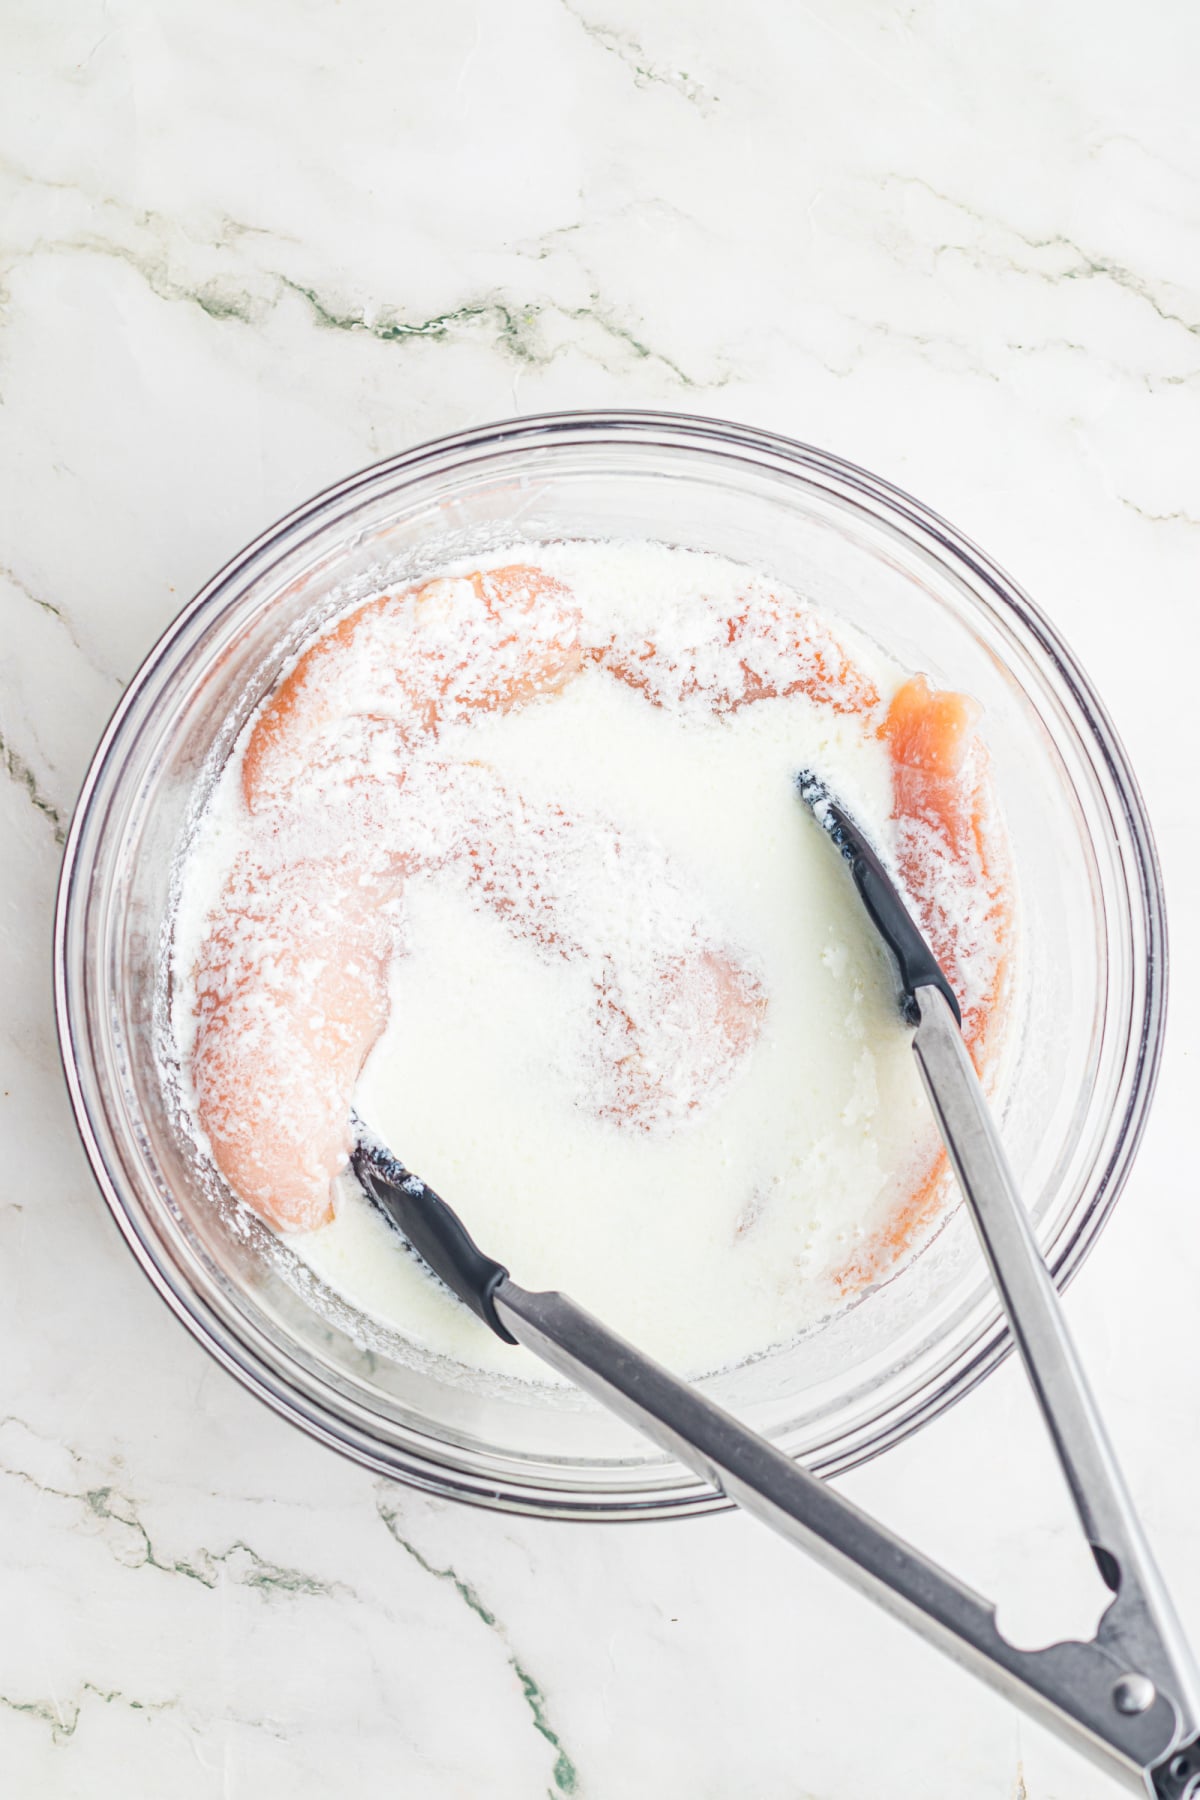
Step 1: Soak the chicken in buttermilk. Start by placing your sliced chicken breasts into a bowl and pouring the buttermilk on top. Allow the chicken to soak for at least 10 minutes or 2 hours, if possible.
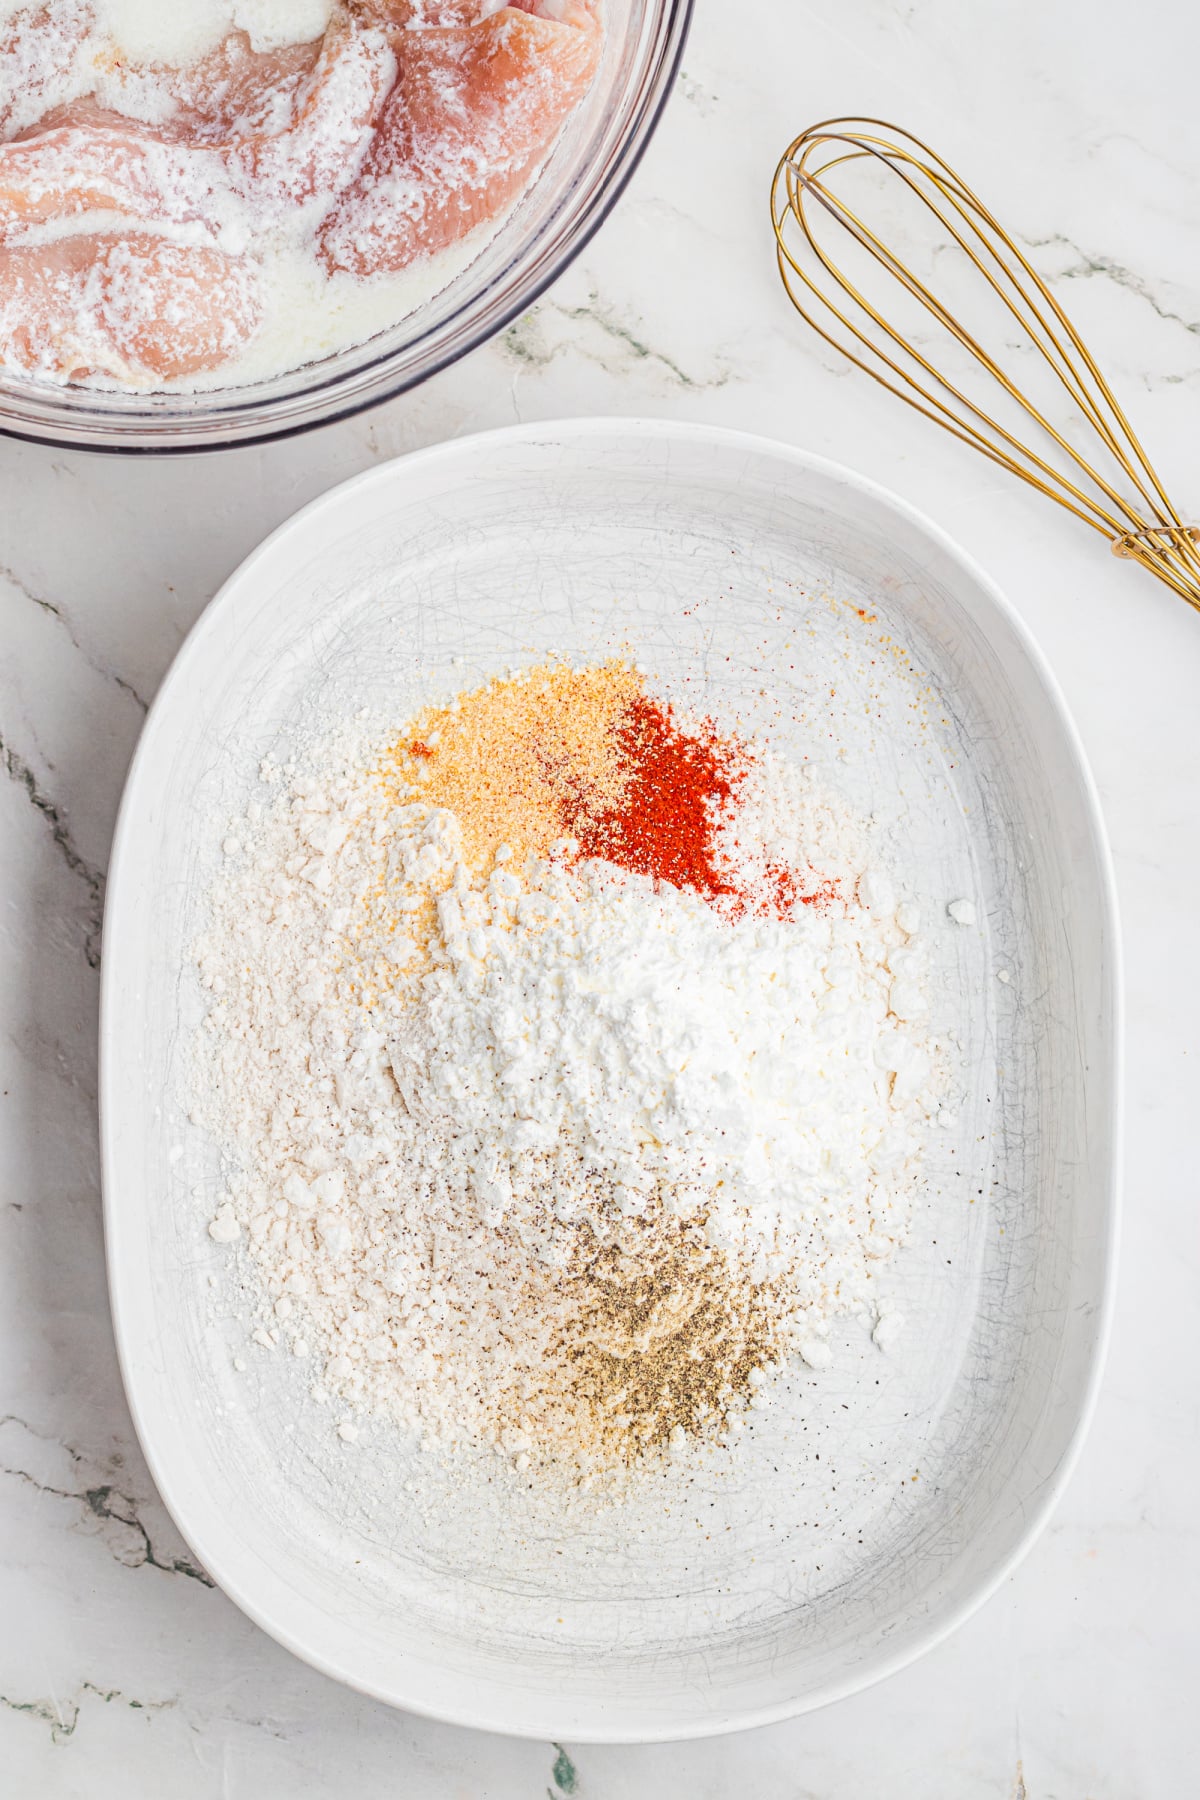
Step 2: Prepare the coating. Combine the flour, cornstarch, and spices in a shallow dish and mix them well.
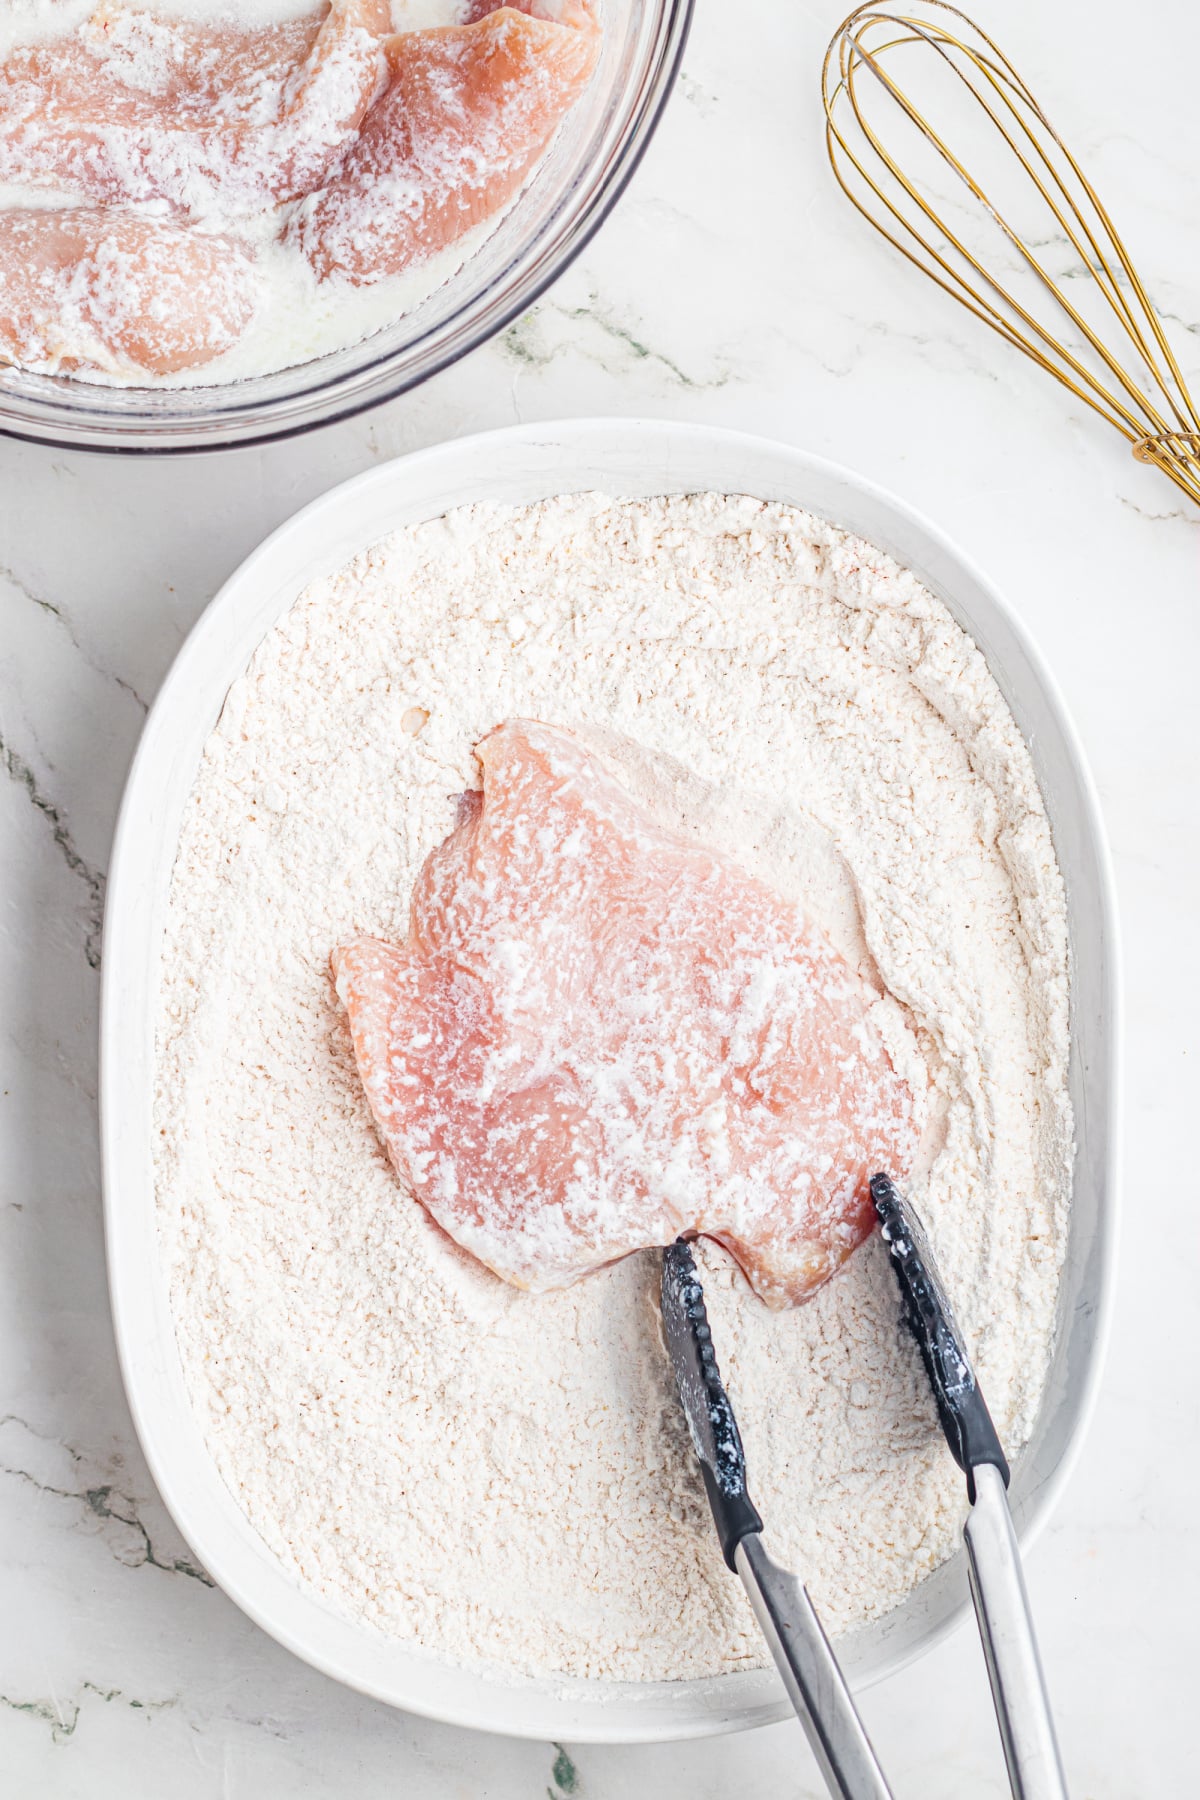
Step 3: Dredge the chicken. Remove each chicken breast from the buttermilk, allowing the excess to drip off. Carefully coat each piece in the flour mixture.
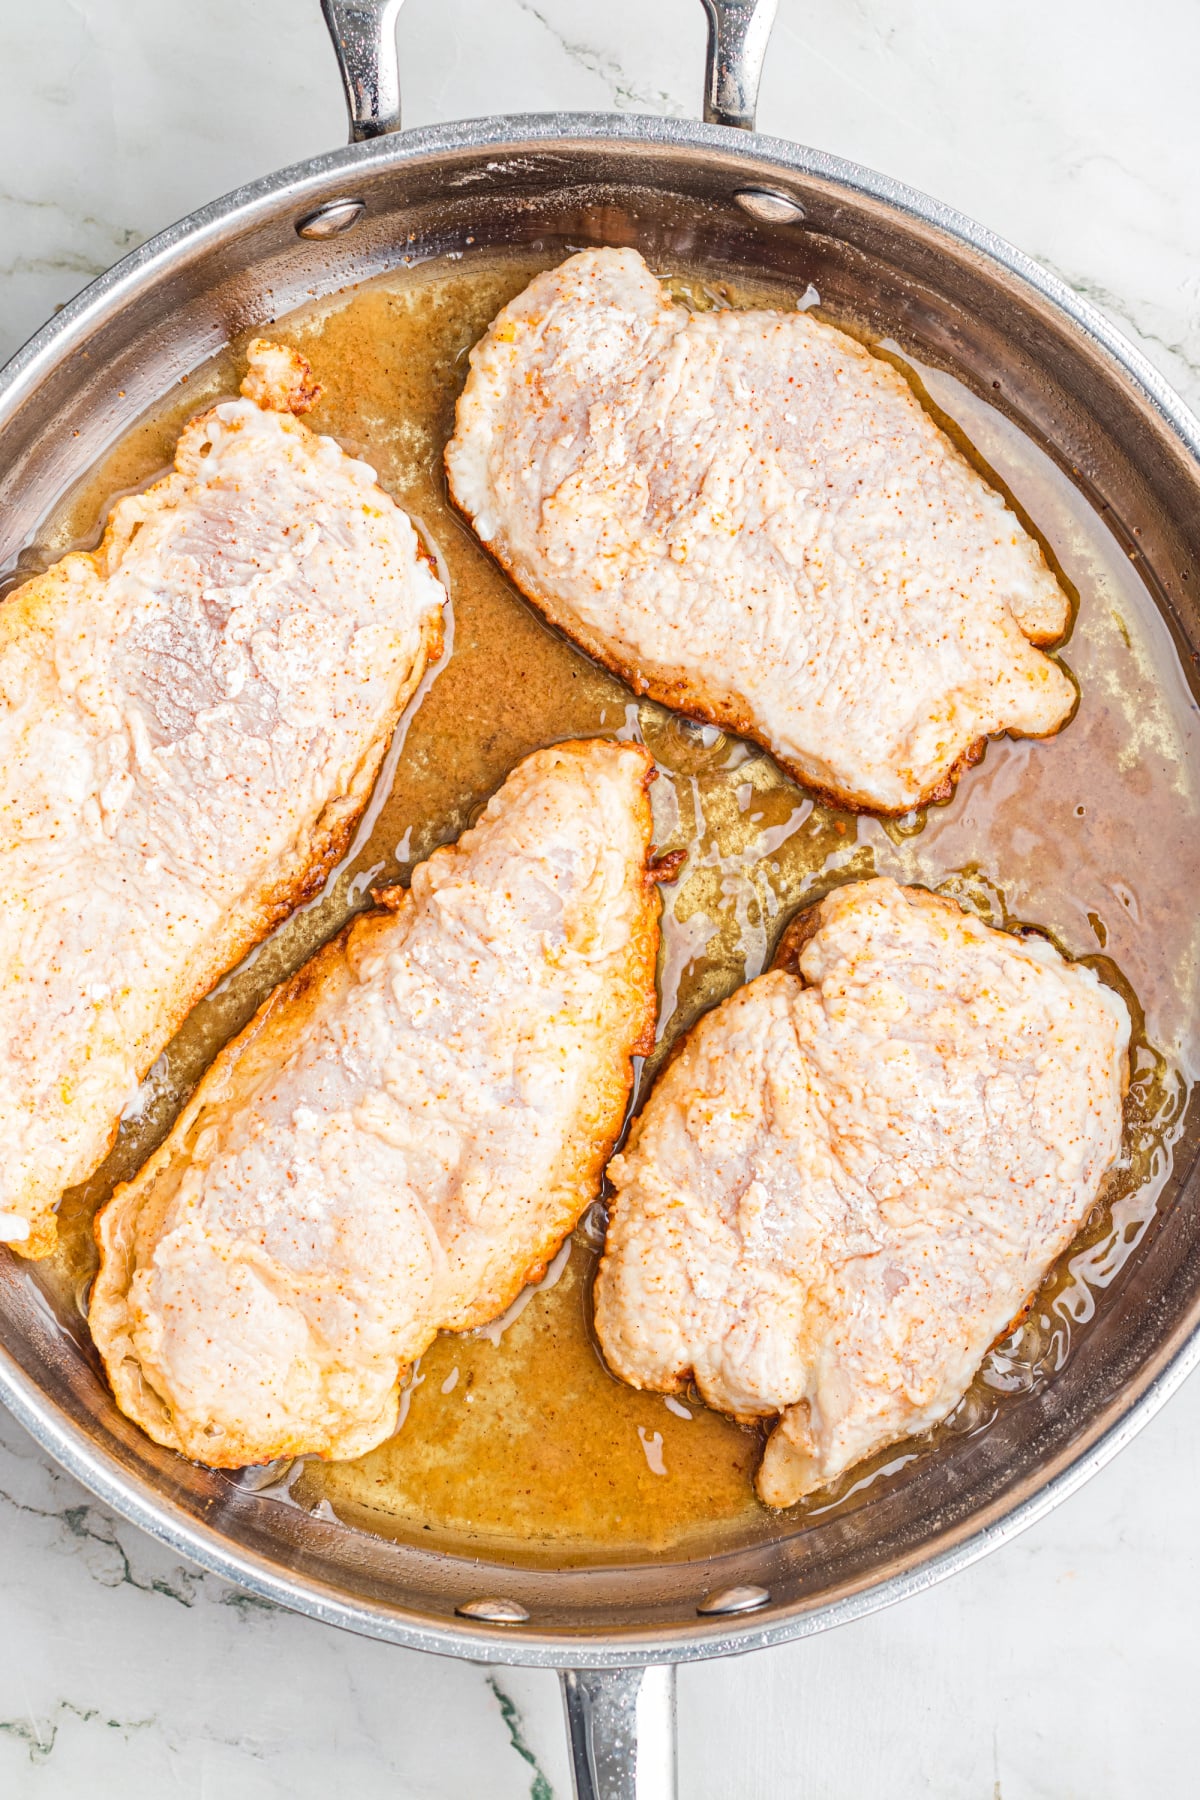
Step 4: Fry the first side. Once the oil is hot, carefully lay as many chicken breast cutlets that will fit in the skillet. Allow them to cook for about 4-5 minutes or until golden and crispy.
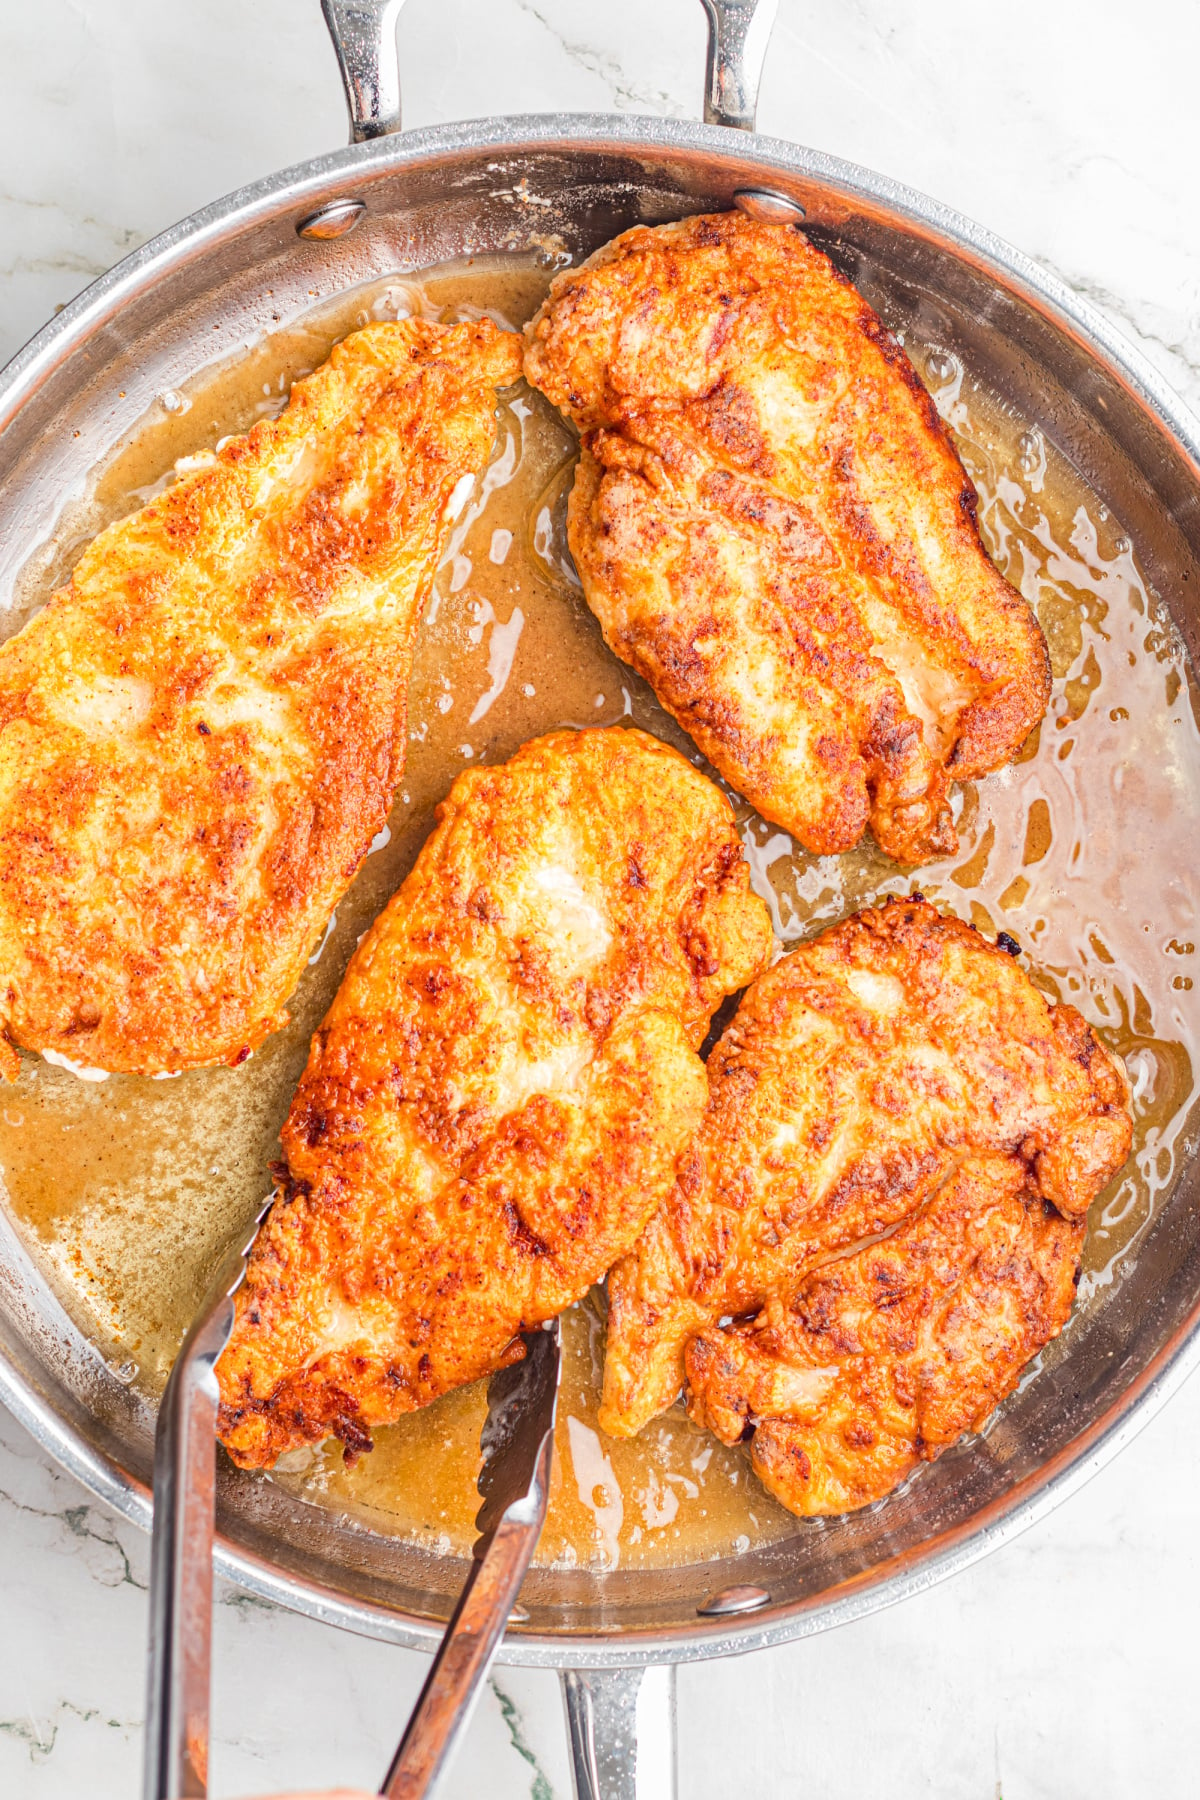
Step 5: Flip and finish cooking. Flip the chicken and cook for an additional 4-5 minutes or until the chicken is crispy on the second side and fully cooked in the middle.
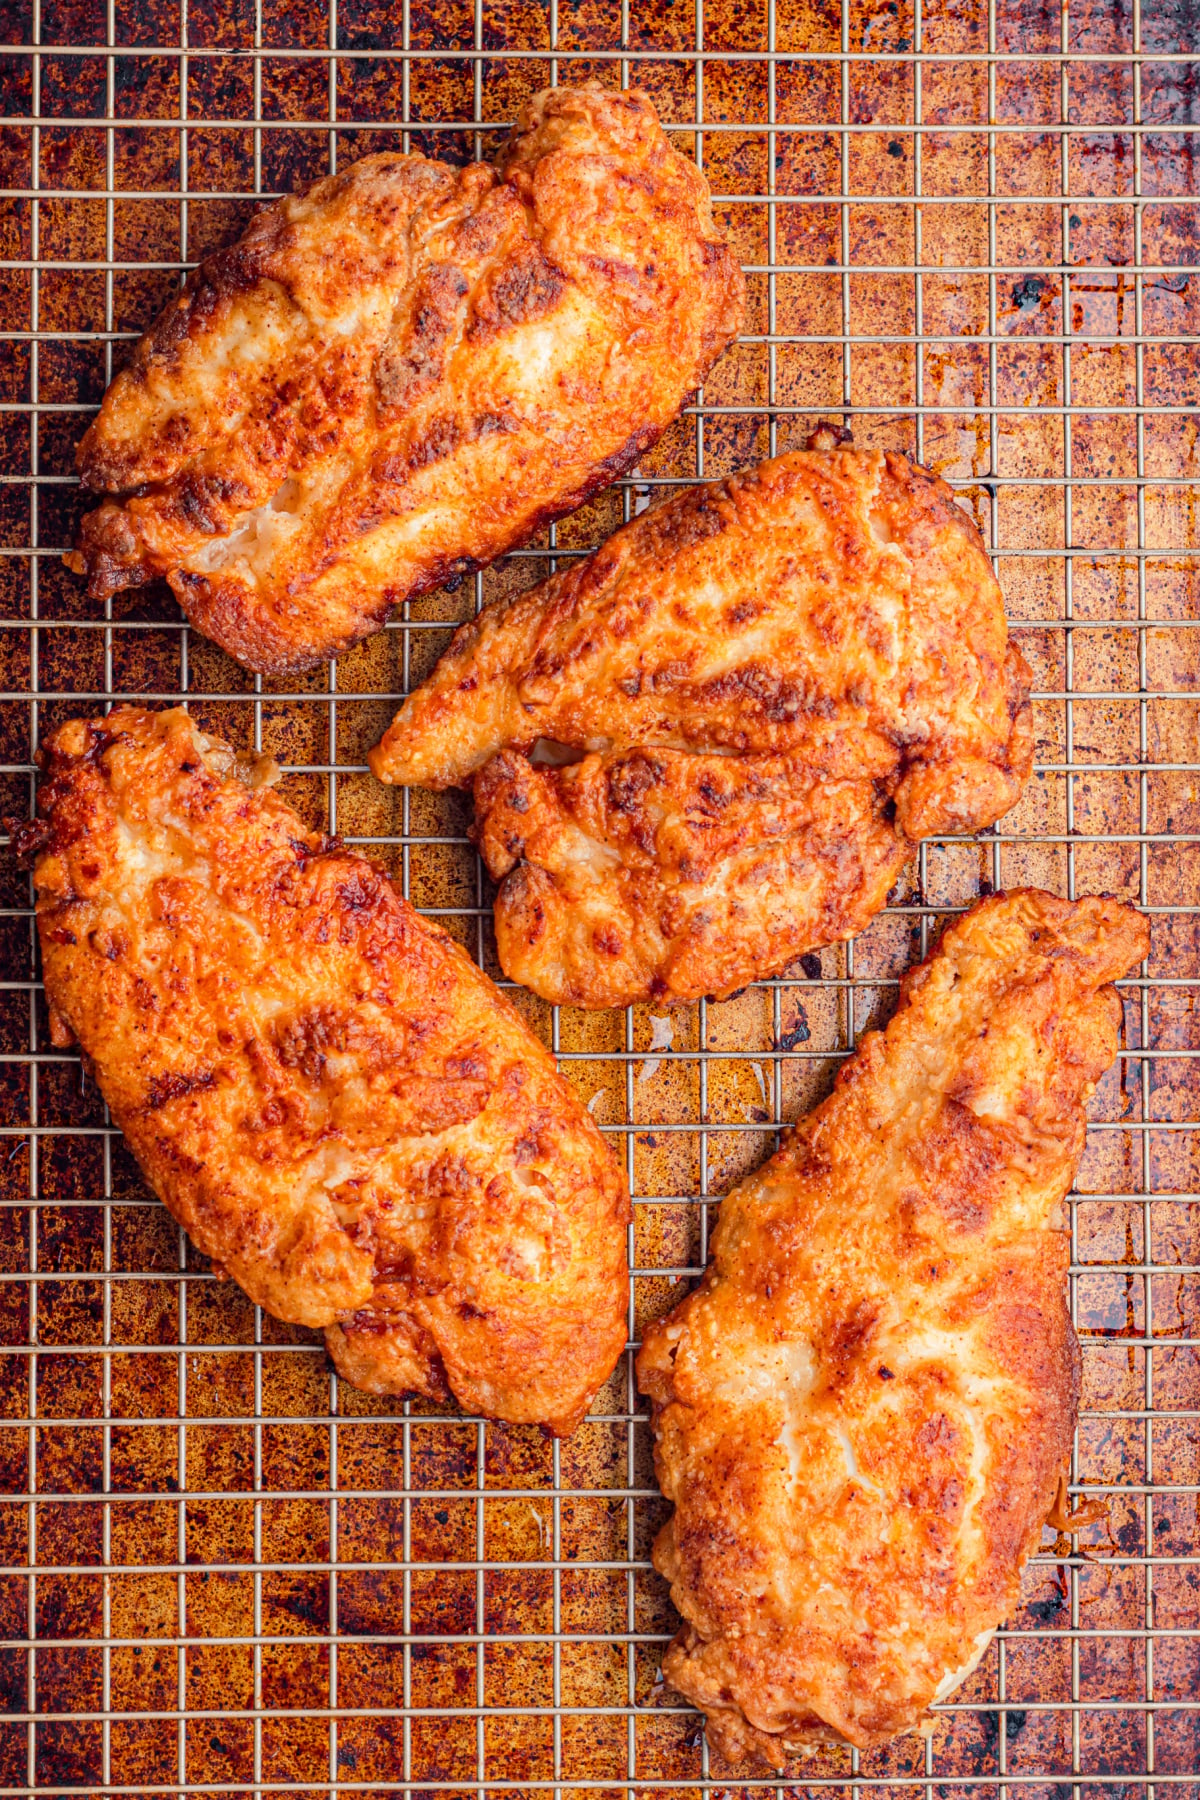
Step 6: Drain the grease and serve. Place the chicken breasts onto a wire rack over a baking sheet to drain excess oil before serving with cowboy baked beans.
Expert Tips
- Use a wire rack to drain the grease: Place the rack over a sheet pan with paper towels underneath. Lifting the chicken off the paper towels rather than draining them directly on the paper will keep the crust from becoming soggy.
- Let the oil heat between batches: When you take the fried chicken breast out of the pan, allow the oil a minute or two to heat back up. It cools down a little as it cooks the chicken.
- Rest the chicken to carryover cook it: After frying all of the chicken breasts, allow them to rest for 10-15 minutes. This will not only allow the juices to redistribute so the chicken remains juicy, but it also allows the chicken to carryover cook and go up a couple of degrees to reach 165°F for food safety.
- Storage directions: Place leftover fried chicken into an airtight container and store them in the refrigerator for up to 3 days.
- Reheating the leftovers: The chicken is best reheated in a 375°F oven on a wire rack over a baking sheet for about 10-15 minutes. This method restores crispiness, while the microwave will make the crust soft.
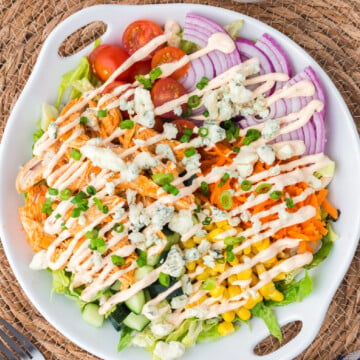
Another recipe featuring crispy, juicy chicken is this buffalo chicken sandwich.
Serving Suggestions
- Dipping sauces: If you want a tasty sauce to dip your fried chicken breast in, you should try this McDonald's buffalo sauce, buttermilk ranch dip, or a drizzle of honey!
- Southern sides: I love southern side dishes with fried chicken. Serve cream cheese mac and cheese with slow cooker collard greens.
- Lighter options: You can lighten up your meal with a side salad or fresh coleslaw.
Fried Chicken Breast Recipe FAQs
Your fried chicken can turn soggy if the pan is overcrowded, the oil isn't hot enough, or it's drained only on paper towels. To avoid this issue, cook the chicken in batches, wait for the oil to lightly bubble before cooking the chicken, and use a wire rack to drain the oil after cooking.
They must be golden and crispy on the outside and cooked to an internal temperature of 165°F or no longer pink. Use a thermometer to check the thickest part of each breast, if needed.
Yes! Once the fried chicken is completely cool, transfer them to a freezer bag and freeze them for up to 3 months. Thaw overnight in the fridge before reheating.
Any neutral oil with a high smoke point is perfect for frying. I highly recommend vegetable or canola oil.


Fried Chicken Breast
Ingredients
- 2 large boneless skinless chicken breasts (halved lengthwise to make 4 thin cutlets)
- 1 cup buttermilk
- 1 cup all-purpose flour
- ⅓ cup cornstarch
- 1 teaspoon garlic powder
- 1 teaspoon paprika
- ½-1 teaspoon salt
- ½ teaspoon black pepper
- Oil for frying vegetable or canola oil, about ½ inch in pan
Instructions
- Place chicken cutlets in a bowl and pour buttermilk over top. Let sit for at least 10 minutes (or up to 2 hours in the fridge for extra tenderness).
- In a shallow dish, whisk together flour, cornstarch, garlic powder, paprika, salt, and pepper.
- Remove chicken from buttermilk, letting excess drip off, then dredge each piece in the flour mixture. Press lightly so the coating sticks well. Transfer to a plate until ready to fry.
- Heat about ½ inch of oil in a large skillet over medium heat until hot (about 350°F).
- Carefully add chicken to the pan in a single layer. Cook for 4-5 minutes per side, until golden brown and cooked through (internal temperature reaches 165°F).
- Transfer to a wire rack set over a baking sheet. Let rest for 5 minutes before serving.
- Serve immediately for best texture, with your favorite sides or dipping sauces.
Video
Notes
- Set a wire rack over a sheet pan lined with paper towels and place the chicken on top. This keeps it elevated so the crust stays crisp instead of getting soggy.
- After frying, let the chicken rest for 10-15 minutes so the juices redistribute and stay juicy. It also finishes cooking slightly as it rests, helping it safely reach 165°F.
- Fried chicken can turn soggy if the pan is overcrowded, the oil isn't hot enough, or it's drained only on paper towels. Cook in batches, heat oil until it lightly bubbles, and use a wire rack for maximum crispiness.
Leave a Reply