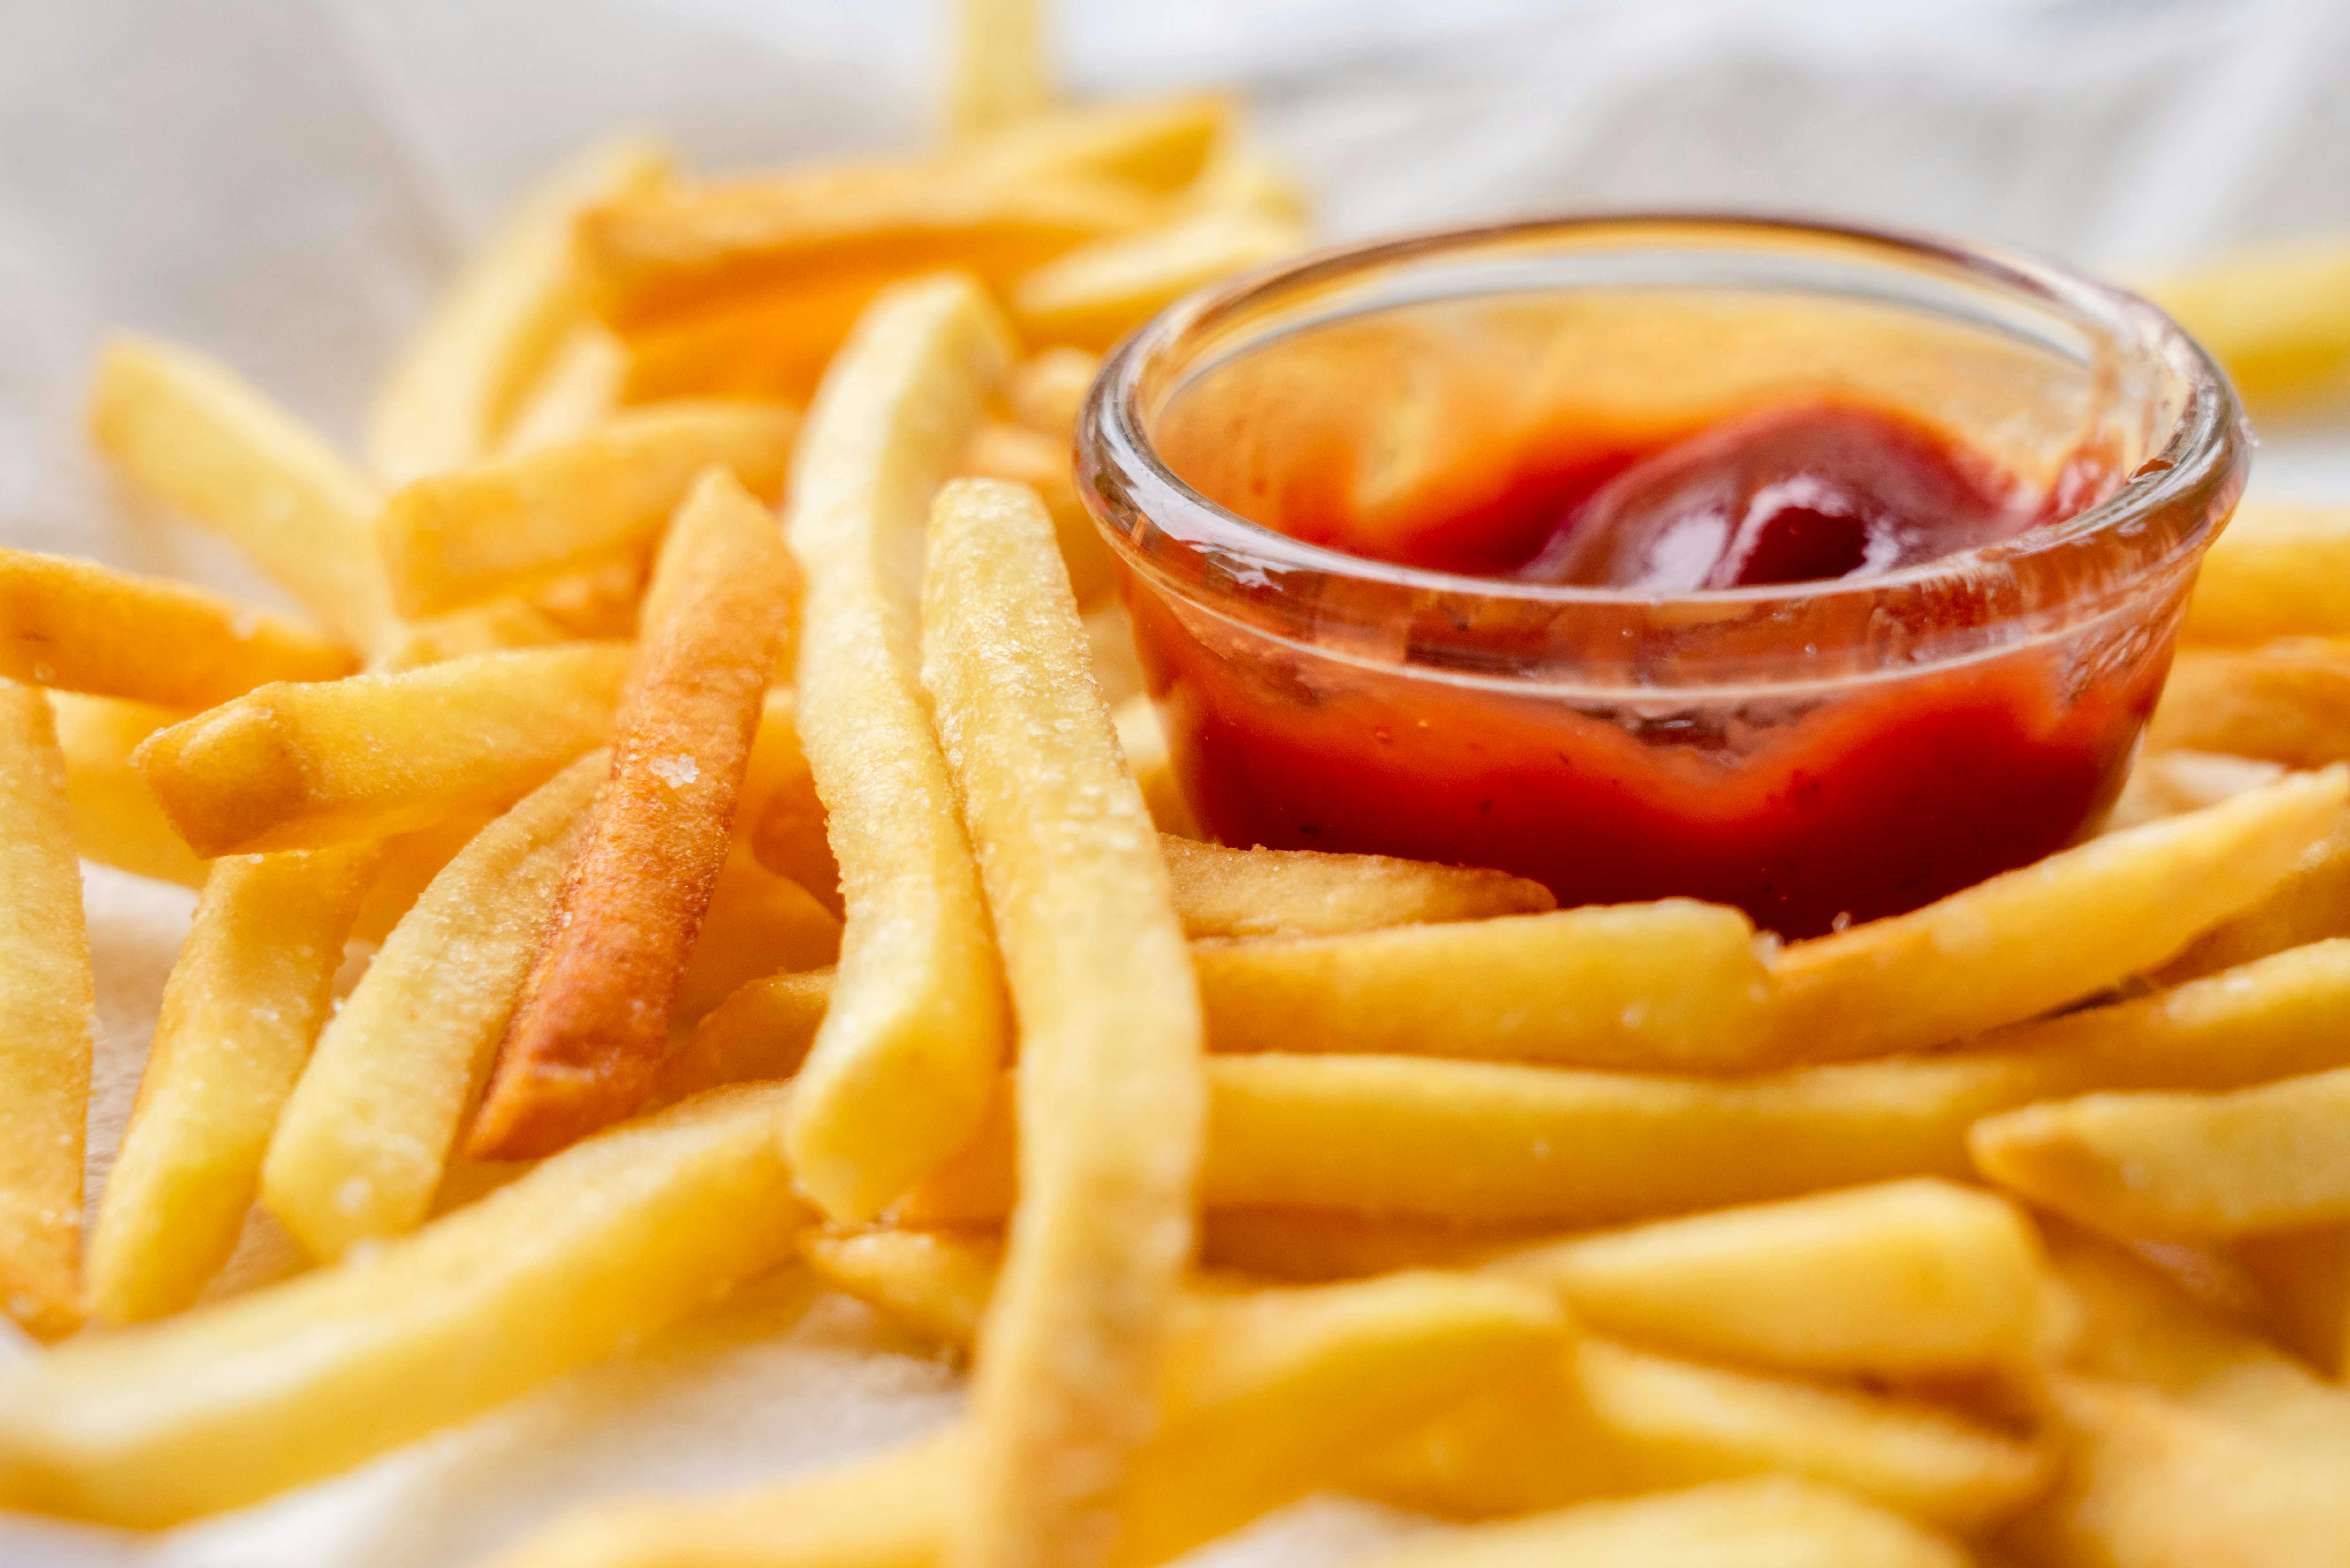
Frozen fries are one of the easiest comfort foods to make, but they often fall short of that hot, shattering crunch you want. The good news is that a few simple cooking habits can dramatically improve texture without adding much effort. From heat management to spacing and seasoning, these practical tricks help frozen fries turn out crispier and more golden at home.
Start With a Fully Preheated Oven or Air Fryer
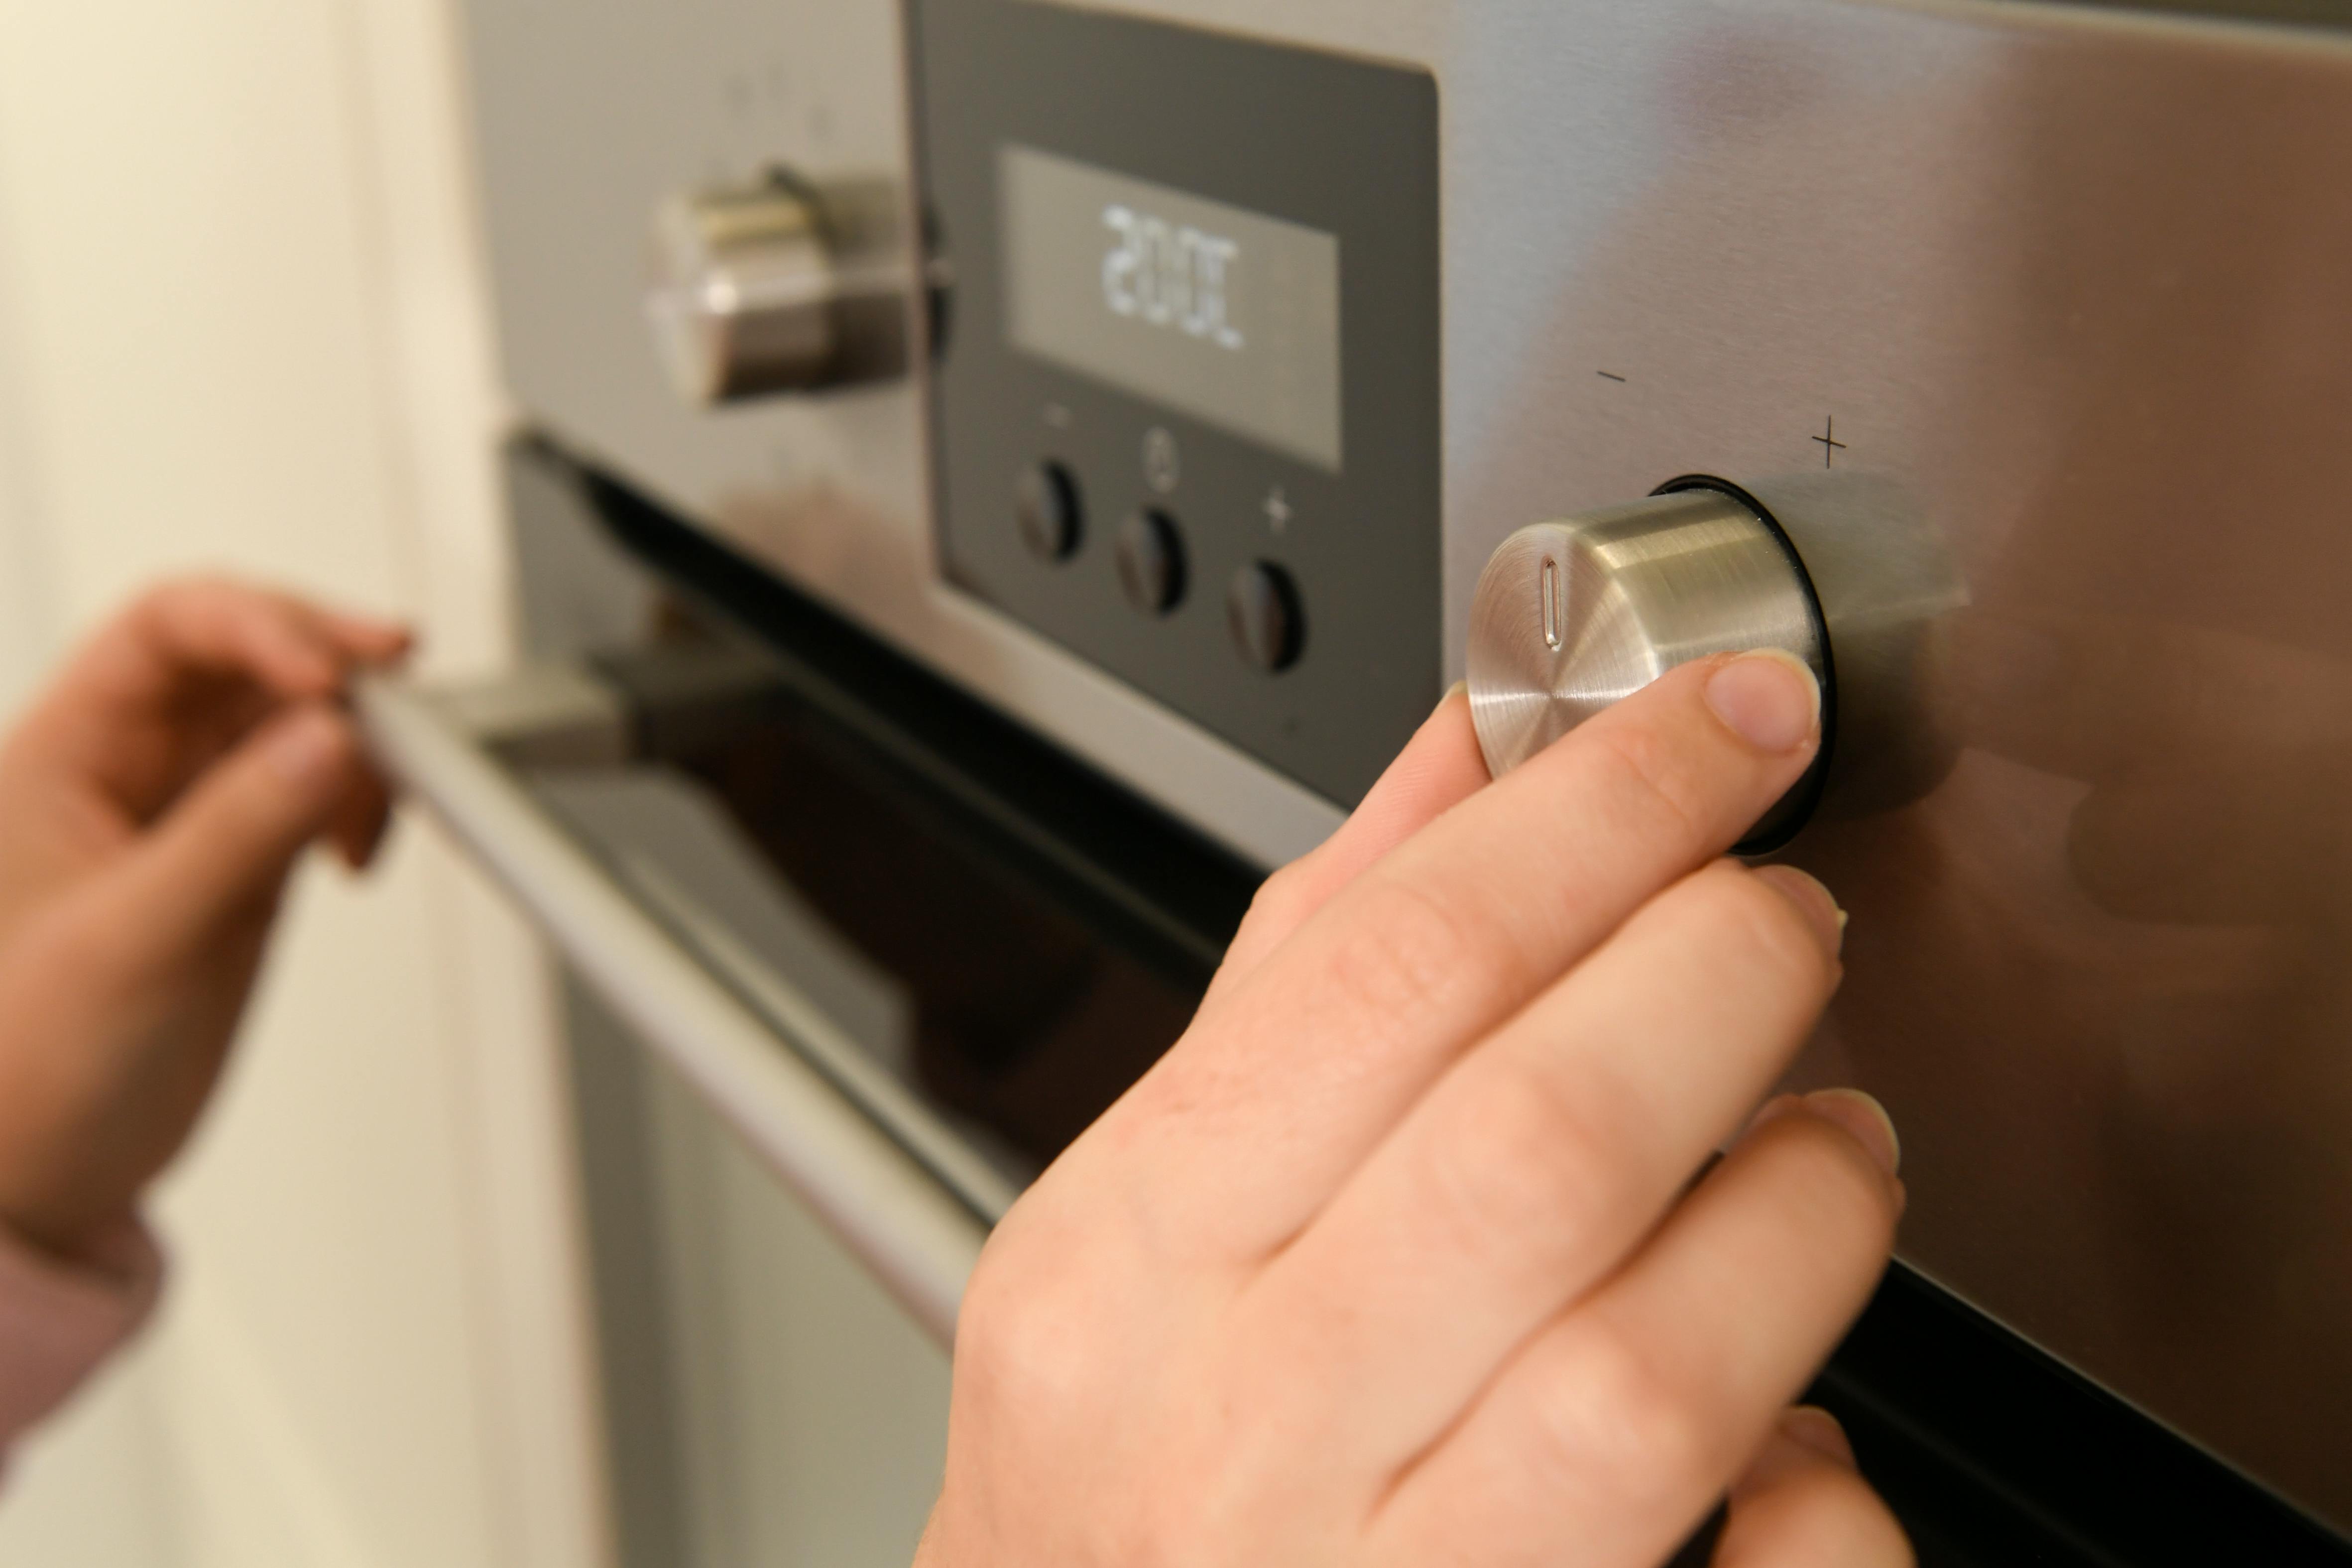
Crispy fries begin before the bag is even open. If your oven or air fryer is not fully preheated, the potatoes warm gradually instead of hitting intense heat right away, and that slower start encourages steaming rather than browning.
Frozen fries already contain ice crystals on the surface. A properly preheated cooker helps drive off that moisture fast, which is exactly what you want for a crisp outer layer. Most brands do best at high heat, often around 425°F to 450°F, because strong heat promotes the dry, golden finish people expect from restaurant fries.
Giving your machine a few extra minutes beyond the beep can make a noticeable difference, especially with older ovens that cycle unevenly.
Use a Dark, Heavy Baking Sheet

The pan matters more than many home cooks realize. A dark, heavy baking sheet absorbs and holds heat better than a thin, shiny one, so the bottoms of the fries get a stronger blast of direct heat instead of sitting on a surface that cools down too quickly.
That extra heat transfer helps create better browning and a firmer crust. Lightweight pans can warp, develop hot spots, or lose heat the moment frozen food hits them, which leads to pale, softer fries. If you have ever wondered why one batch looks restaurant-worthy and another looks limp, the baking sheet is often part of the answer.
A sturdy sheet pan also cooks more evenly from edge to center, so you get fewer underdone pieces in the middle.
Do Not Thaw the Fries First
It sounds helpful, but thawing usually works against crispness. As frozen fries sit out, ice melts into surface moisture, and that water turns into steam during cooking. Steam softens the exterior before the fries have a chance to brown properly.
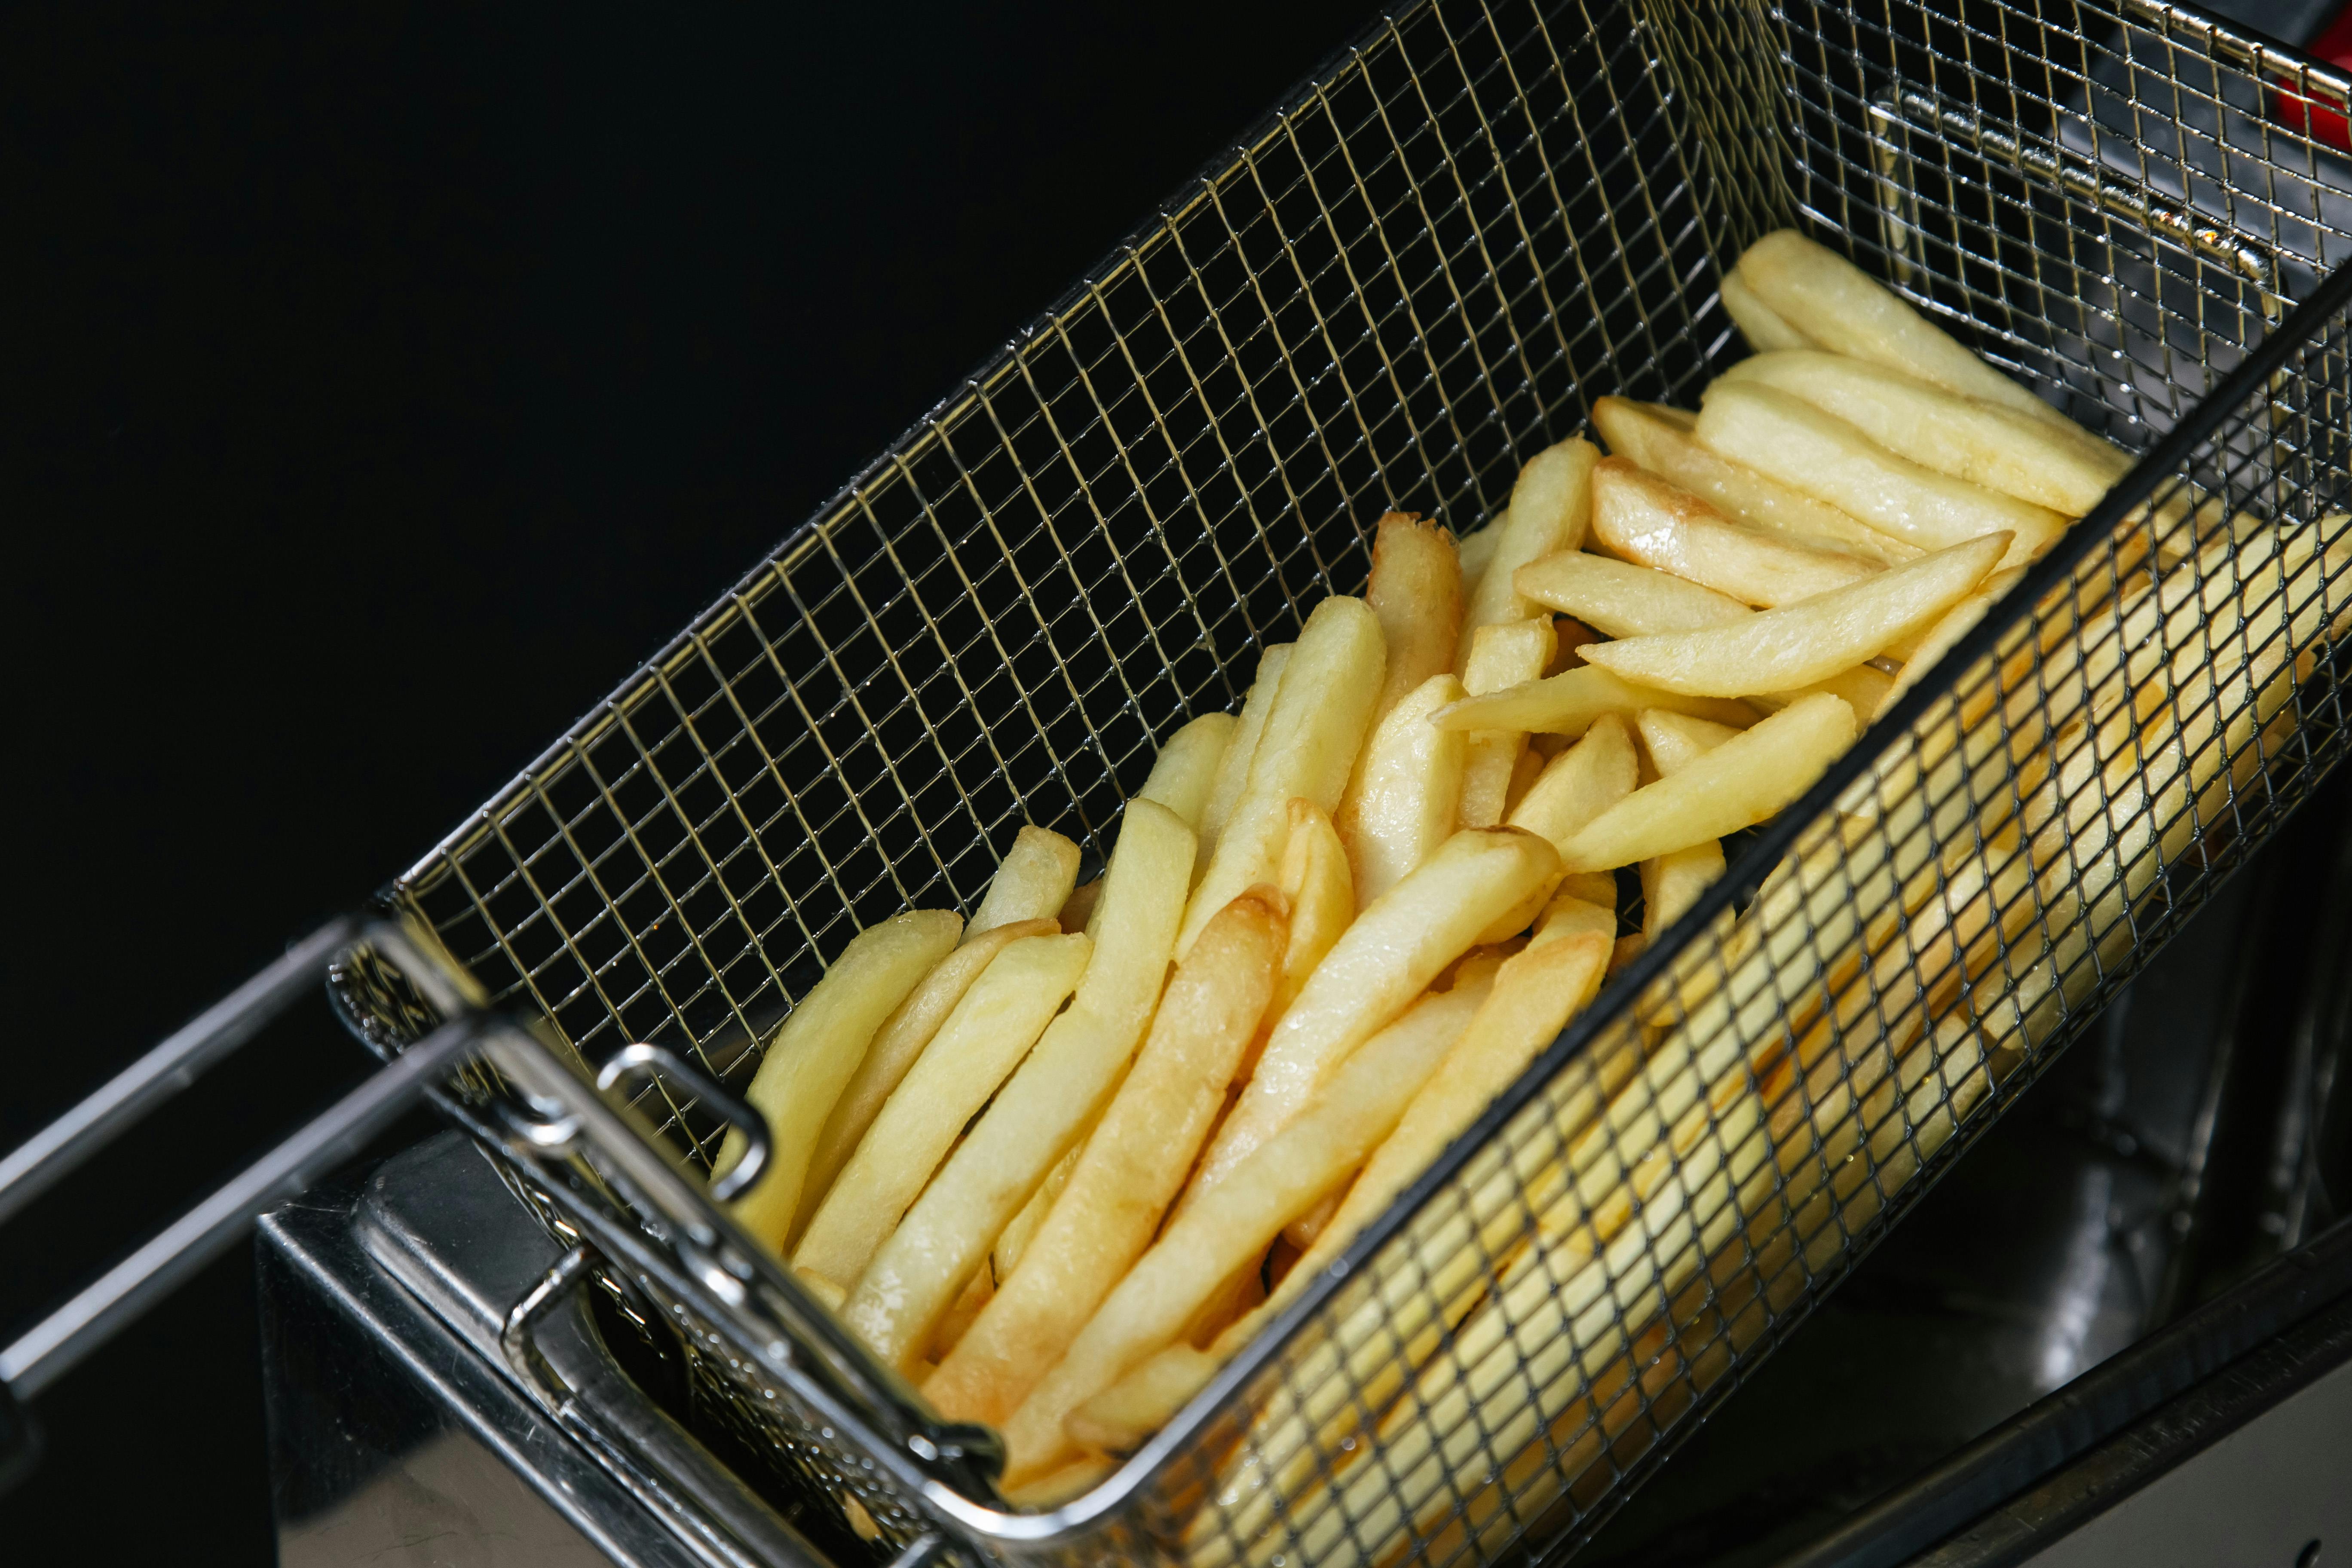
Most frozen fries are designed to go straight from freezer to heat. Manufacturers partially cook them before freezing, so they are already set up to finish quickly in a hot oven or air fryer. Keeping them frozen helps the outside dry and crisp while the inside heats through.
If the fries clump together in the bag, break them apart quickly and get them cooking right away. The less time they spend sweating on the counter, the better the texture will be.
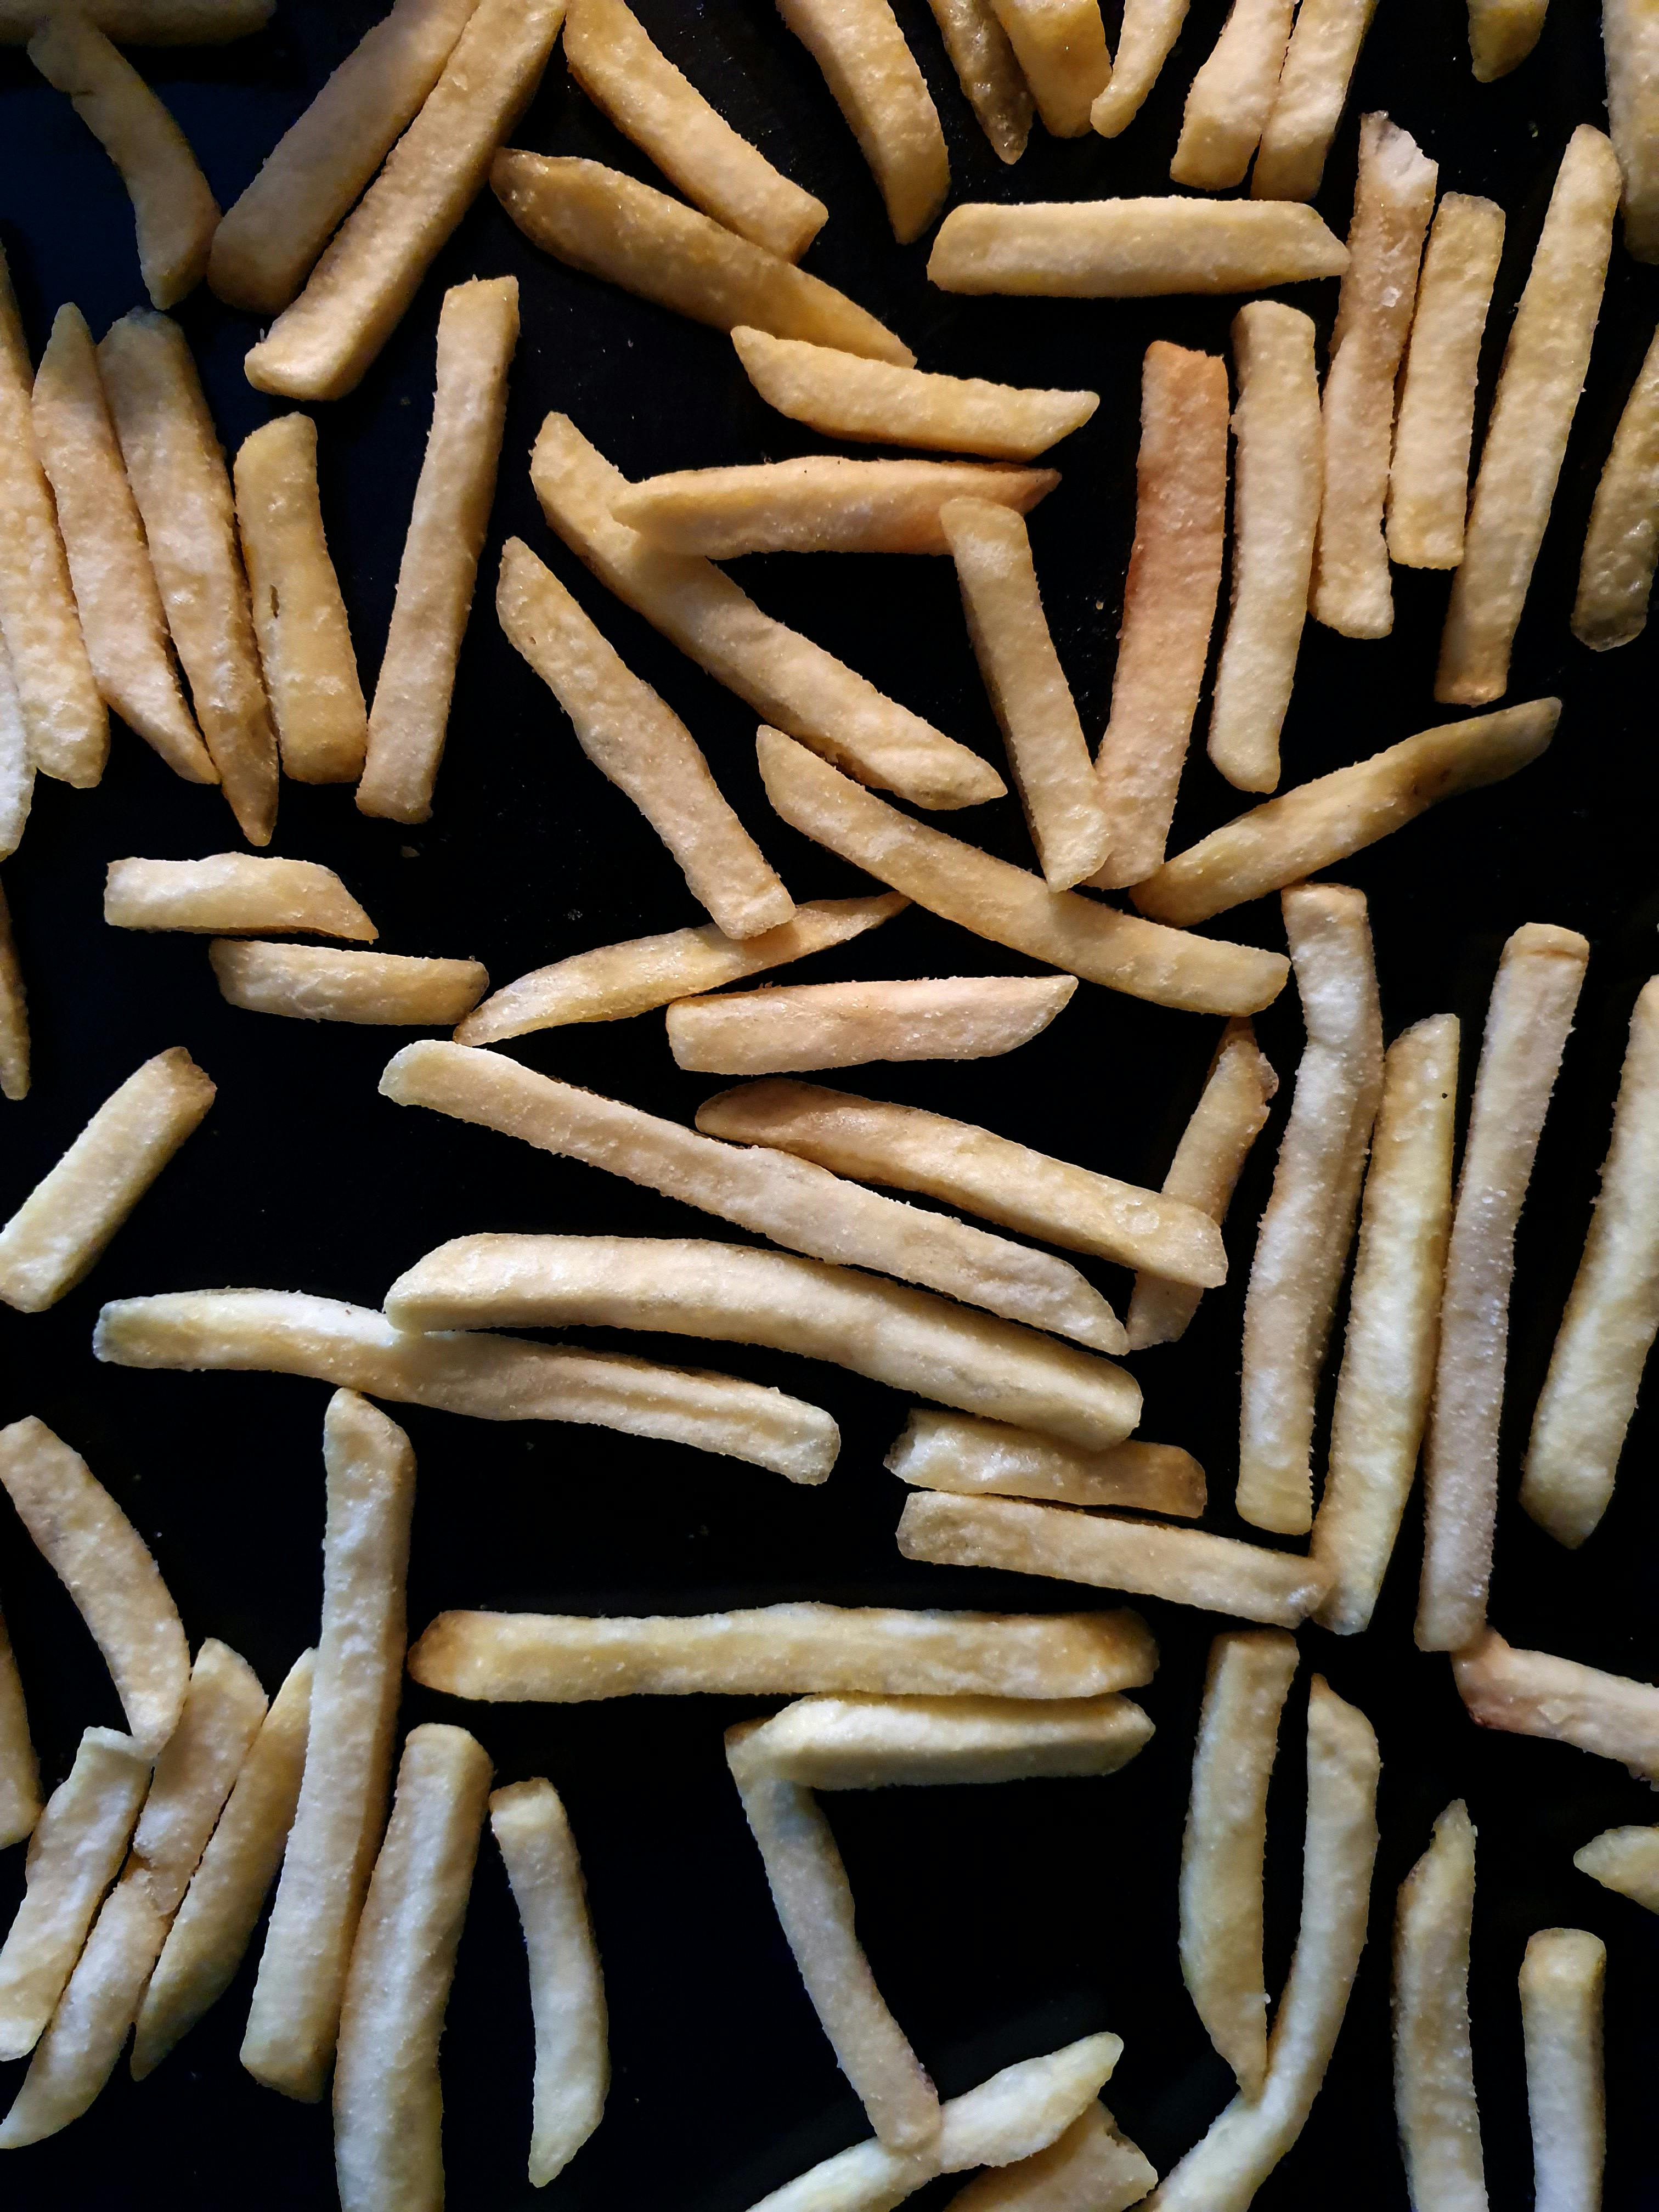
Spread Them Out in a Single Layer
Crowding is one of the fastest ways to ruin a batch. When fries overlap or pile up, they trap steam between them, and trapped steam keeps surfaces damp. Damp surfaces do not crisp well, no matter how long you cook them.
A single layer gives each fry room for hot air to circulate, whether you are using an oven or air fryer. That airflow helps moisture escape and encourages even browning on all sides. It is a small adjustment, but it often makes a bigger difference than adding extra minutes.
If you are feeding a group, cook in batches instead of overloading the tray. Two crisp batches will always beat one soggy one.
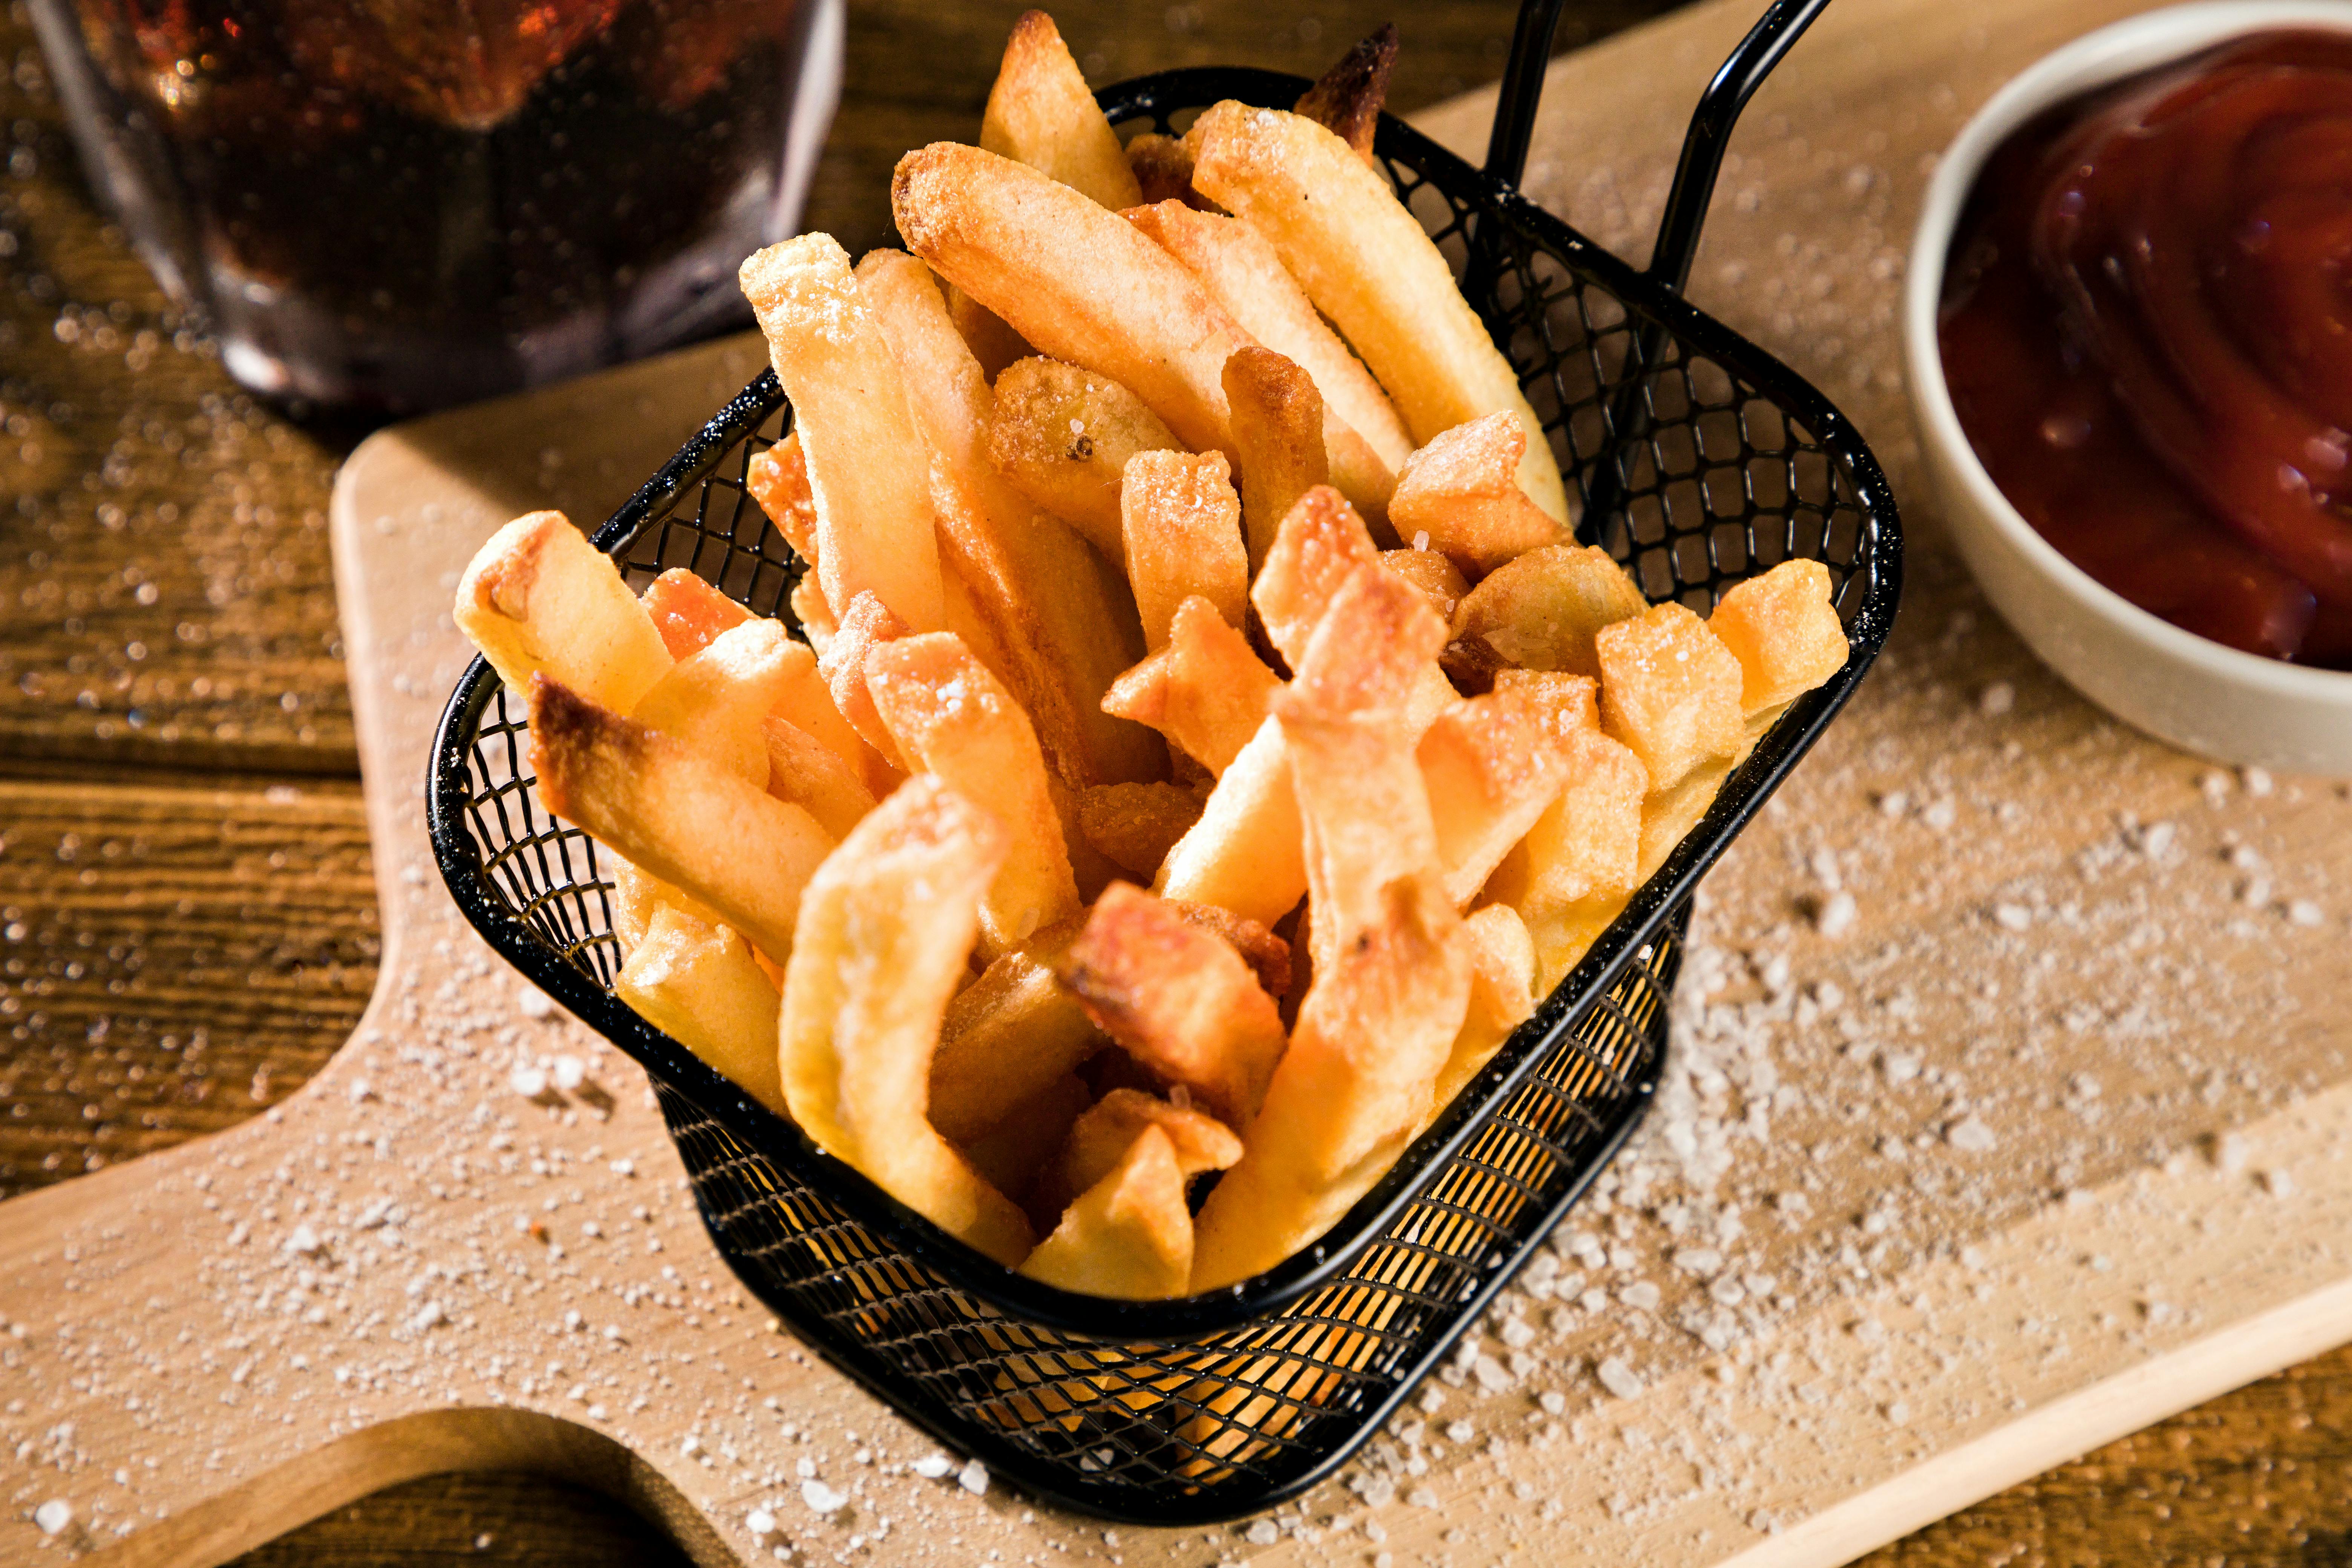
Add a Light Coating of Oil

Frozen fries usually contain some oil already, but a very light extra coating can improve color and crunch. Oil helps the surface heat more efficiently, which supports browning and gives the exterior that appealing crisp shell.
The key is restraint. Too much oil can make fries greasy and heavy, especially if it pools on the pan. A quick mist of cooking spray or a small toss with a little neutral oil is enough to help the edges blister and brown more evenly.
This trick is especially useful for lower-fat frozen fries, sweet potato fries, or brands that tend to bake up dry on the outside without getting truly crisp.
Flip or Shake Halfway Through Cooking
One side of a fry cannot brown properly if it spends the whole cooking time pressed against a hot pan or packed into one position in the basket. Turning the fries halfway through exposes new surfaces to heat and helps them crisp more evenly.
In the oven, use a spatula to flip and redistribute them. In the air fryer, a good shake is usually enough to move the pieces around and prevent overbrowning in one area. This is especially important because frozen fries rarely cook uniformly if left untouched.
That quick mid-cook move also lets you spot pieces that are racing ahead and others that need more time, so the final batch feels more consistent from bite to bite.
Cook a Little Longer Than the Package Suggests

Package directions are a starting point, not a strict finish line. Appliance performance varies widely, and many ovens run cool while some air fryers brown faster than expected. If your fries look blond and soft at the suggested time, they probably need a few more minutes.
Crispness depends on enough moisture leaving the fry and enough browning forming on the outside. That final stretch of cooking is often where the texture changes from merely hot to properly crunchy. Watching color and listening for a dry, sizzling sound can tell you more than the clock.
The goal is deep golden edges, not dark bitterness. Extend the cooking in short intervals so you hit the sweet spot without overshooting it.
Skip the Foil and Line the Pan Wisely
The wrong liner can quietly sabotage your fries. Foil often reduces direct contact with a hot pan and can encourage sticking or uneven browning, especially if the fries release moisture that lingers on the surface.
If you want easier cleanup, parchment paper is usually a better choice, though some cooks get the best browning from a bare, lightly oiled pan. The real goal is to avoid anything that traps moisture or insulates the fries from heat too much. Good crispness relies on dry heat and solid contact.
In an air fryer, skip liners unless they are designed for airflow. Blocking the perforations reduces circulation, and circulation is a huge part of what makes fries crisp.
Season After Cooking, Not Before
Salt seems harmless, but adding it too early can pull moisture to the surface while the fries cook. More surface moisture means more steam, and more steam makes it harder for the exterior to stay dry and crisp.
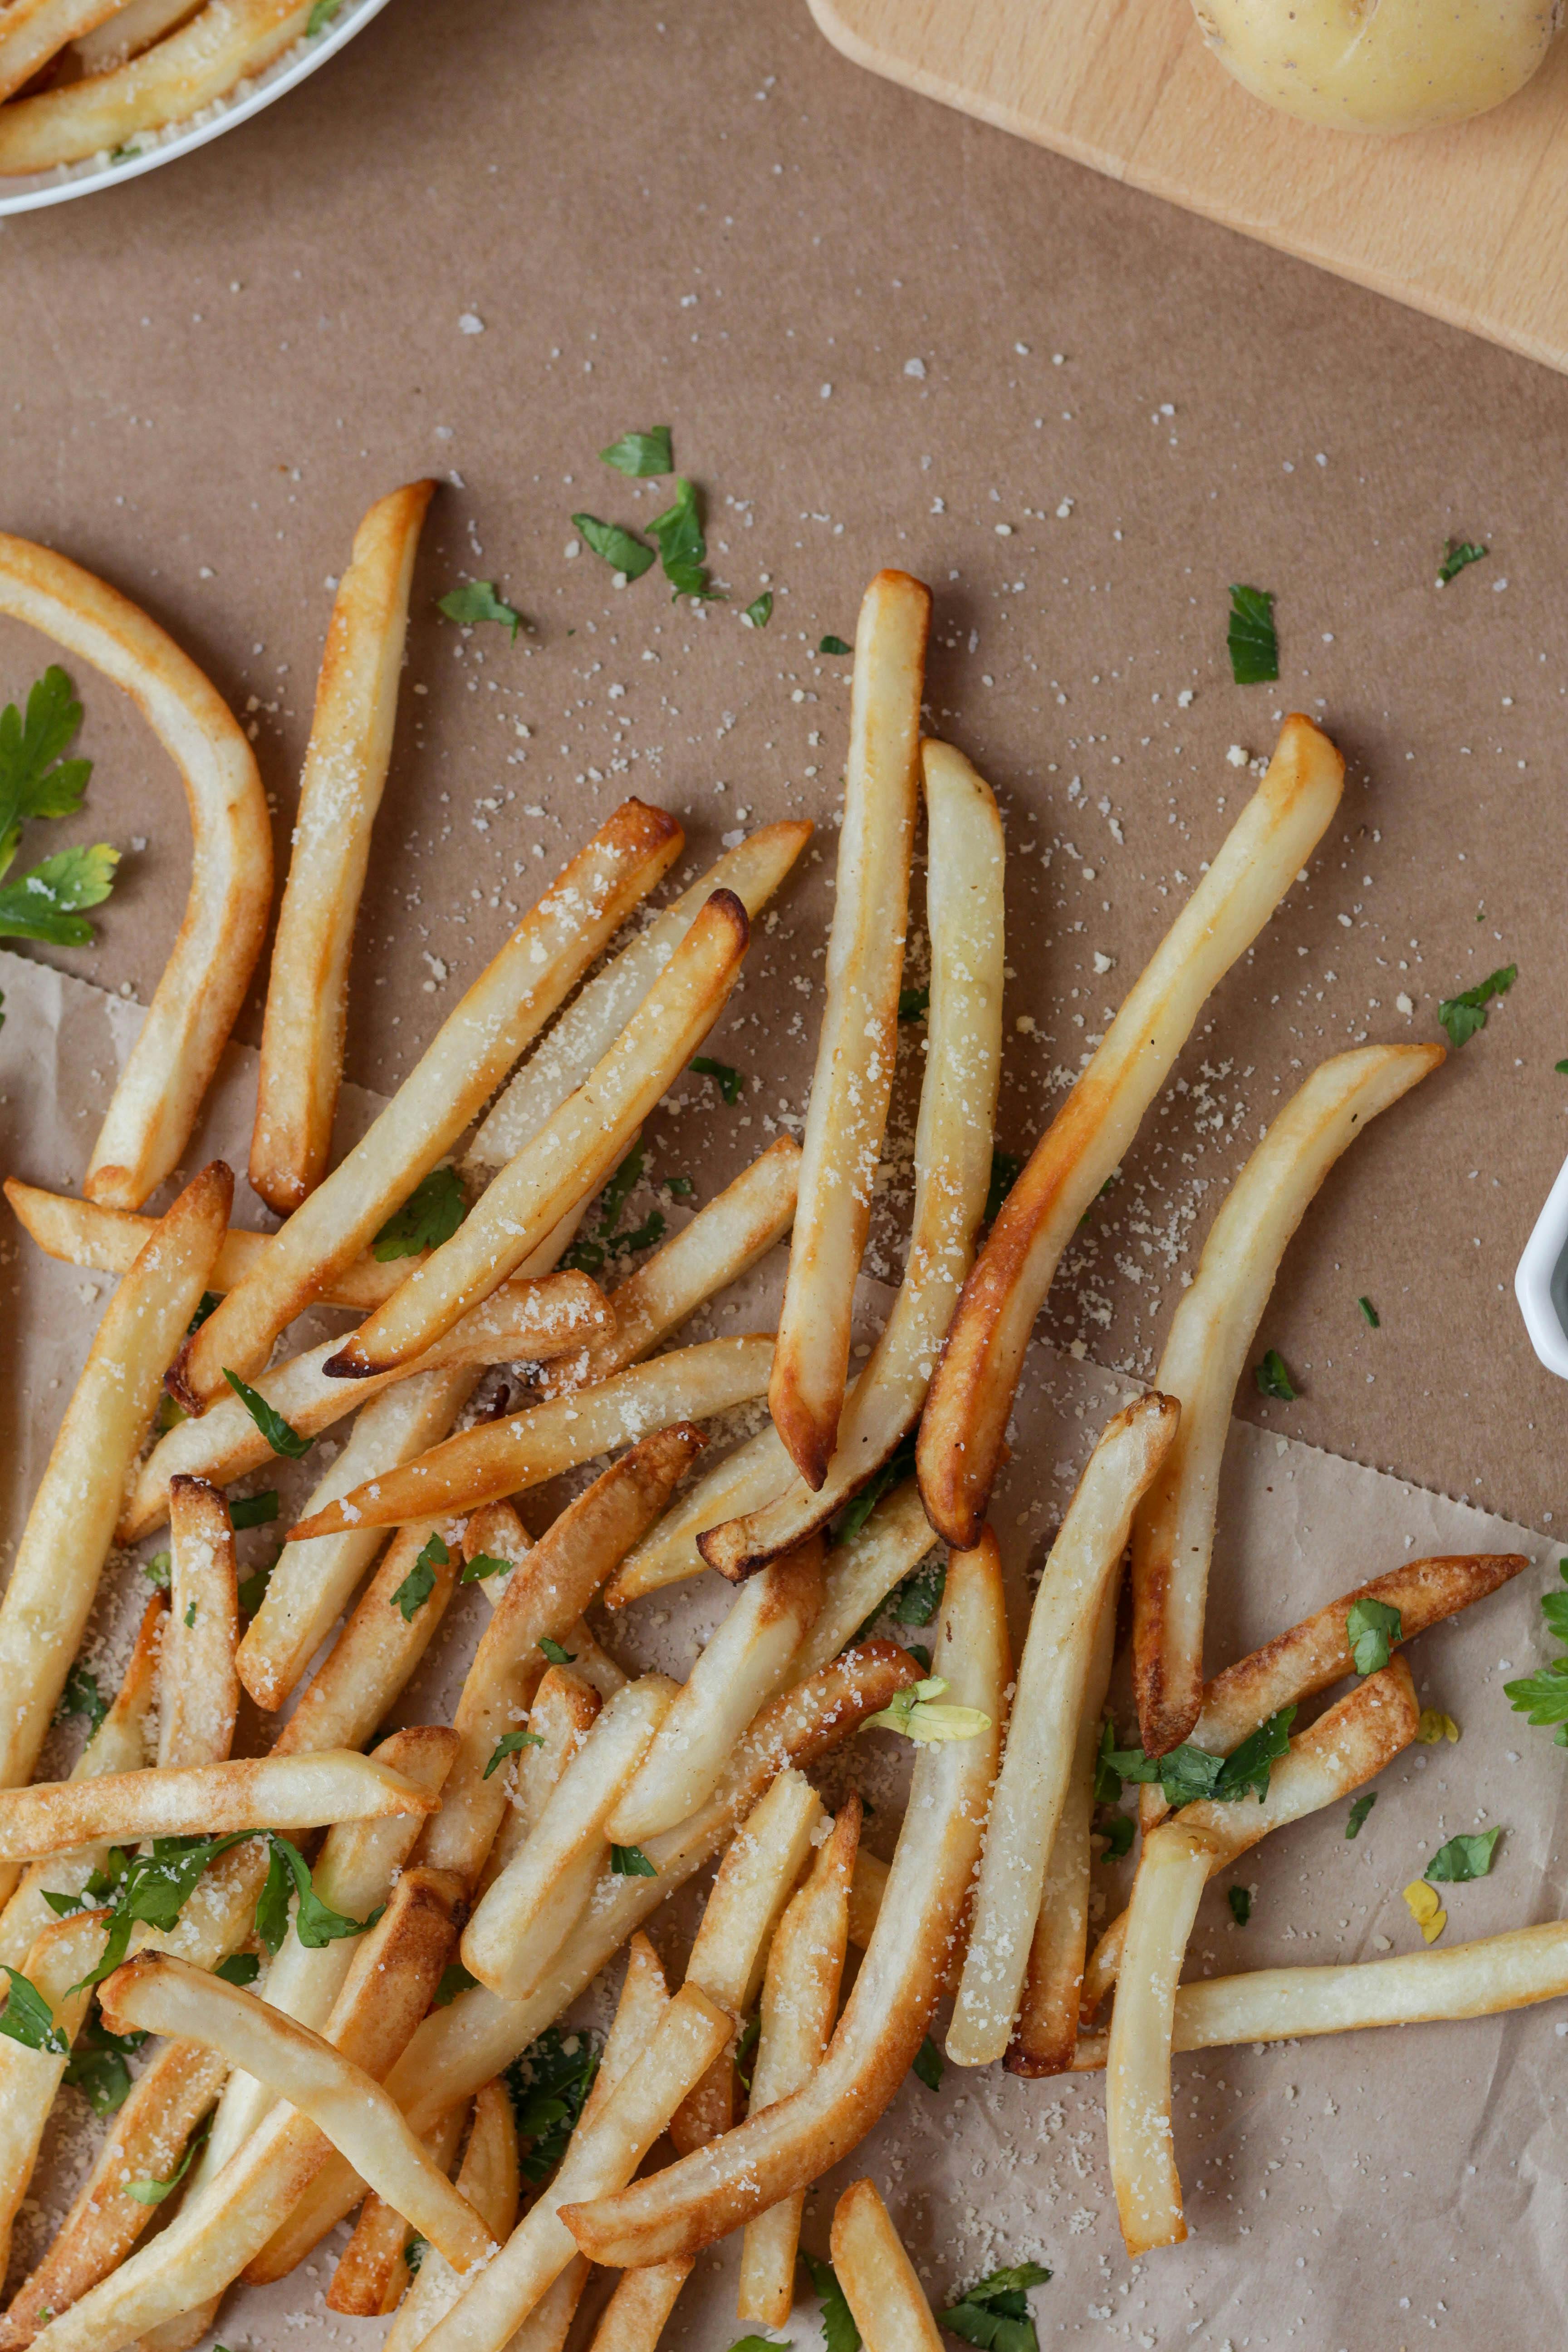
Seasoning right after cooking works better because the fries are still hot and a little oily, so salt and spices cling easily without interfering with browning. This is also the best moment to add garlic powder, smoked paprika, grated Parmesan, or a pinch of seasoning blend.
If you want maximum crunch, think of seasoning as the final touch, not the first step. A hot fry fresh from the oven holds flavor beautifully.