
A good roast chicken should have crisp skin and juicy meat, but a few small missteps can dry it out fast. These six common mistakes explain what goes wrong in the oven, and the simple fix that helps each bird come out better.
Cooking by time alone
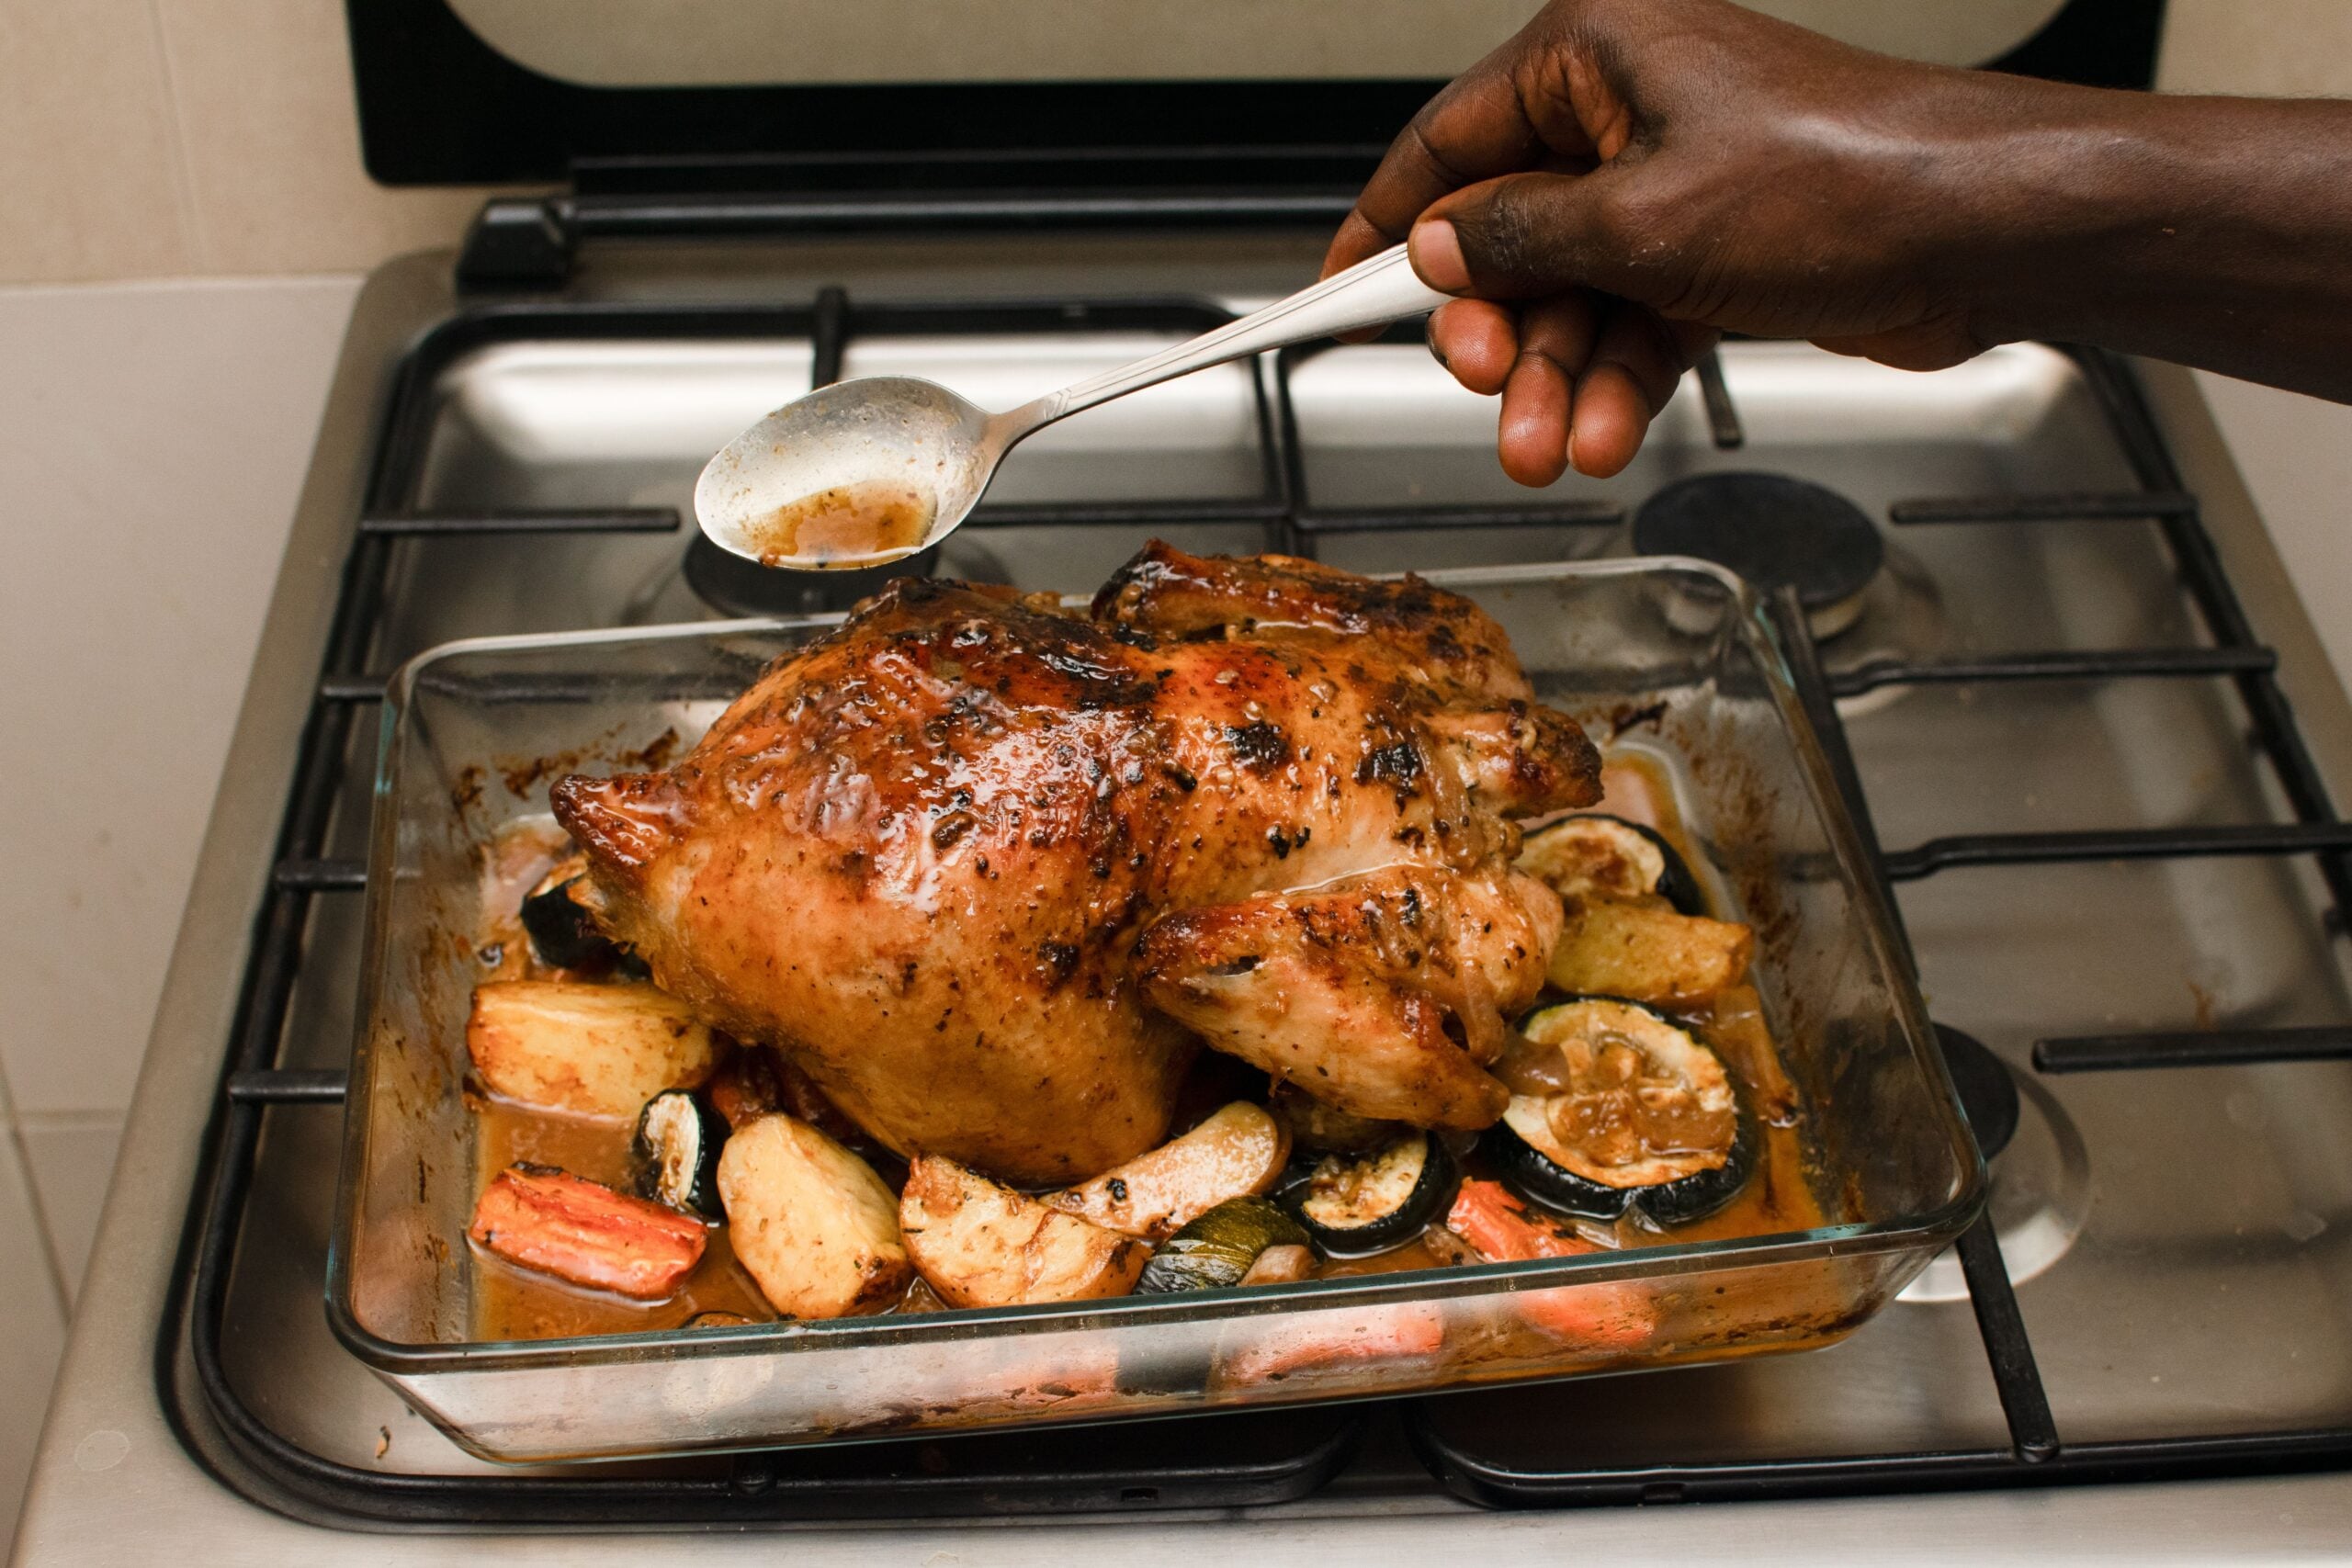
Roast chicken often dries out when the cook trusts the clock more than the bird. Ovens vary, chickens vary in size, and a few extra minutes can push lean breast meat from juicy to chalky.
The USDA says poultry is safe to eat when it reaches an internal temperature of 165 F. That number matters most in the thickest part of the breast and the innermost part of the thigh and wing, according to the USDA.
The fix is to use an instant-read thermometer and start checking before the recipe says the chicken should be done. Pull it when the breast hits 165 F and the thigh is at least 165 F. If the thighs need more time, shielding the breast loosely with foil can help slow browning while the dark meat finishes.
Starting with ice-cold chicken

A chicken taken straight from the refrigerator can cook unevenly, and uneven cooking is one of the easiest routes to dryness. The outside gets a long head start in the oven while the center is still cold.
That matters because white meat and dark meat do not behave the same way. Breast meat is lean and dries out sooner, while legs and thighs have more connective tissue and usually need more time to become tender.
The fix is simple, but still food-safe: let the chicken sit at room temperature briefly while you prep it and heat the oven, rather than leaving it out for a long stretch. Dry the skin well, season it, and get it roasting without delay. That small step helps the bird cook more evenly from edge to center.
Skipping the dry skin step

Moisture on the surface works against two goals at once. It slows browning, and it can tempt cooks to leave the chicken in longer for better color, which raises the risk of dry meat underneath.
This is why many test kitchen methods call for patting the chicken dry very thoroughly with paper towels before it goes into the oven. Some cooks also leave the bird uncovered in the refrigerator for several hours or overnight to dry the skin further.
The fix is to remove as much surface moisture as possible before roasting. Then add oil or butter and seasoning. A drier surface browns faster, so the skin turns crisp sooner and the meat spends less unnecessary time in the oven.
Forgetting salt ahead of time
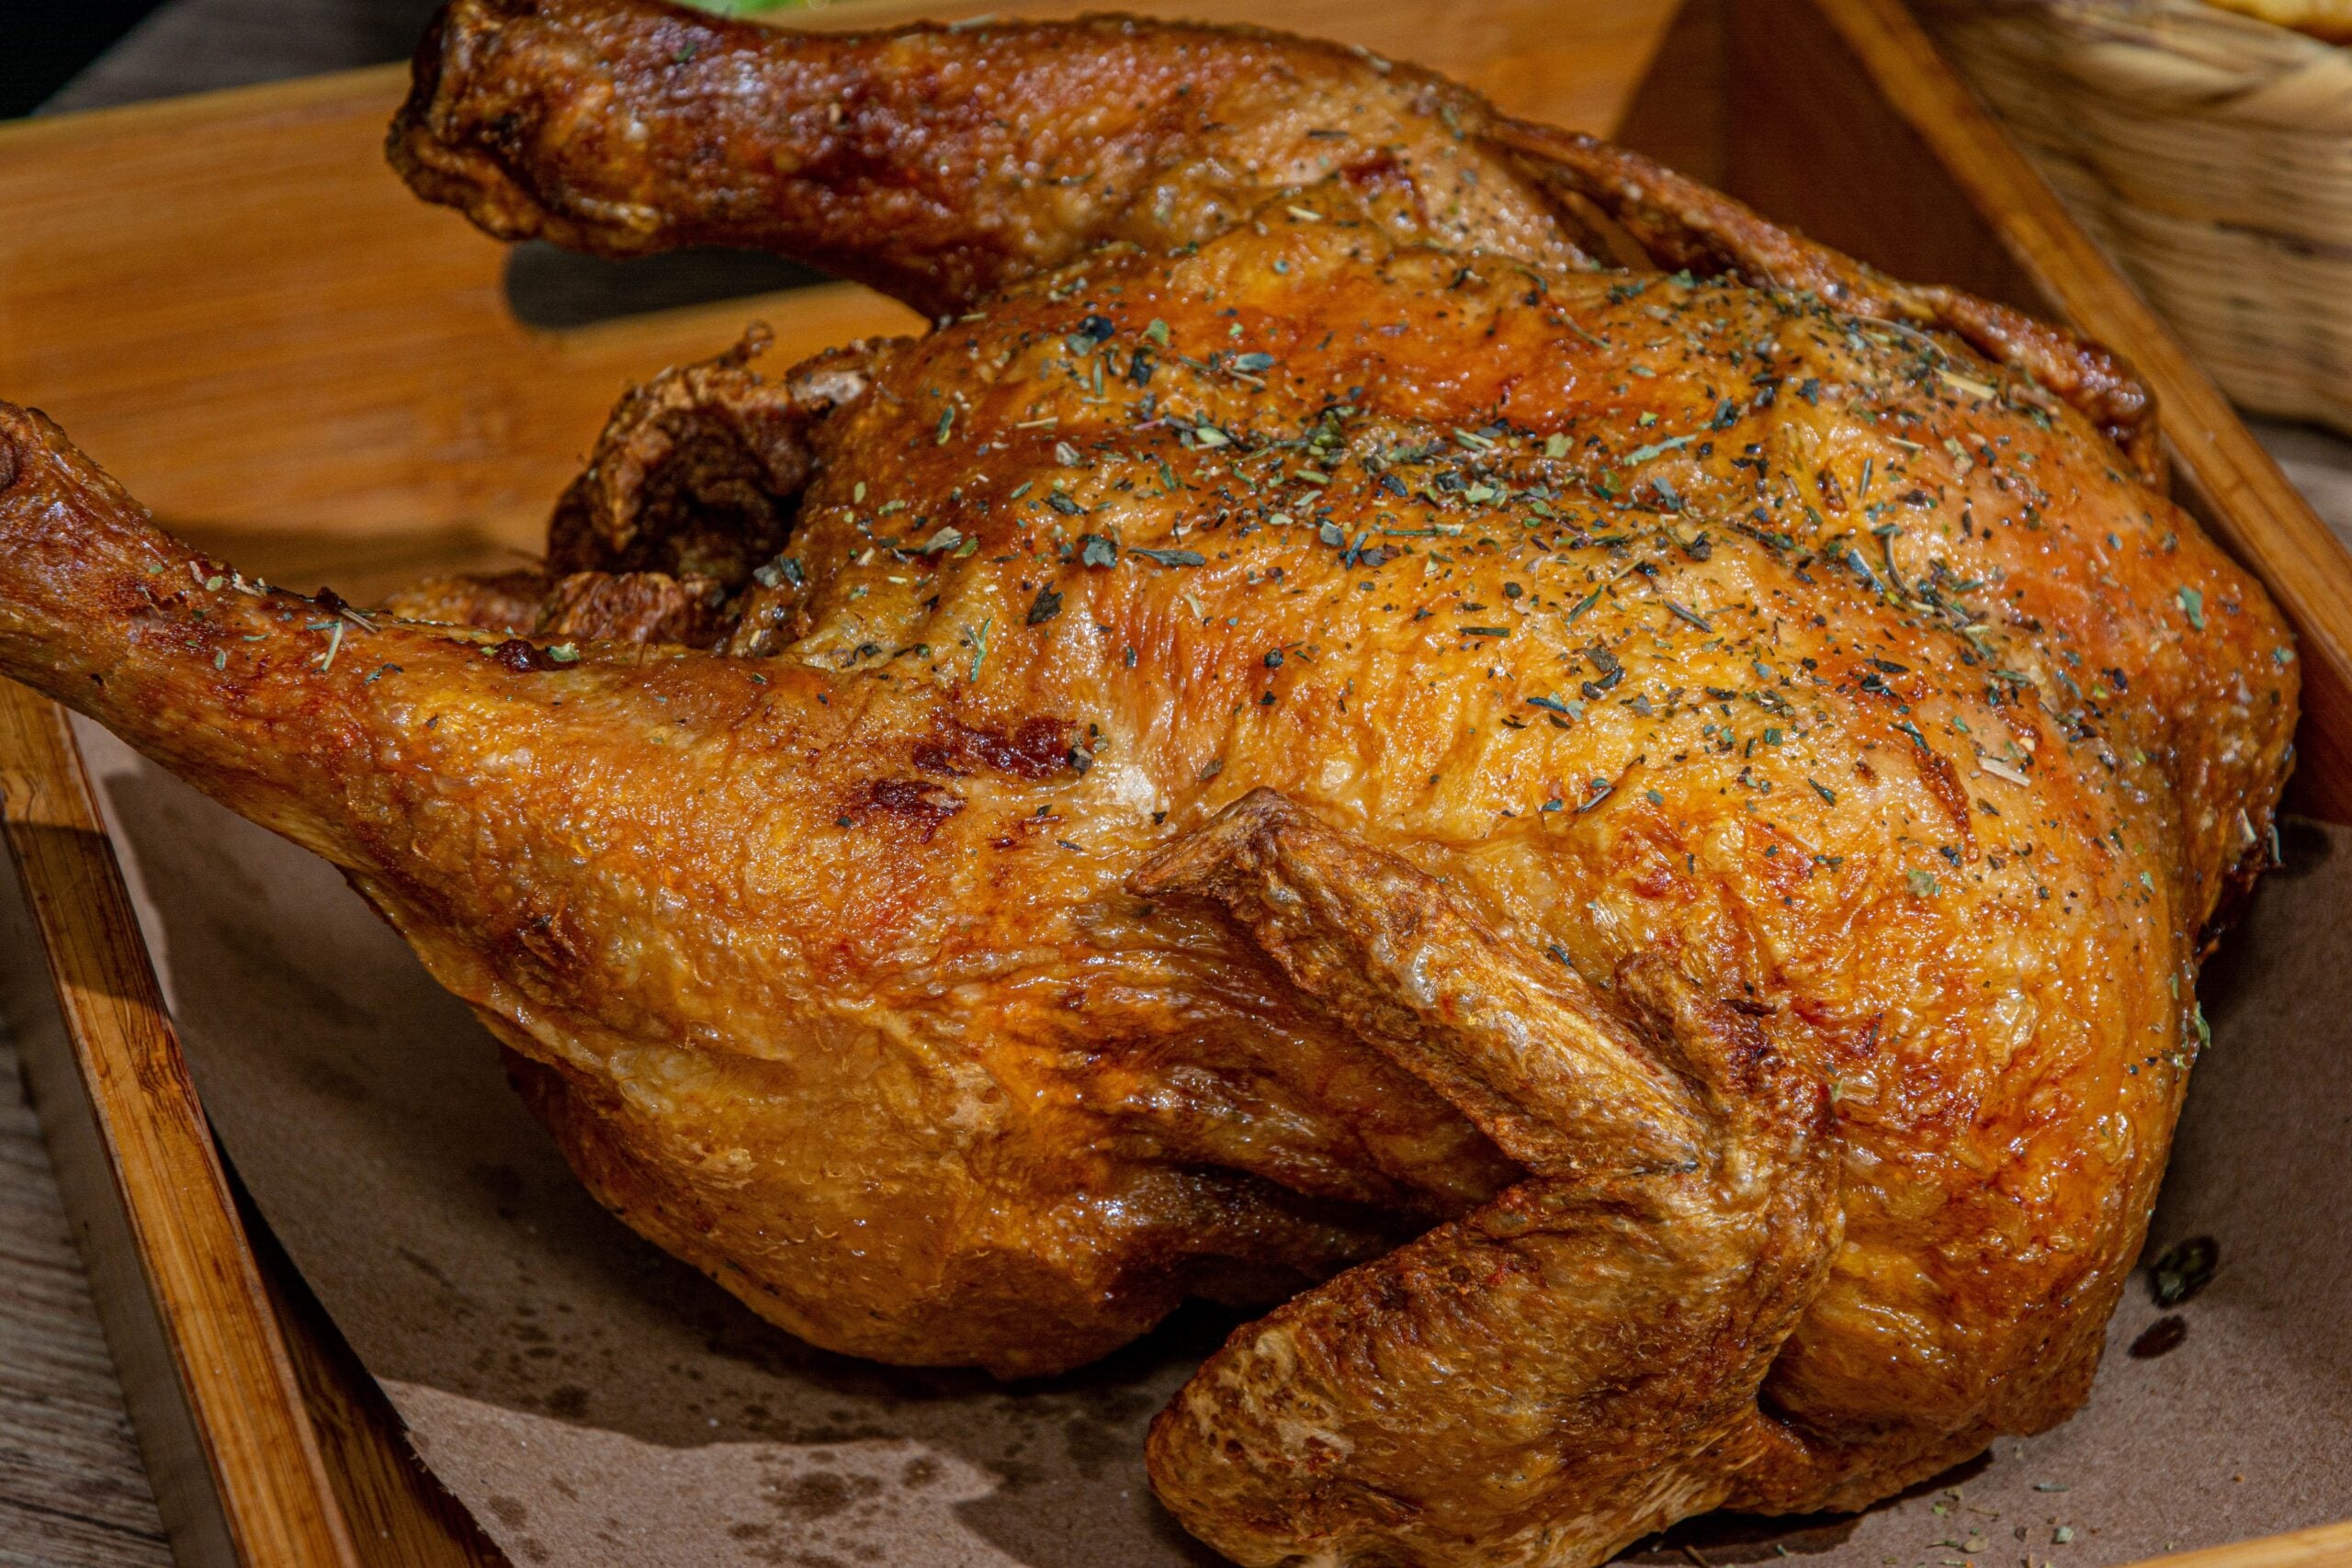
Salt does more than season the skin. Given time, it helps the meat retain moisture and improves flavor below the surface, which is one reason dry-brining has become such a common roast chicken method.
Dry-brining means salting the chicken in advance and leaving it uncovered in the refrigerator. As the salt first draws out some moisture, that moisture then dissolves the salt and gets reabsorbed, seasoning the meat more effectively than a last-minute sprinkle.
The fix is to salt the chicken well ahead of roasting, ideally the day before if your schedule allows. Even a shorter rest helps. The result is usually better browning, deeper seasoning, and meat that tastes juicier because it holds onto more of its natural moisture.
Roasting at the wrong temperature
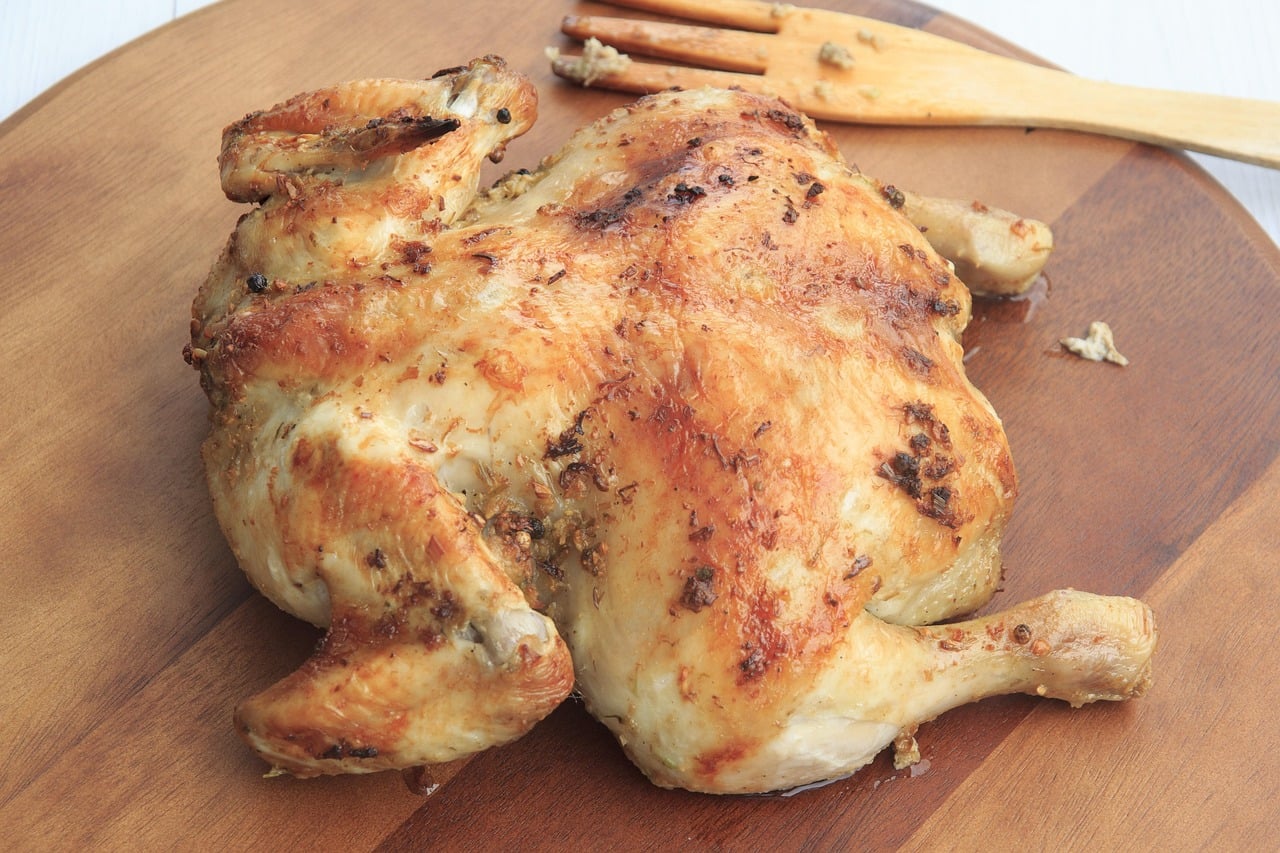
A low oven can seem gentle, but it often keeps the chicken in the heat too long. That extra time can slowly squeeze moisture from the breast before the skin gets the color many cooks want.
Very high heat can create a different problem. The outside may brown too fast while the interior still lags behind, which can lead to overcorrecting with extra cook time later.
The fix is to roast in a hot, steady oven that promotes browning without dragging out the process. Many roast chicken methods land around 425 F because it encourages crisp skin and efficient cooking. What matters most is matching the oven temperature with thermometer checks so color and doneness finish close together.
Carving too soon
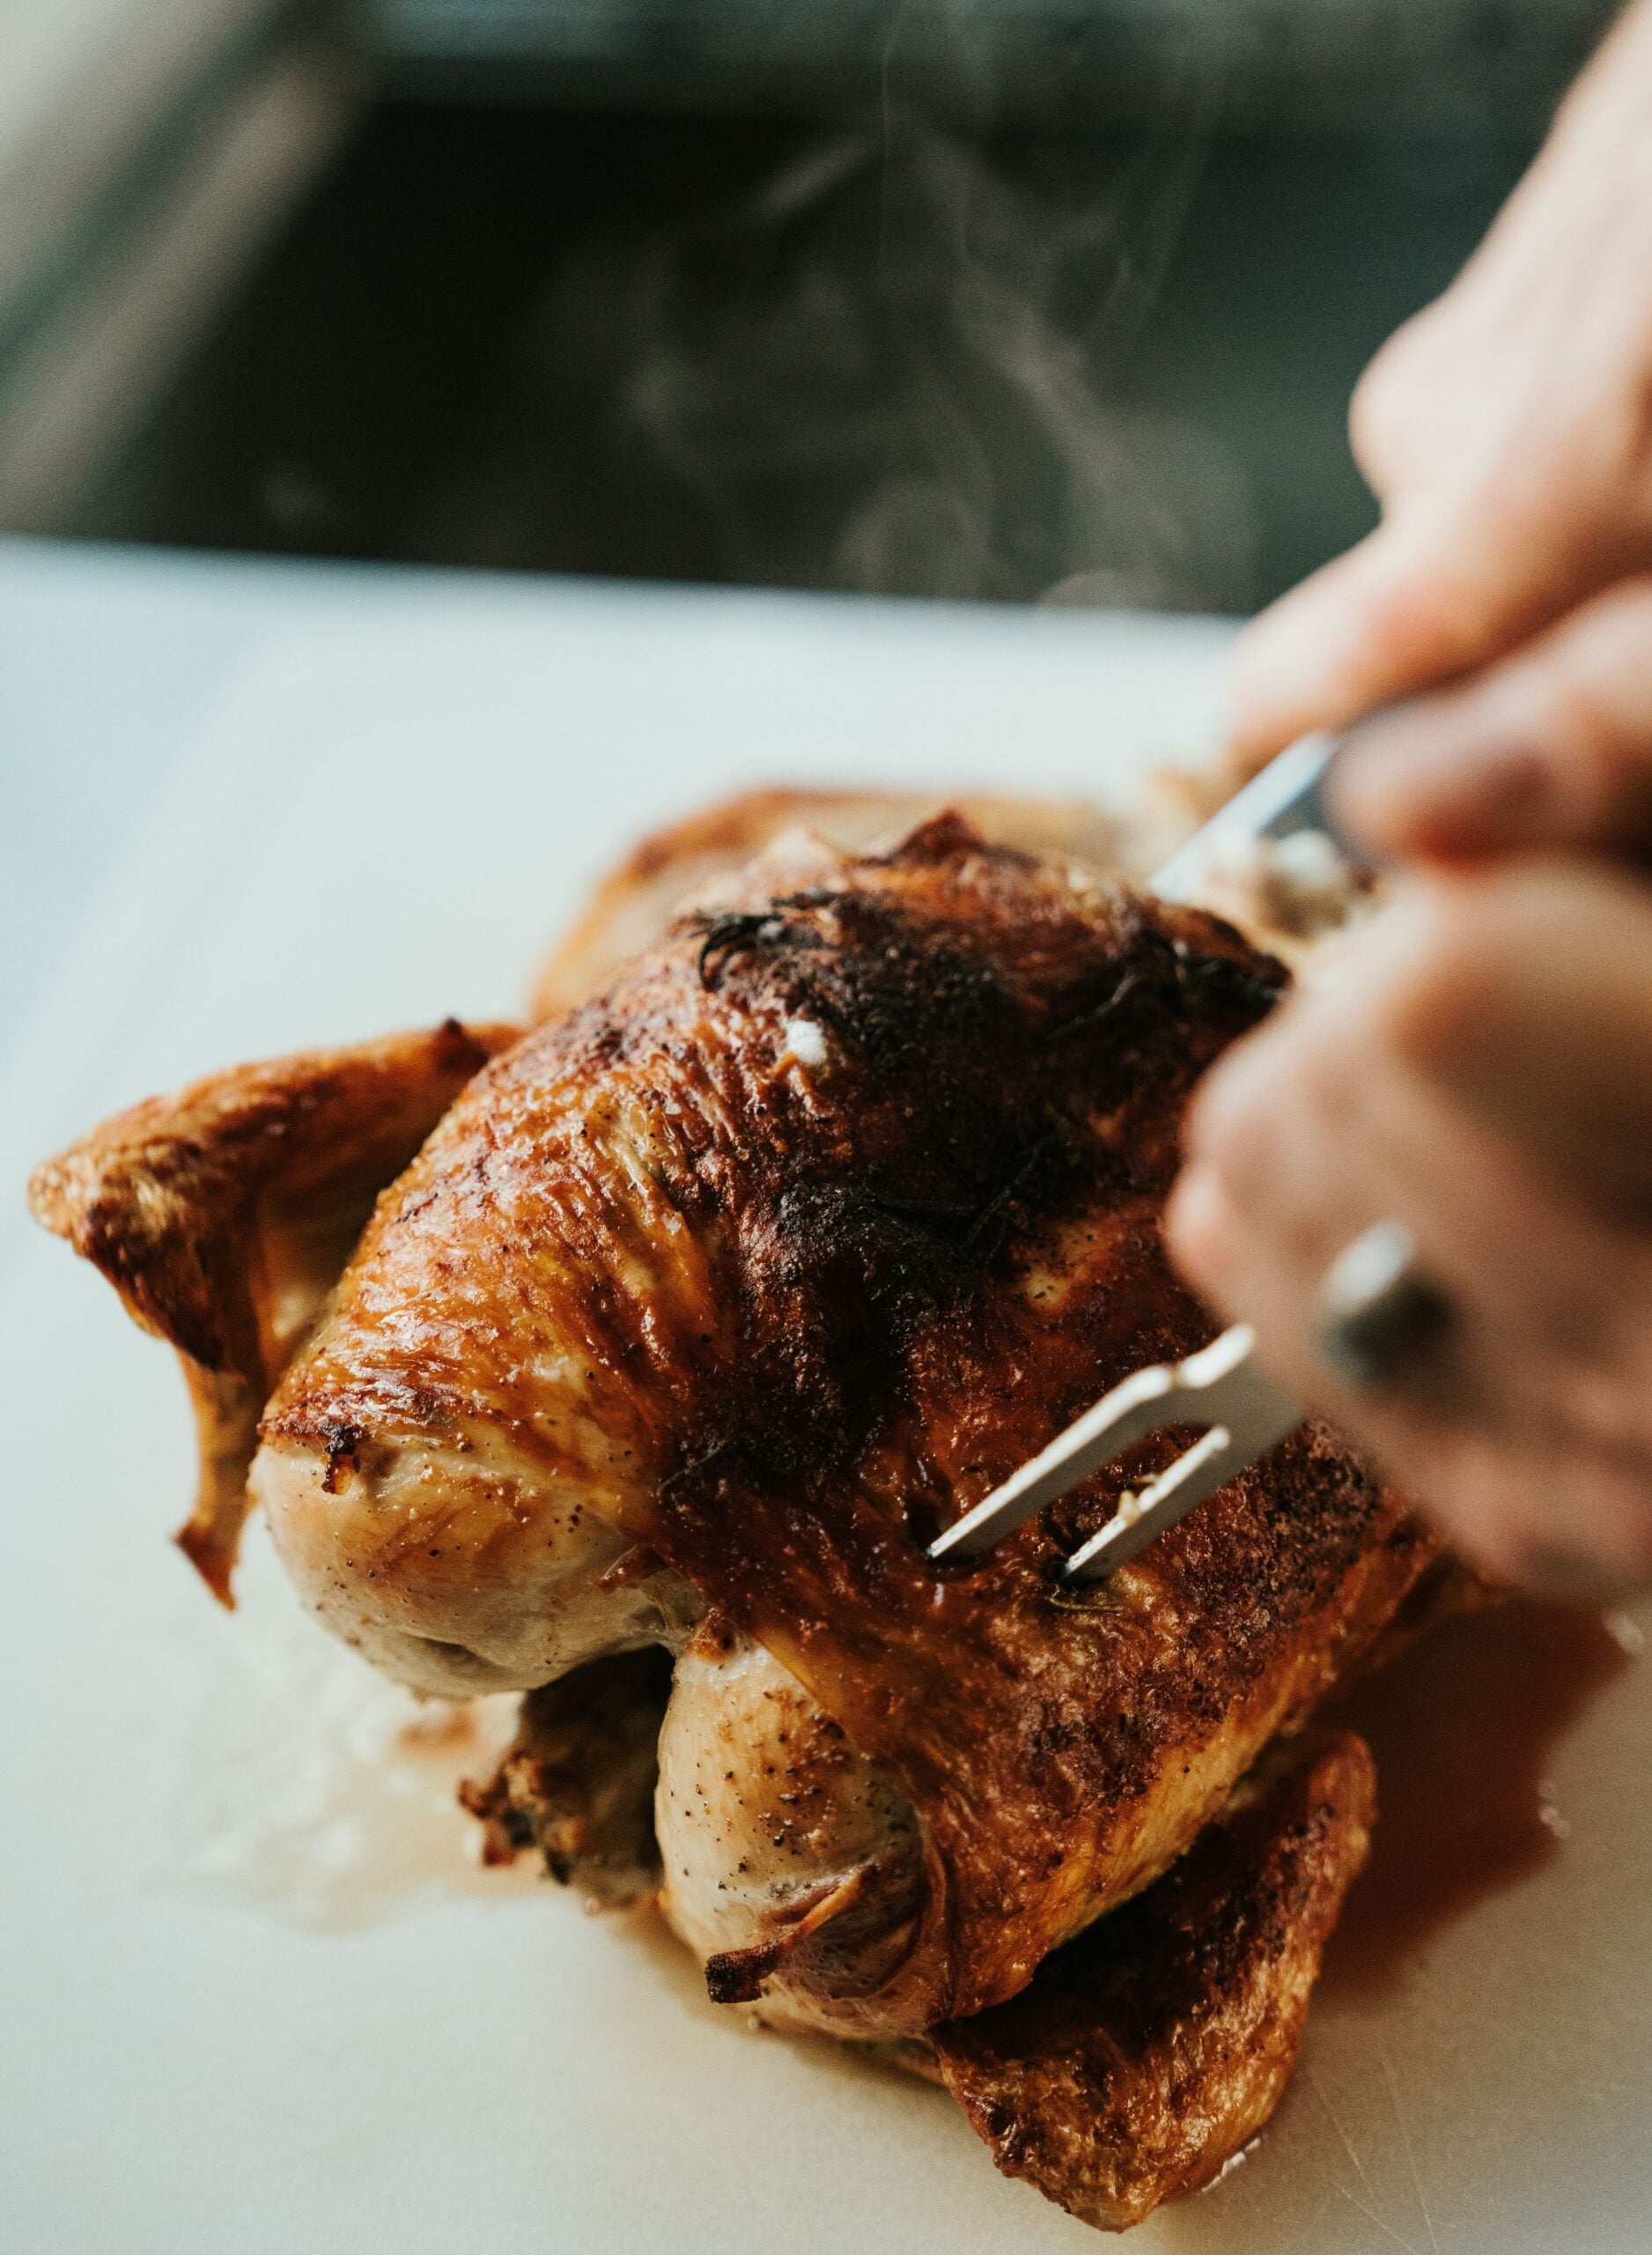
The final mistake happens after the chicken leaves the oven. Cutting into it immediately lets hot juices run onto the board instead of staying in the meat.
Resting gives those juices time to redistribute. It also gives carryover cooking a moment to finish the job, which is why pulling the bird right at the target temperature works better than leaving it in the oven for insurance.
The fix is patience. Let the roast chicken rest for about 15 minutes before carving, loosely tented if needed. You will lose less juice, the meat will slice more cleanly, and the first bite will taste like the effort was worth it.



Leave a Reply